M2 Globular Cluster
Click image for full size version
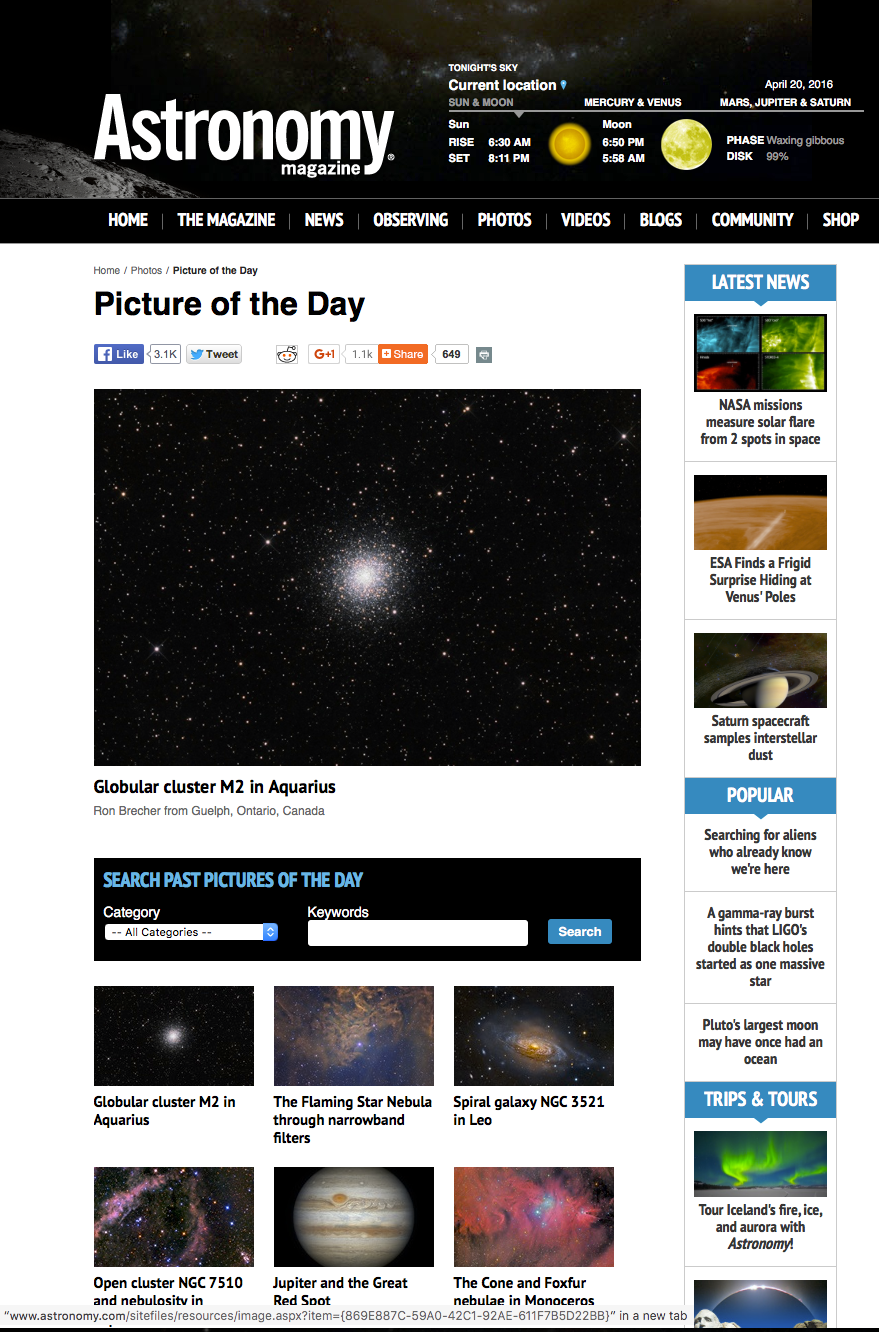
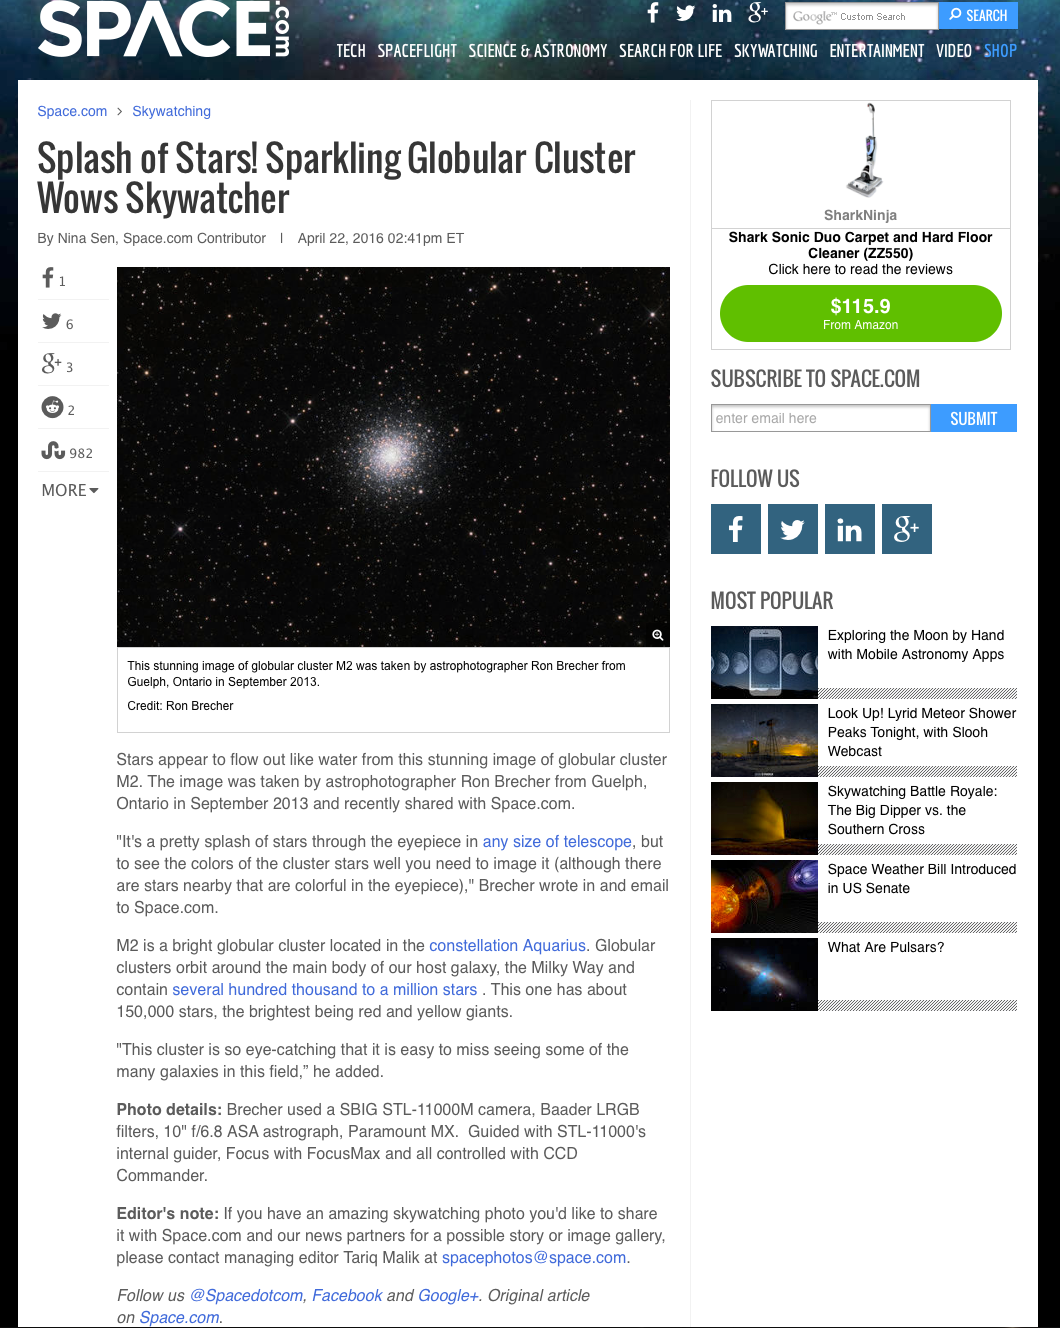
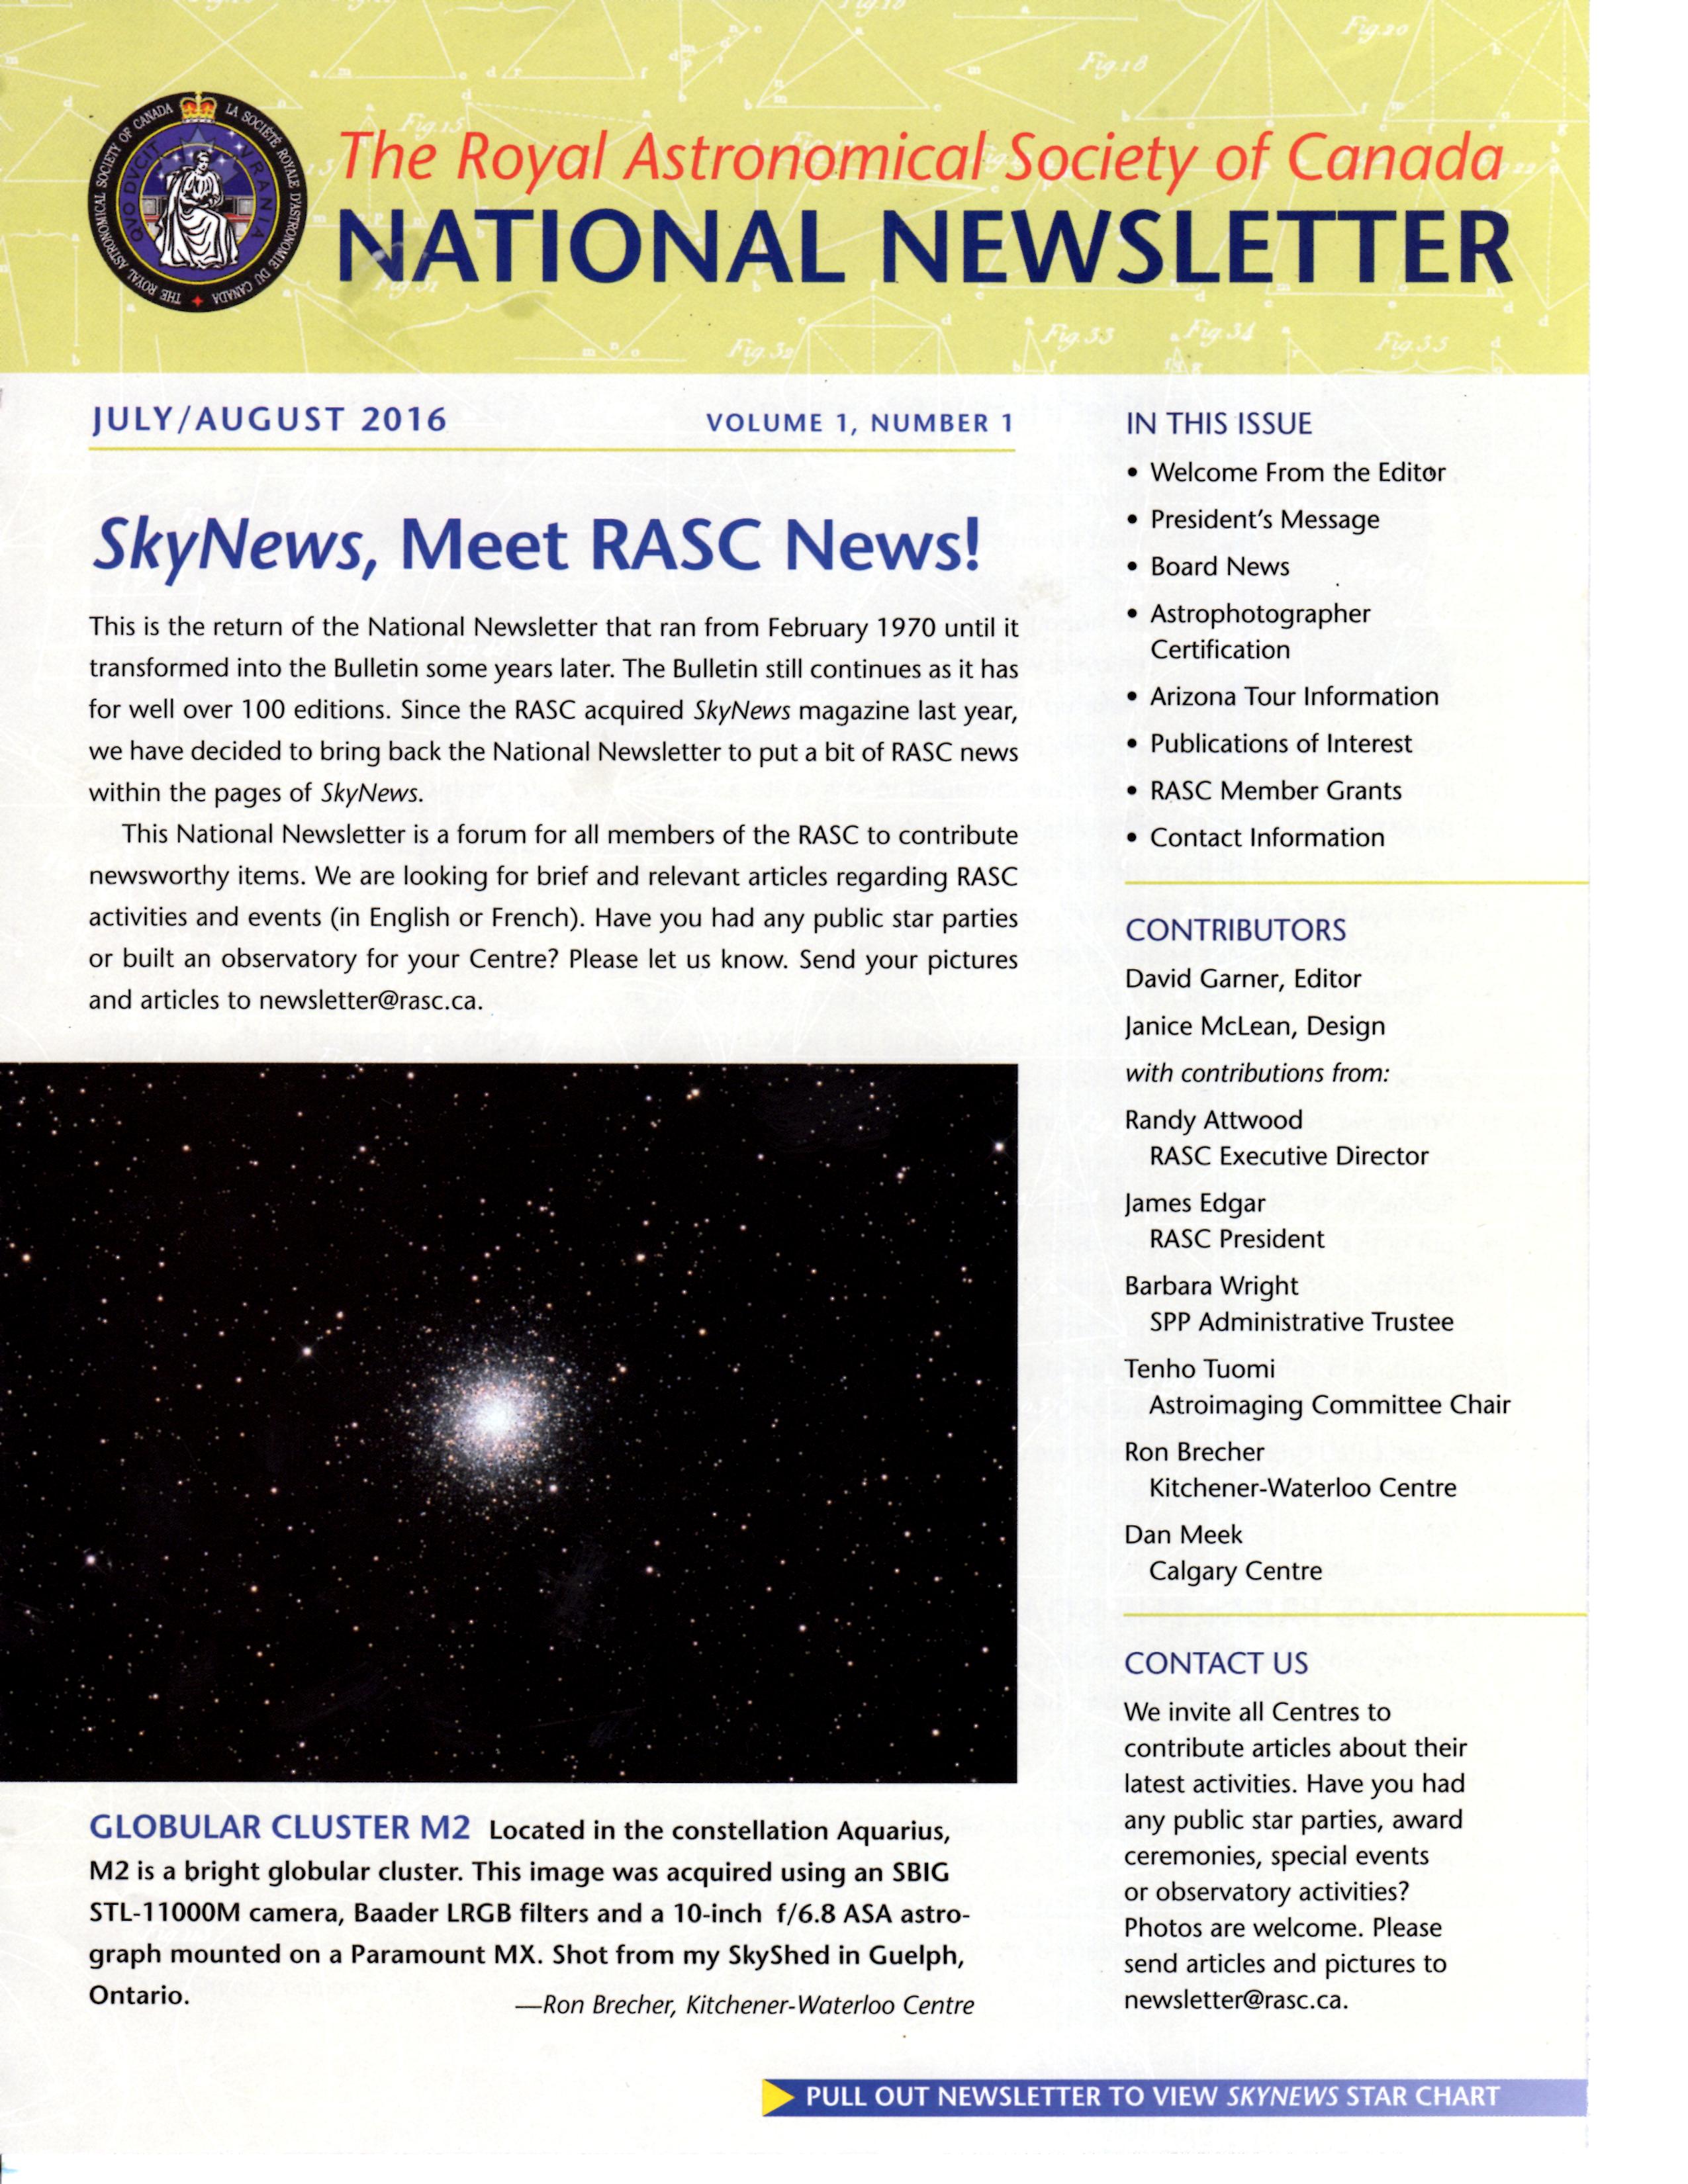
March 16, 2016. Astronomy Magazine online Picture of the Day, April 20, 2016, Space.com April 22, 2016, RASC Newsletter, July/August 2016
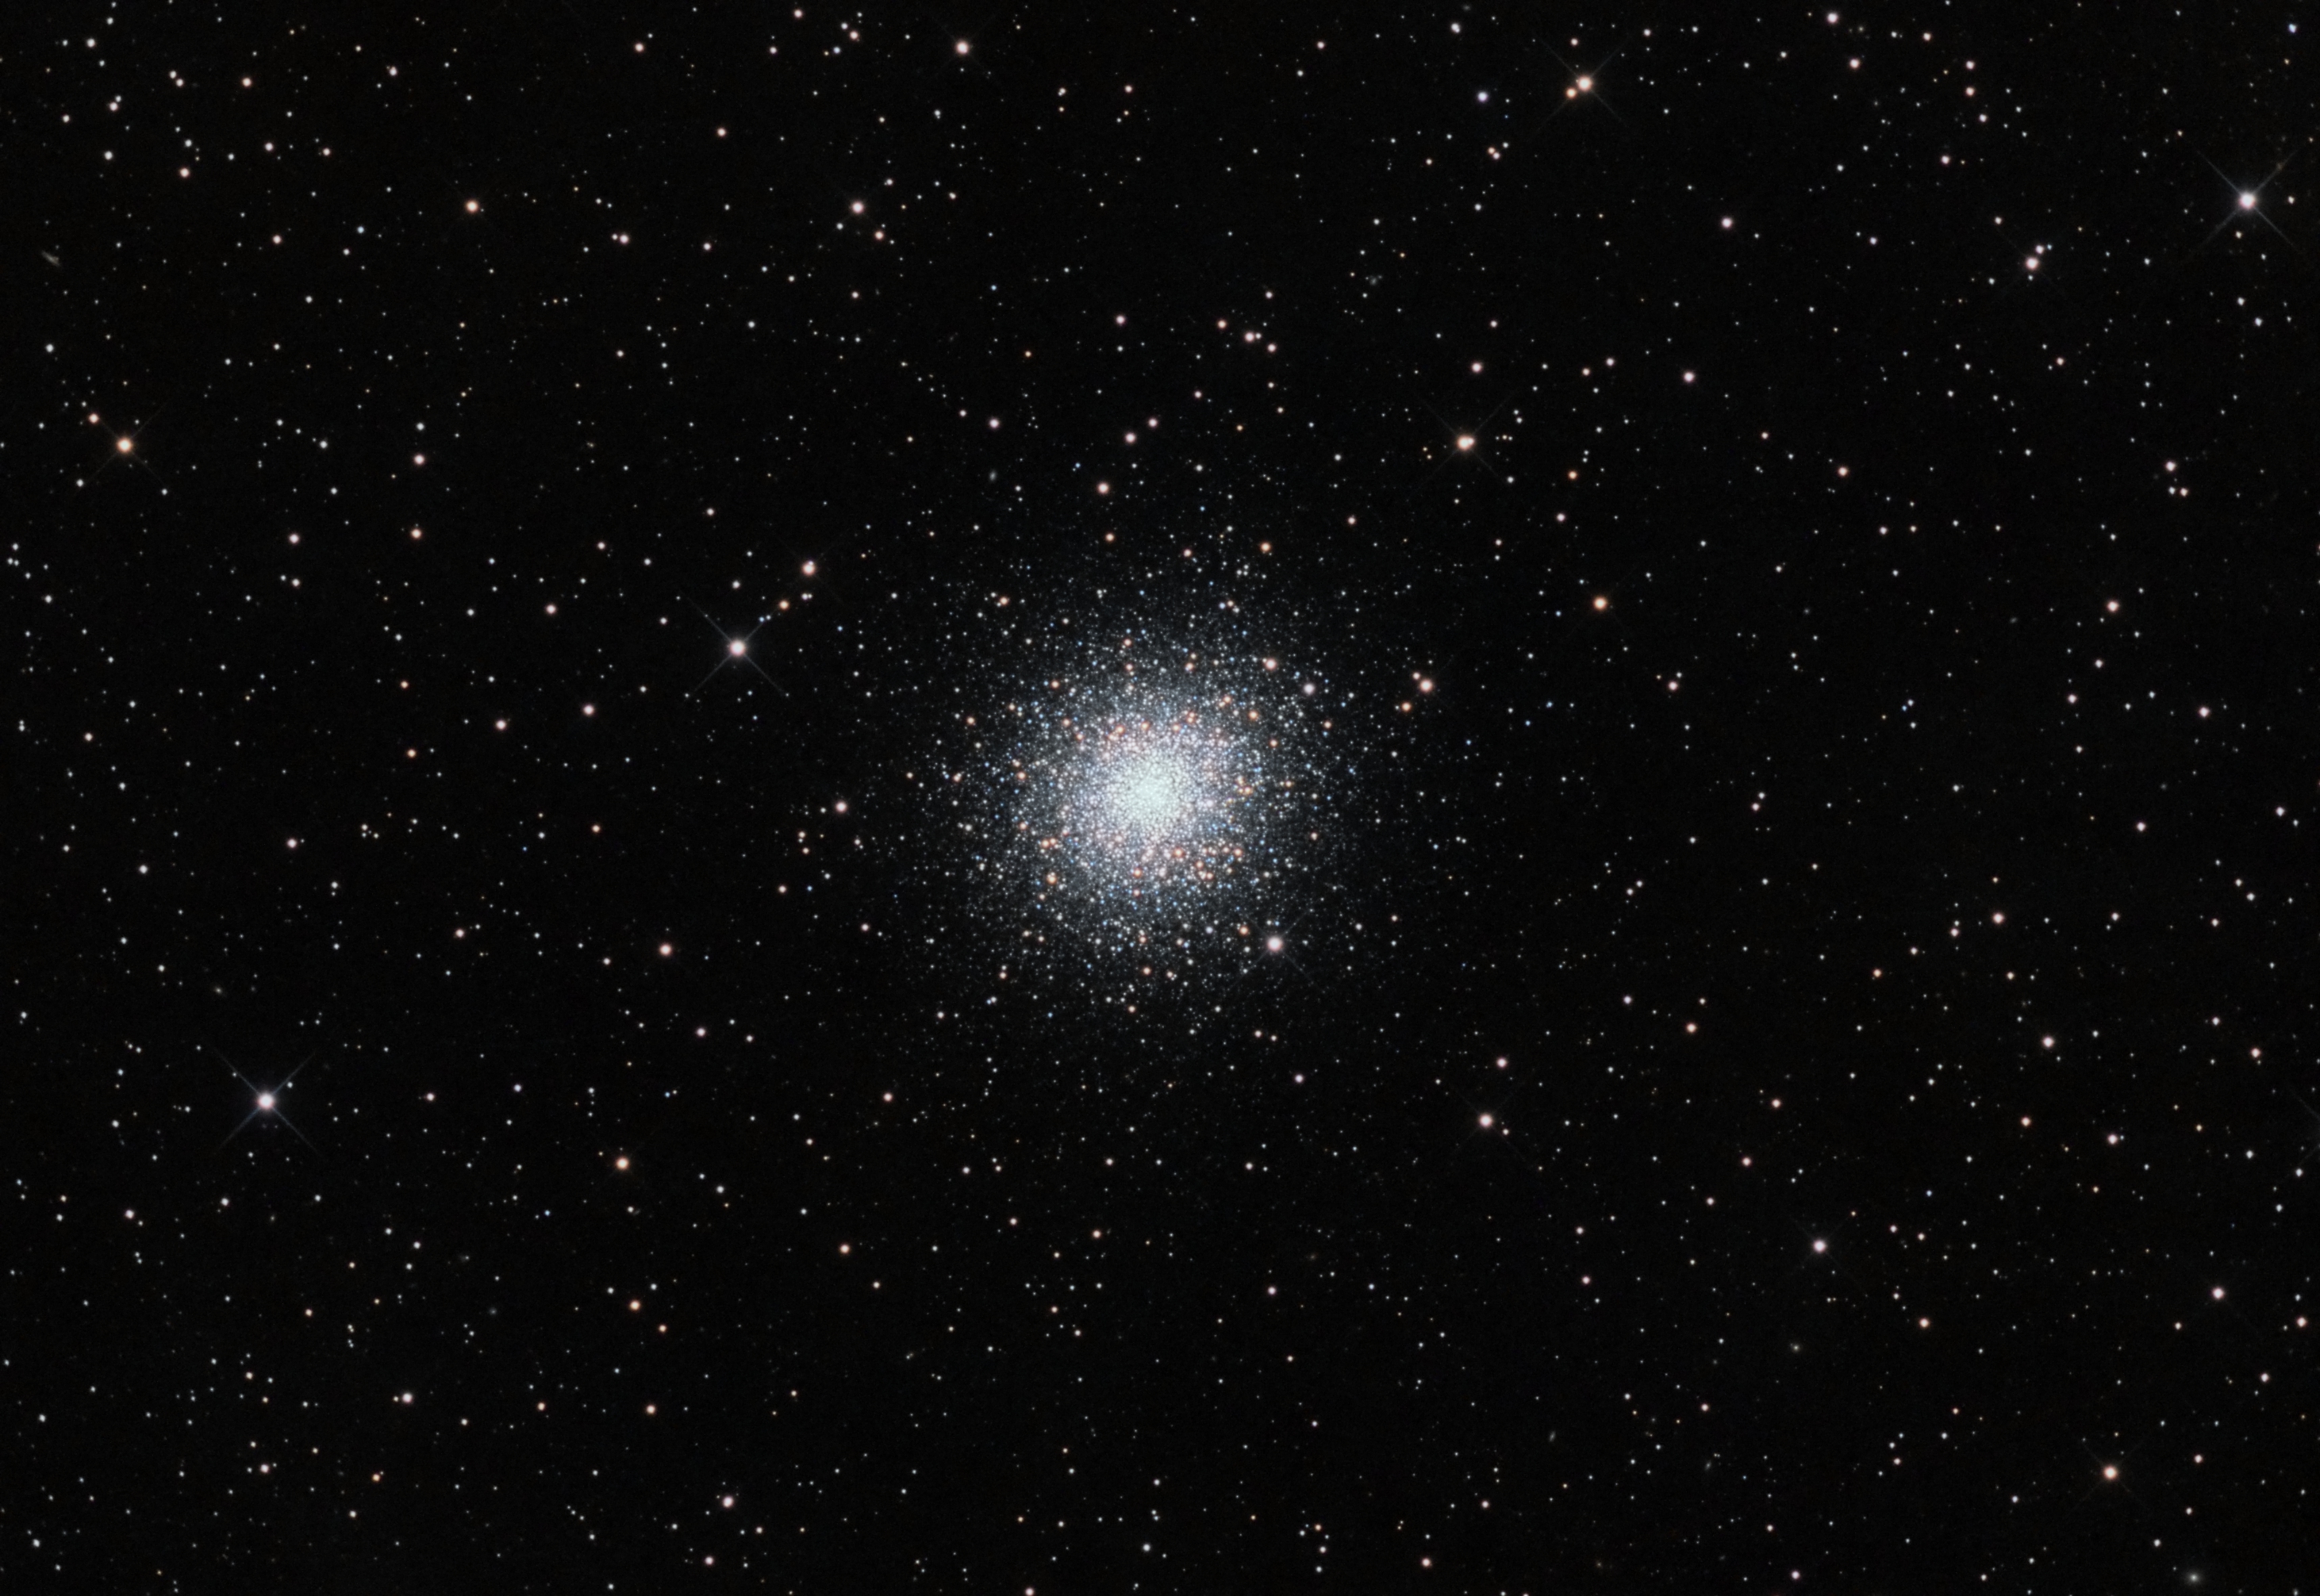
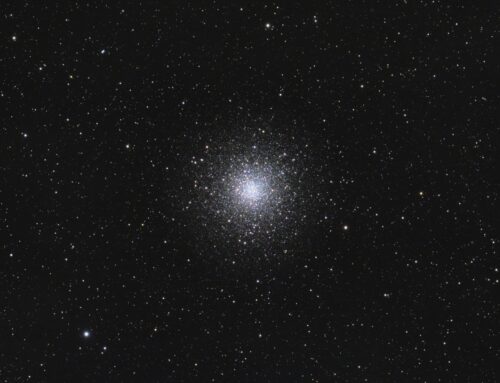
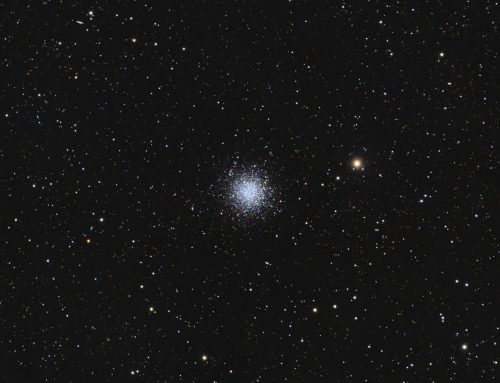
 M2 is the subject of the “first light” image that was taken using the Paramount MX mount, in September 2013. It is a bright globular cluster located in the constellation Aquarius. Globular clusters — about 150+ of them — orbit around the main body of the Milky Way Galaxy and contain several hundred thousand to a million stars. M2 has about 150,000 stars, the brightest being red and yellow giants. But there are a lot of hot blue stars as well. The colour depends on the temperature — red stars are cooler and blue stars hotter). I can see this object with my naked eye from a dark site — barely. I have to use averted vision (looking slightly away from it so its image falls on the edge of your visual field, which is more sensitive in dim light). It’s a pretty splash of stars through the eyepiece in any size of telescope, but to see the colours of M2’s stars well you need to image it (although there are stars nearby that are colourful in the eyepiece). This cluster is so eye catching that it is easy to miss seeing some of the many galaxies in this field. Examples are in the bottom right and by the left edge, not far from the top.
The data for this image was collected in September 2013, before this website was launched. The original image also earned an Astronomy Magazine Online Picture of the Day in October 2013. I like the new version better for its more natural looking core, with no burnout, more natural colours, more field stars and galaxies and better noise management.
Tekkies:
SBIG STL-11000M camera, Baader LRGB filters, 10″ f/6.8 ASA astrograph, Paramount MX. Guided with STL-11000’s internal guider, Focus with FocsMax and all controlled with CCD Commander. Acquistion, guiding and calibrationusing Maxim-DL. Registration, Integration and all other processing in PixInsight. Shot from my SkyShed in Guelph, Ontario. No moon. Average transparency and average seeing.
81x3mL, 12x10mL, and 10x3m R, G and B, all unbinned. (total 7hr 51m).
RGB
Creation and cleanup: The R, G and B masters were processed with DynamicBackgroundExtraction and combined with ChannelCombination. The resulting RGB image was cropped and processed with DBE, followed by BackgroundNeutralization and ColorCalibration.
Linear Noise Reduction: MultiscaleLinearTransform was used to reduce noise in the background areas of the RGB image. Layer settings for threshold and strength: Layer 1: 3.0, 0.5 Layer 2: 2.0, 0.39 Layer 3: 1.0, 0.25 Layer 4: 0.5, 0.1. The MLT internal mask was used to protect high signal areas.
Stretching: HistogramTransformation was applied to make a pleasing yet bright RGB image.
Synthetic Luminance
Creation and cleanup: The two L masters were each processed with DBE and then combined using the HDRCombination tool. After cropping to match the RGB frame, the HDR luminance and R,G and B masters were combined with ImageIntegration (average, no clipping) to make the SynthL.
Deconvolution: A copy of SynthL was stretched to use as a deconvolution mask. A star mask was made from unstretched SynthL to use as a local deringing support. Deconvolution was applied (80 iterations, regularized Richardson-Lucy, external PSF made using DynamicPSF tool with about 20 stars; local deringing at 80% and global dark deringing at 0.02).
Linear Noise Reduction: MultiscaleLinearTransform was applied to reduce the noise. Layer settings for threshold and strength: Layer 1: 3.0, 0.6 Layer 2: 2.0, 0.5 Layer 3: 1.0, 0.4 Layer 4: 0.5, 0.15. The MLT internal mask was used to protect high signal areas.
Stretching: HistogramTransformation was applied to make an image with similar brightness to the RGB image. TGVDenoise was applied and the image was re-stretched to reset the black point.
Combining SynthL with RGB:
The luminance channel of the RGB image was extracted, processed and then added back into the RGB image as follows:
1. Set RGB channels equal using RGBWorkingSpace.
2. Extract luminance from the RGB image.
3. Apply LinearFit using SynthL as the reference.
4. Use ChannelCombination in Lab mode to replace the RGB’s luminance with the fitted luminance from step 2.
5. LRGBCombine was then used to make a LRGB image using SynthL as the luminance channel.
Final Processing
A copy of the LRGB image was processed with HDRMultiscaleTransformation (6 pixel scale), and blended with the original 2:1. Contrast, brightness and saturation were adjusted in several iterations with the Curves tool, with separate adjustments for background and stars using masks.
Image scale is about 1.1 arcsec per pixel for this camera / telescope combination.
Leave A Comment