M53, Globular Cluster
 Click image for full size version
April 7, 2018
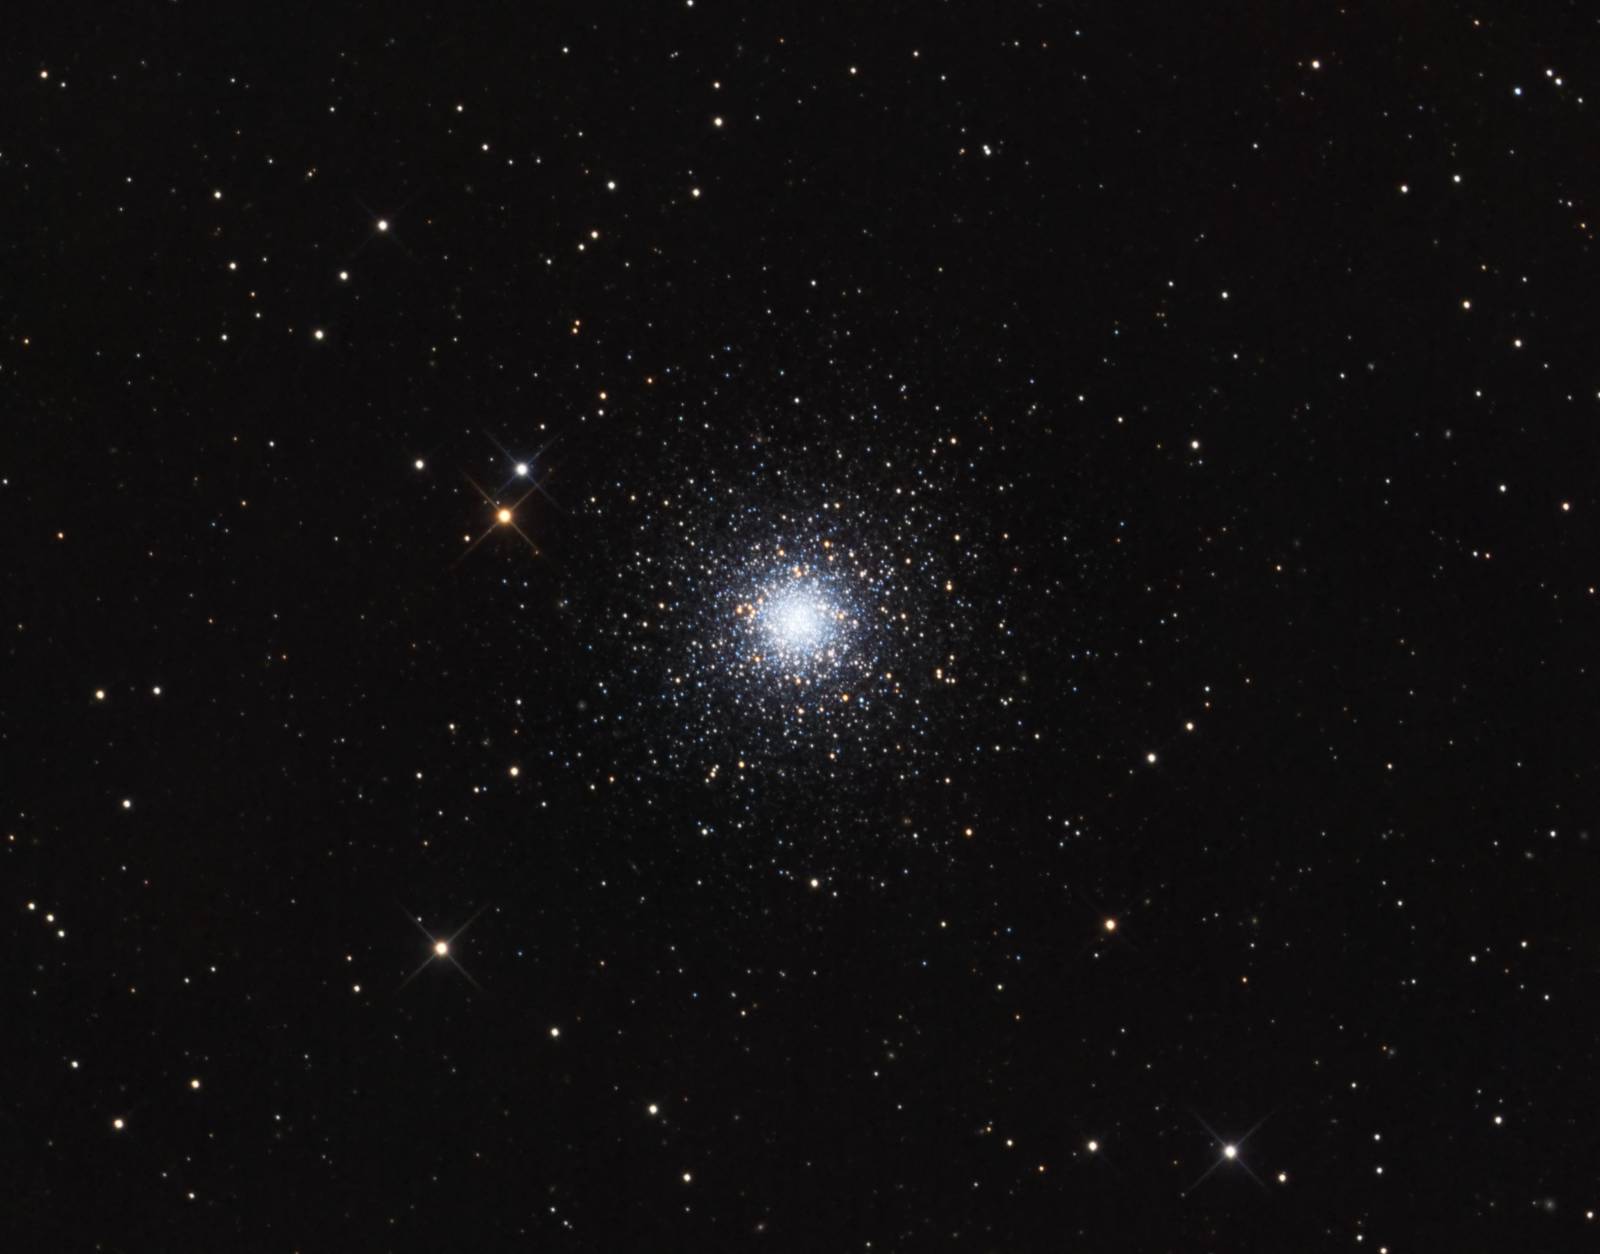
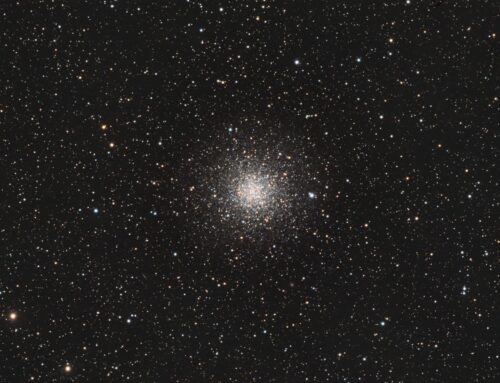
Globular cluster M53 is situated less than a degree from NGC5053 in Coma Berenices, and lies at a similar distance of about 60,000 light years. But M53 contains hundreds of thousands of stars, so looks much richer than its dim neighbour. For context, have a look at this wide-field shot of M53 and NGC 5053 together.
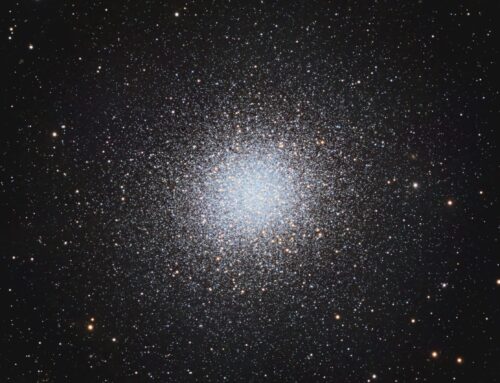
M53 has a mass more than 800,000 times that of the Sun. Even so, because it is relatively far from us it still looks considerably less rich than the brightest northern globulars, like M13. Look closely and you’ll see there are dozens of tiny galaxies throughout the field, too.
This image was captured and first posted in the spring of 2015. Now, almost three years later, I am re-posting with improved processing. I hope you enjoy it!
Tekkies:
SBIG STL-11000M camera, Baader RGB filters, 10″ f/6.8 ASA astrograph, Paramount MX. Guided with STL-11000’s external guider and 80 mm f/6 Stellar-Vue refractor. Acquisition and guiding with Maxim-DL. Focusing with FocusMax. Automation with CCDCommander. Calibration, cosmetic correction, registration, integration and all processing in PixInsight. Shot from my SkyShed in Guelph, Ontario. No moon, good to very good transparency and fair to average seeing throughout acquisition. Acquired May 21-24, 2014.
8x10m R, 12x10m G and 11x10m B unbinned frames (total=5hr10m).
Pre-Processing
The BatchPreProcessing script was used to perform calibration, cosmetic correction and registration of all frames. ImageIntegration was used to make R, G and B masters.
RGB Creation
Creation and cleanup: R, G and B were combined to make an RGB image which was cropped. DynamicBackgroundExtraction was applied, followed by PhotometricColorCalibration.
Linear Noise Reduction: MultiscaleLinearTransform was used to reduce noise. The linear mask feature was used to protect bright stars and brighter areas of the nebulae. Layer settings for threshold and strength: Layer 1: 3.0 0.7 Layer 2: 2.0, 0.50 Layer 3: 1.5, 0.25.
Stretching: ArcsinhStretch was applied to start the stretch while preserving saturation in the stars. HistogramTransformation was then applied to the RGB image to make a pleasing, bright image.
Stretching: HistogramTransformation was applied to make a pleasing, bright image.
Noise Reduction and Re-Stretch: TGVDenoise was applied in L*a*b* mode with 300 iterations with a range mask applied to protect stars. HistogramTransformation was then applied to raise the black point, darkening the background slightly (but with no clipping).
Synthetic Luminance
Creation and cleanup of SynthL: The three channel masters were integrated (average, noise weighted, no rejection) using ImageIntegration to create the SynthL.
Linear Noise Reduction: MultiscaleLinearTransform was used to reduce noise in the background areas. Layer settings for threshold and strength: Layer 1: 3.0 0.7 Layer 2: 2.0, 0.40 Layer 3: 1.5, 0.20.
Stretching: HistogramTransformation was applied to the SynthL to make a pleasing, bright image.
Noise Reduction and Re-Stretch: TGVDenoise was applied in L*a*b* mode with 300 iterations with a range mask applied to protect stars. This was followed by an application of HistogramTransformation to raise the black point (but with no clipping).
Combining SynthL with RGB
LRGBCombine was used to apply the SynthL to the RGB.
Additional Processing
Background and star brightness, contrast and saturation were adjusted in several iterations using Curves with masks as required.
Image scale is about 1.1 arcsec per pixel for this camera / telescope combination.

Leave A Comment