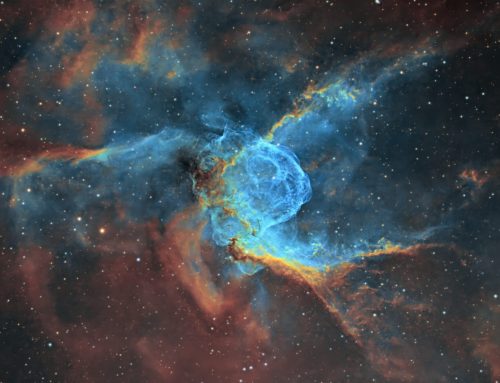
NGC 6543, The Cat’s Eye Nebula
 Click image for full size version
July 17, 2024
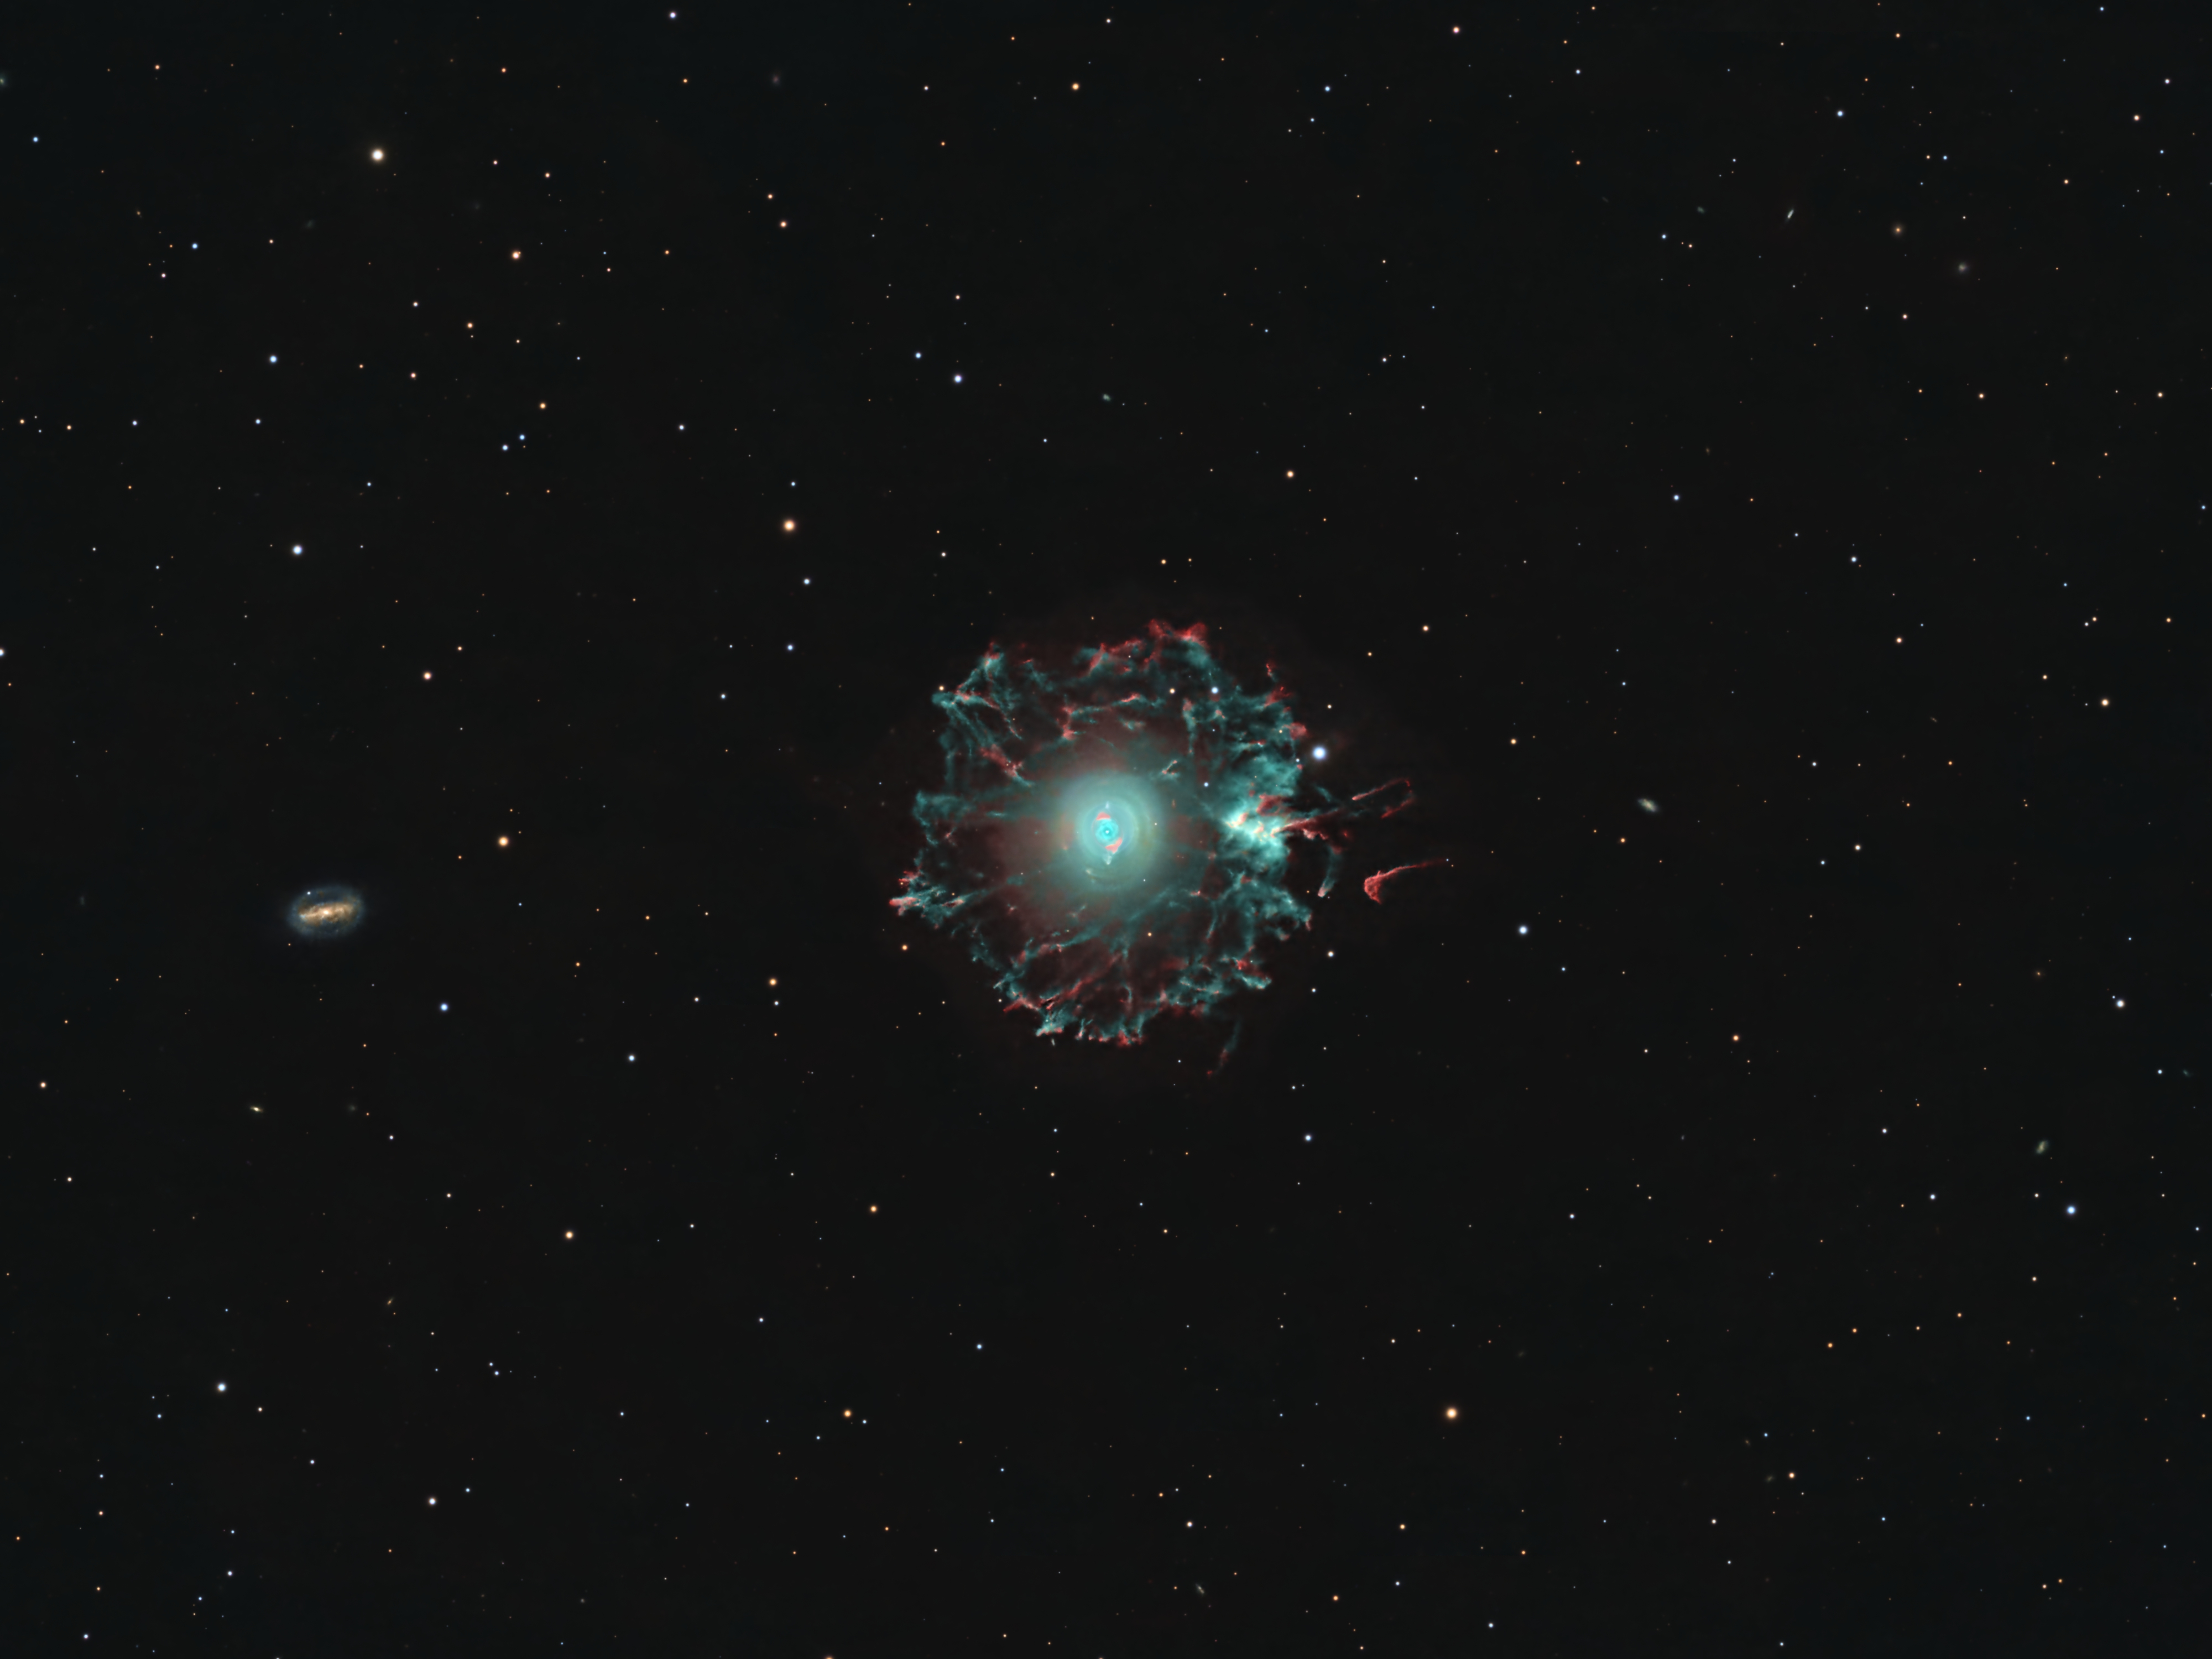
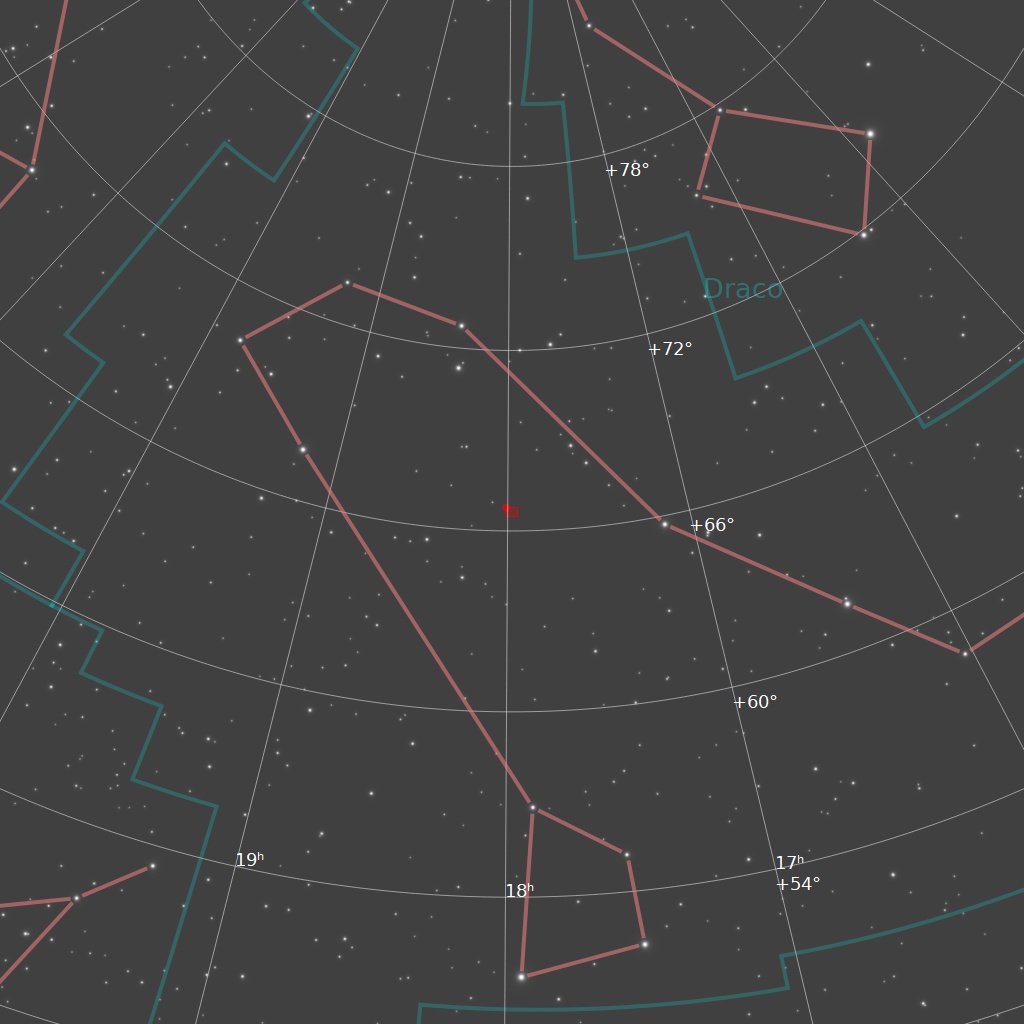
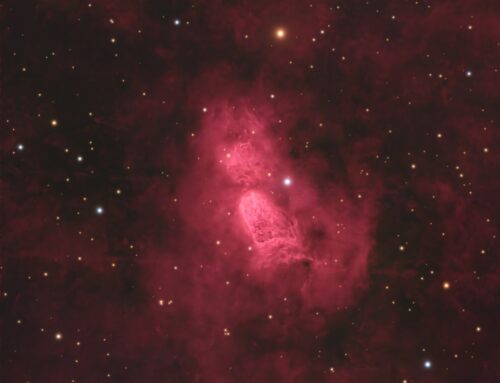
NGC 6543 is often called the Cat’s Eye Nebula, giving a nod to its appearance in the eyepiece and some images. Most images show just the central region of this object. I acquired nearly 24 hours on it to bring out the filamentary structure outside the central area. It was a real challenge to process because of the extremely bright core and very dim outer shell. NGC 6543 lies in the consellation Draco the Dragon about 3,000 light years from us. The core is just 20 arcsec across, which is small even for the large telescope I am using. The halo is about 15 times larger, and represents gasses that were ejected during the central star’s Red Giant phase in the distant past.
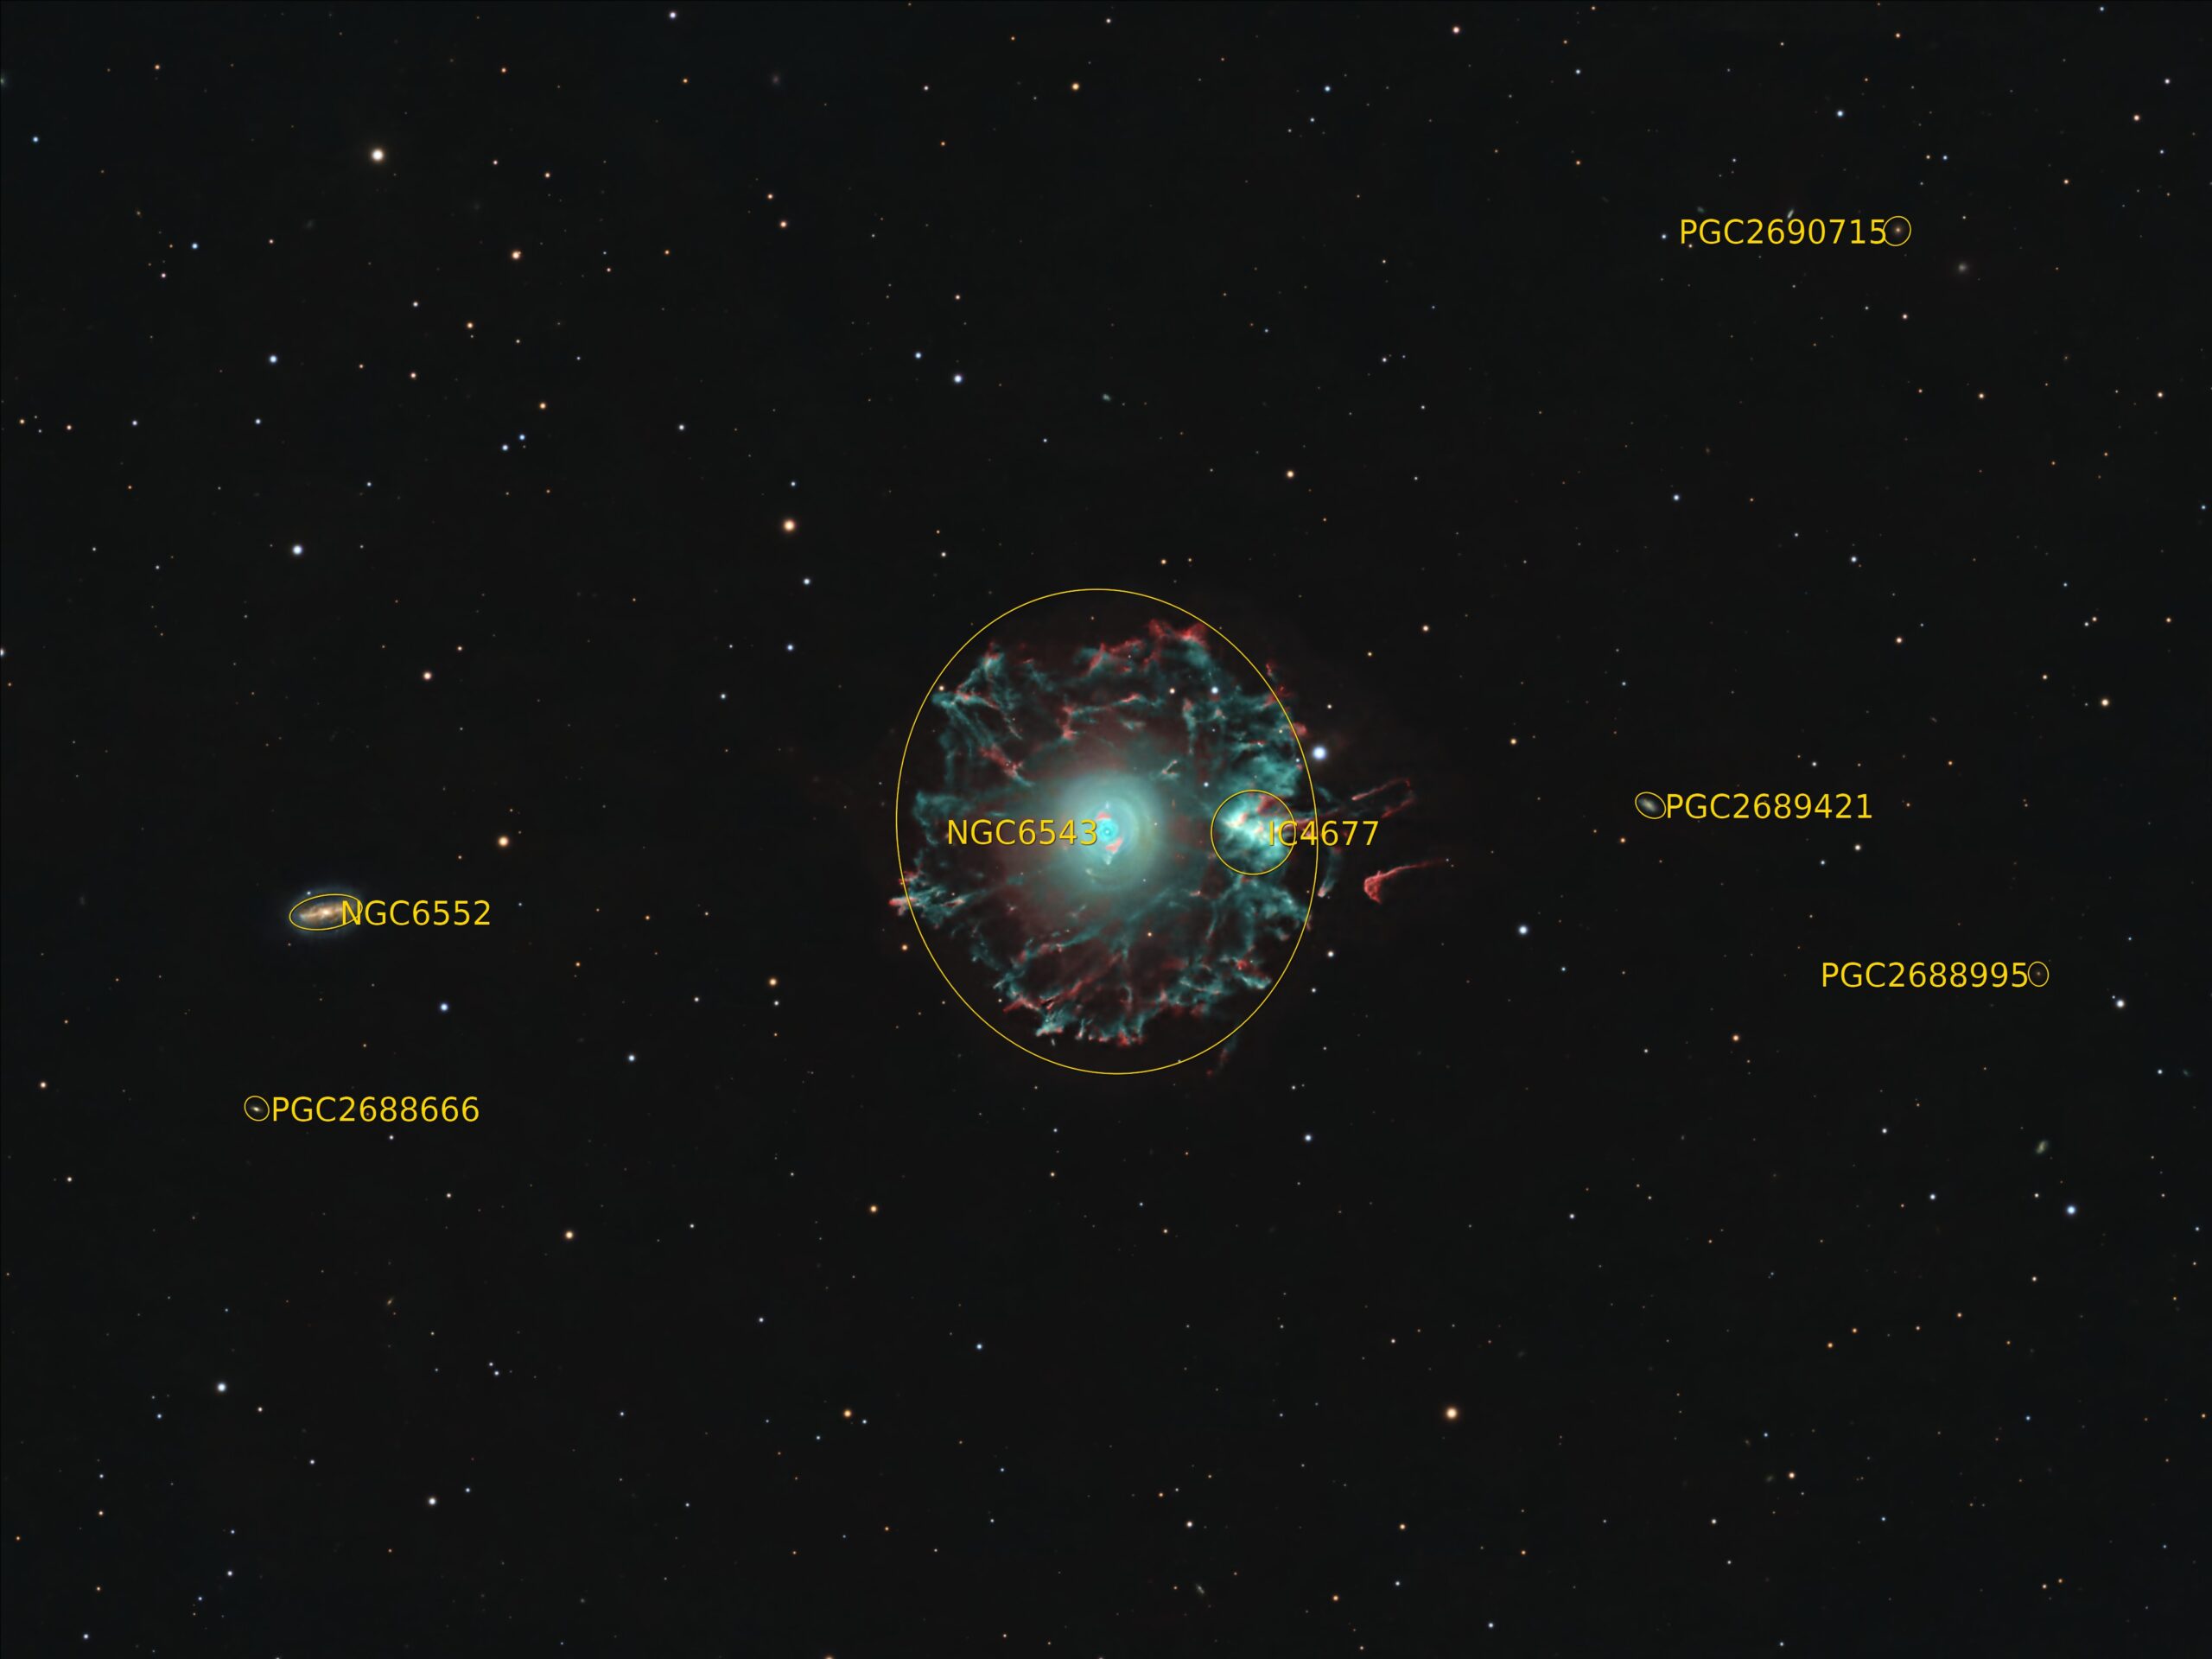
In addition to the nebula, there are a few nice galaxies peppered throughout the field. The most prominent is NGC 6552, a barred spiral galaxy that almost appears to have a ring. It is about 350 million light years away – more than 115,000 times further than the Cat’s Eye.
Tekkies:
Acquisition, focusing, and control of Paramount MX mount with N.I.N.A., TheSkyX and PHD2. Primalucelab low-profile 2″ Esatto focuser and ARCO rotator. Flats taken with Primalucelab GIOTTO 430mm flat panel. Equipment control with Primalucelab Eagle 4 Pro. All pre-processing and processing in PixInsight. Acquired from my SkyShed in Guelph. Average transparency and average seeing. Data acquired June 16 to July 2, 2024 under moderate to severe moonlight.
Celestron 14″ F/11 EDGE HD telescope at f/11 (3,912 mm focal length) and QHY600M camera binned 2×2 with Optolong filters (3nm for narrowband).
80x1m Red = 1hr20m
79x1m Green = 1hr19m
79x1m Blue = 1hr19m
116x5m Ha = 9hr40m
111x5m O3 =9hr15m
65x1m O3 = 1hr05m
Total: 23hr 58m
Preprocessing: The WeightedBatchPreProcessing script was used to perform calibration, cosmetic correction, weighting, registration, local normalization and Drizzle integration of all frames. For the O3,two separate masters were made from the 60s and 300s exposures. The two O3 masters were combined using HDRComposition to make the final O3 master used in all subsequent steps.
Colour master: A colour master was made from the Red, Green and Blue masters using ChannelCombination in RGB mode.
Narrowband master: A narrowband master was made from the the Ha and O3 masters using ChannelCombination in RGB mode, assigning Ha to red and O3 to green and blue. This image was very slightly stretched to reveal just the innermost region of the nebula. Saturation was applied using Curves. Stars were removed with StarXterminator and discarded.
Gradient Removal: DynamicBackgroundExtraction was applied to the RGB, Ha and O3 masters.
Colour Calibration: SpectrophotometricColorCalibration was used to calibrate the RGB master.
Deconvolution: BlurXterminator was used on the Ha, O3, and RGB masters with Automatic psf , and star sharpening set to 0.5.
Linear Noise Reduction: NoiseXterminator was applied to the Ha, O3, and RGB images with settings Amount=0.9 and Detail=0.15
Star Removal: StarXterminator was used to remove the stars from all images, with Unscreen Stars and Large Overlap checked for the RGB image. Stars-only images were not created from the Ha and O3 masters.
Stretching: HistogramTransformation was applied to the Ha, O3, and RGB masters to make a pleasing image. Approximate background level after stretch was 0.10.
Nonlinear Processing
Addition of Ha and O3 to RGB: The NBRGBCombination script was used to combine the Ha and O3 with the RGB.
Nonlinear Noise Reduction: NoiseXterminator was used to reduce noise in the background areas of the image with settings Amount=0.9 and Detail=0.2
Re-stretch: HistogramTransformation was used to boost contrast by moving the dark point to the toe of the histogram and slightly decreasing the mid-point slider.
Blending HaO3RGB master with HOO master: The HOO master showing only the core of the nebula was blended into the overexposed regions of the HaO3RGB master using PixelMath. A blurred range mask made with RangeSelection was used to make the blend look natural.
Contrast Enhancement: LocalHistogramEqualization was applied twice using a mask to select the entire nebula and the prominent galaxy. A Contrast Limit of 1.5 and 1 iteration was used for each LHE application (scale 40, strength 0.35; scale 120, strength 0.35).
Sharpening: The mask used for LHE was used for sharpening with MultiscaleMedianTransform (Layers 1 – 5 with strengths of 0.01, 0.1, 0.1, 0.05, and 0.01, respectively).
Stars-only steps: Stars were stretched with HistogramTransformation. A mask was made by extracting the Luminance from the stars-only image. CurvesTransformation was used to add saturation to the stars through the mask using the Saturation tool. The brightest stars were then removed from the mask using the CloneStamp tool and further colour added to the smaller stars using another pass of CurvesTransformation.
Star Restoration: PixelMath expression combine(starless, stars, op_screen()) was used to combine the starless and stars-only images created with StarXterminator.
Final Steps: Background, nebula and star brightness, contrast and saturation were adjusted in several iterations using CurvesTransformation with masks as required. ICCProfileTransformation (sRGB IEC61966-2.1; Relative Colorimetric with black point compensation) was applied prior to saving as a jpg. The finder chart was made using the FindingChart process. The annotated image was made with the AnnotateImage script.


A great image of a very challenging target.
Thank you!