
Celestron Origin Mark II First Light
Click images for full size versions
August 19, 2026
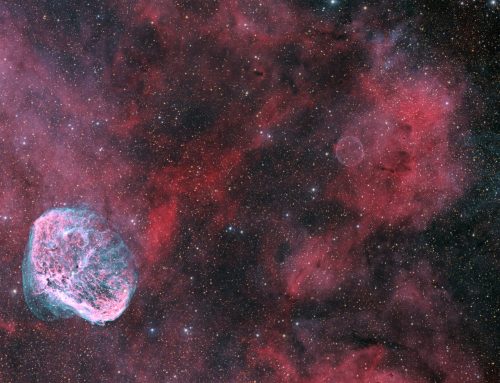
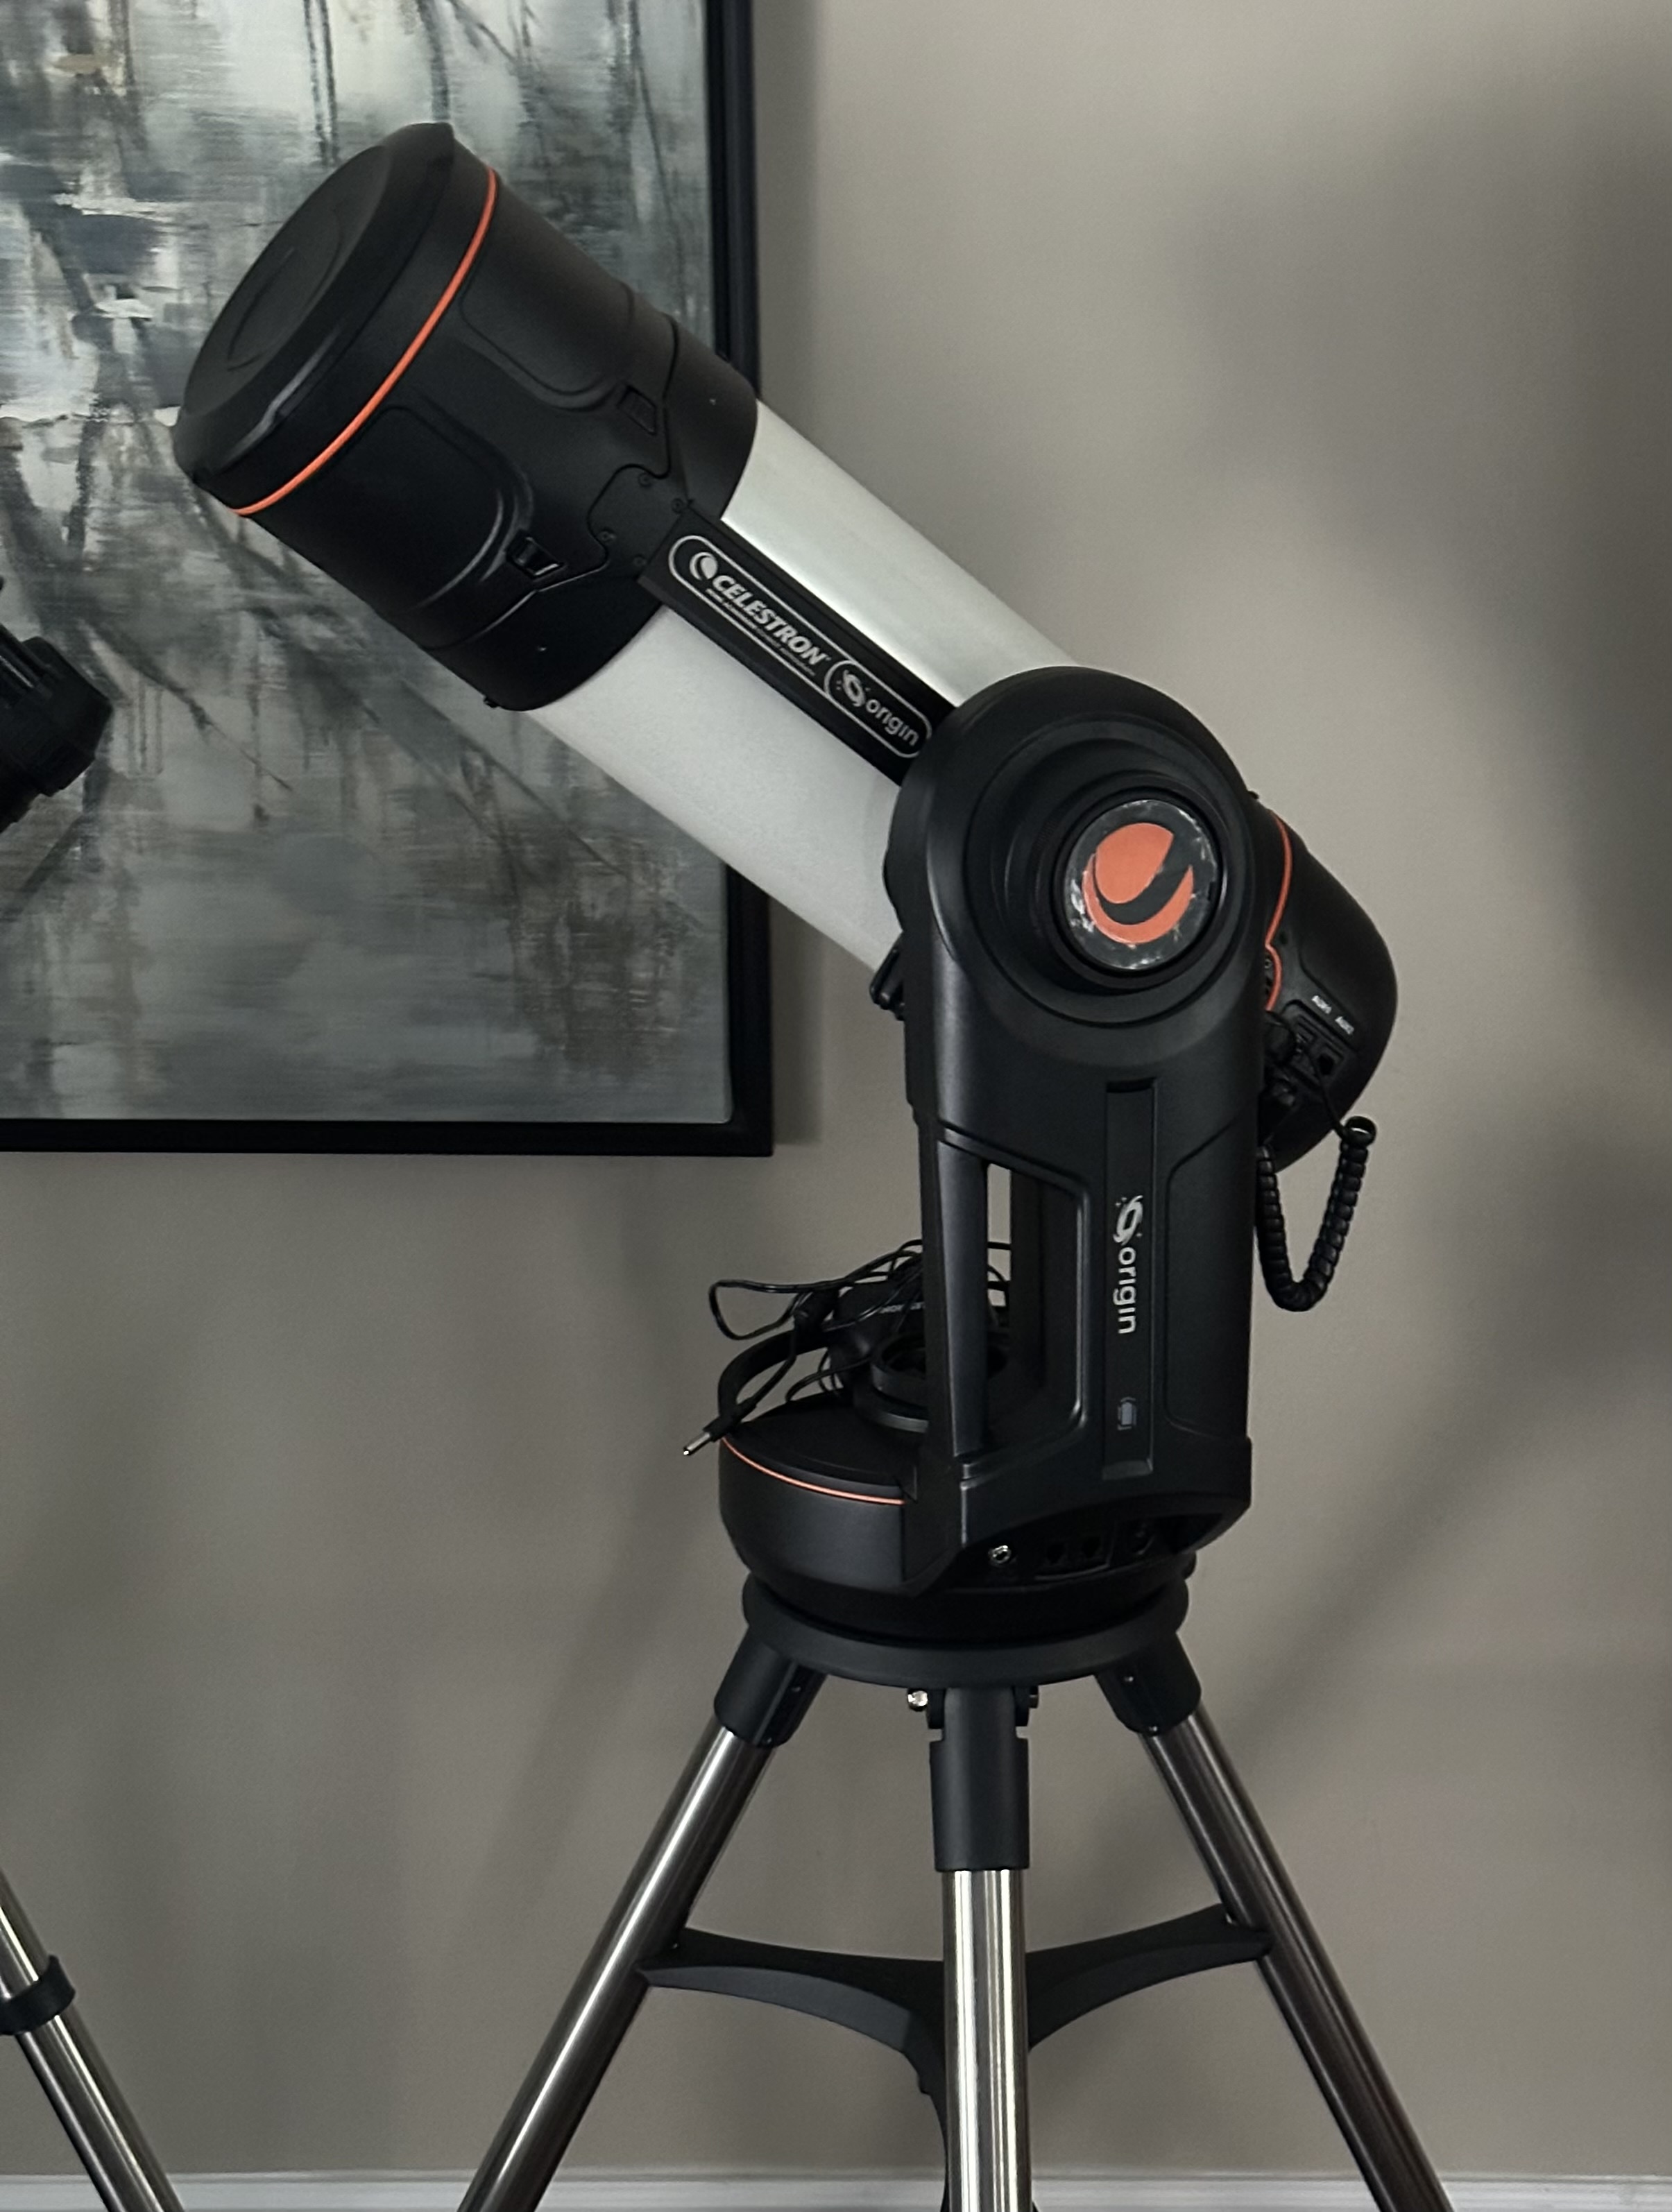 Celestron has kindly loaned me a Celestron Origin Mark II ‘Intelligent Home Observatory’ to use for a while. I had first light with it on August 17. It took about five minutes to assemble the three main parts (tripod, mount and optical tube) and about two minutes more to level it, plug it in and turn it on. I have a wedge and autoguider for the Origin, but didn’t use them for this initial test of the system.
It was incredibly easy to get good results quickly. Here’s a summary of what I did.
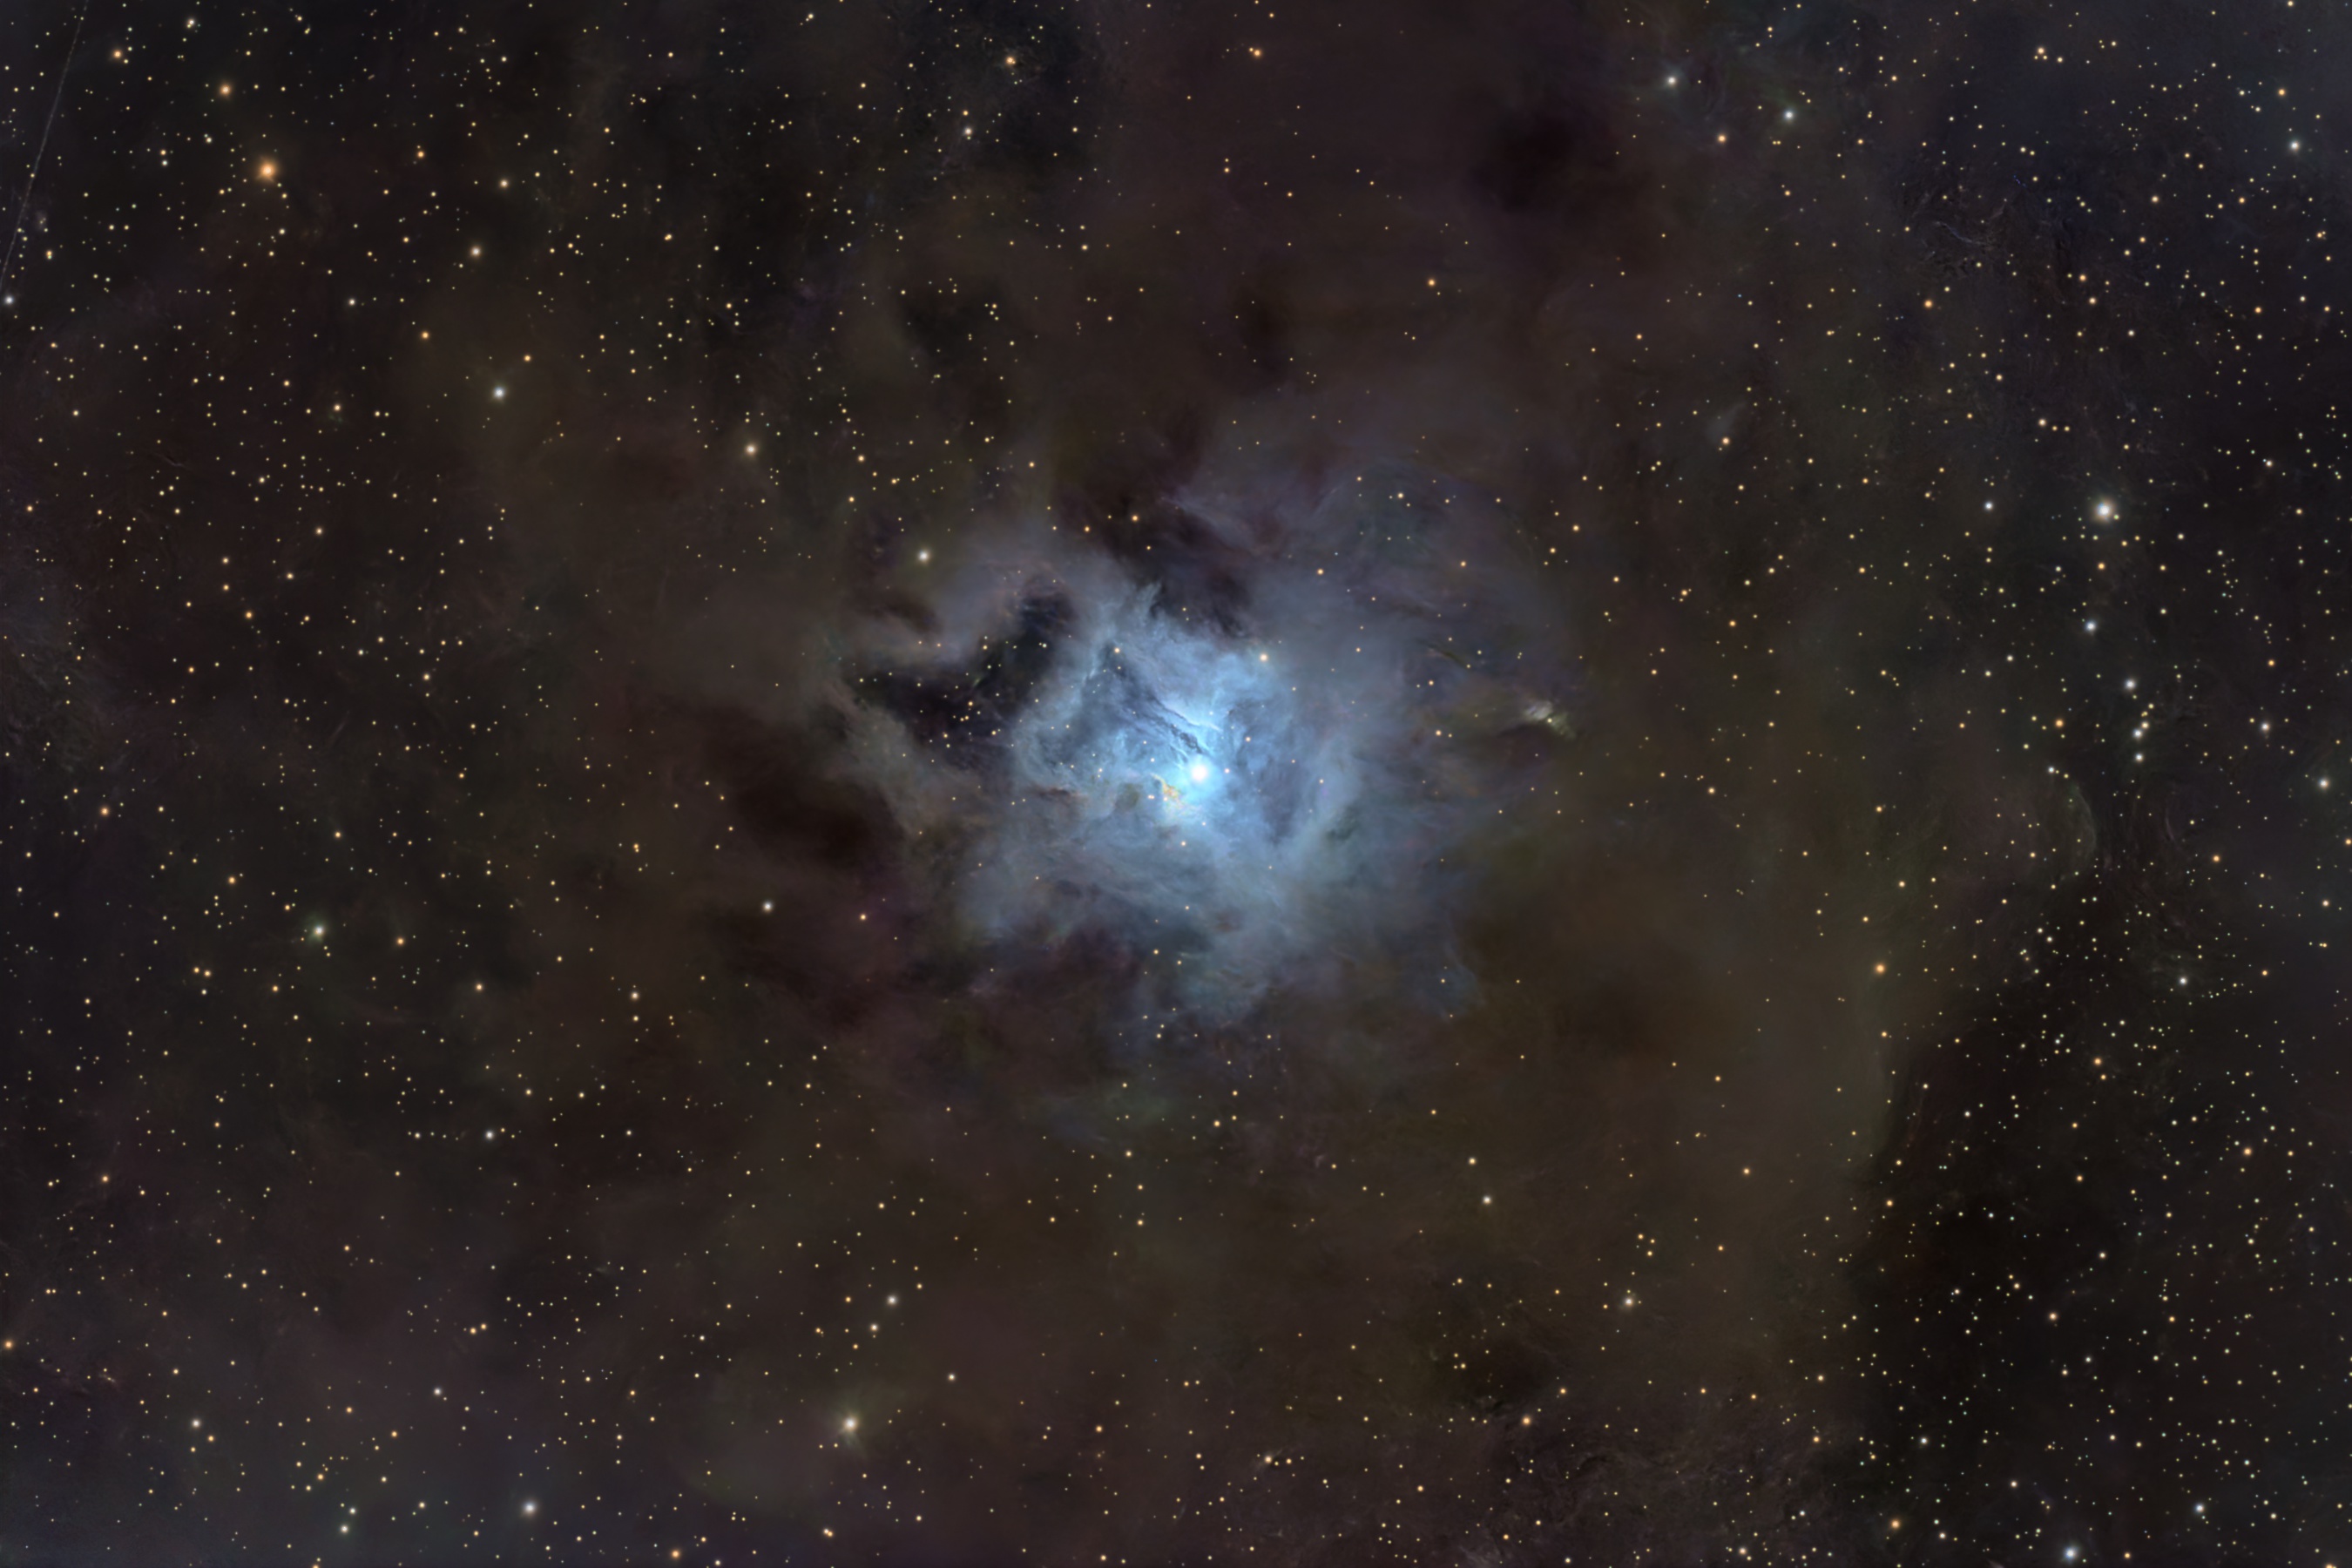
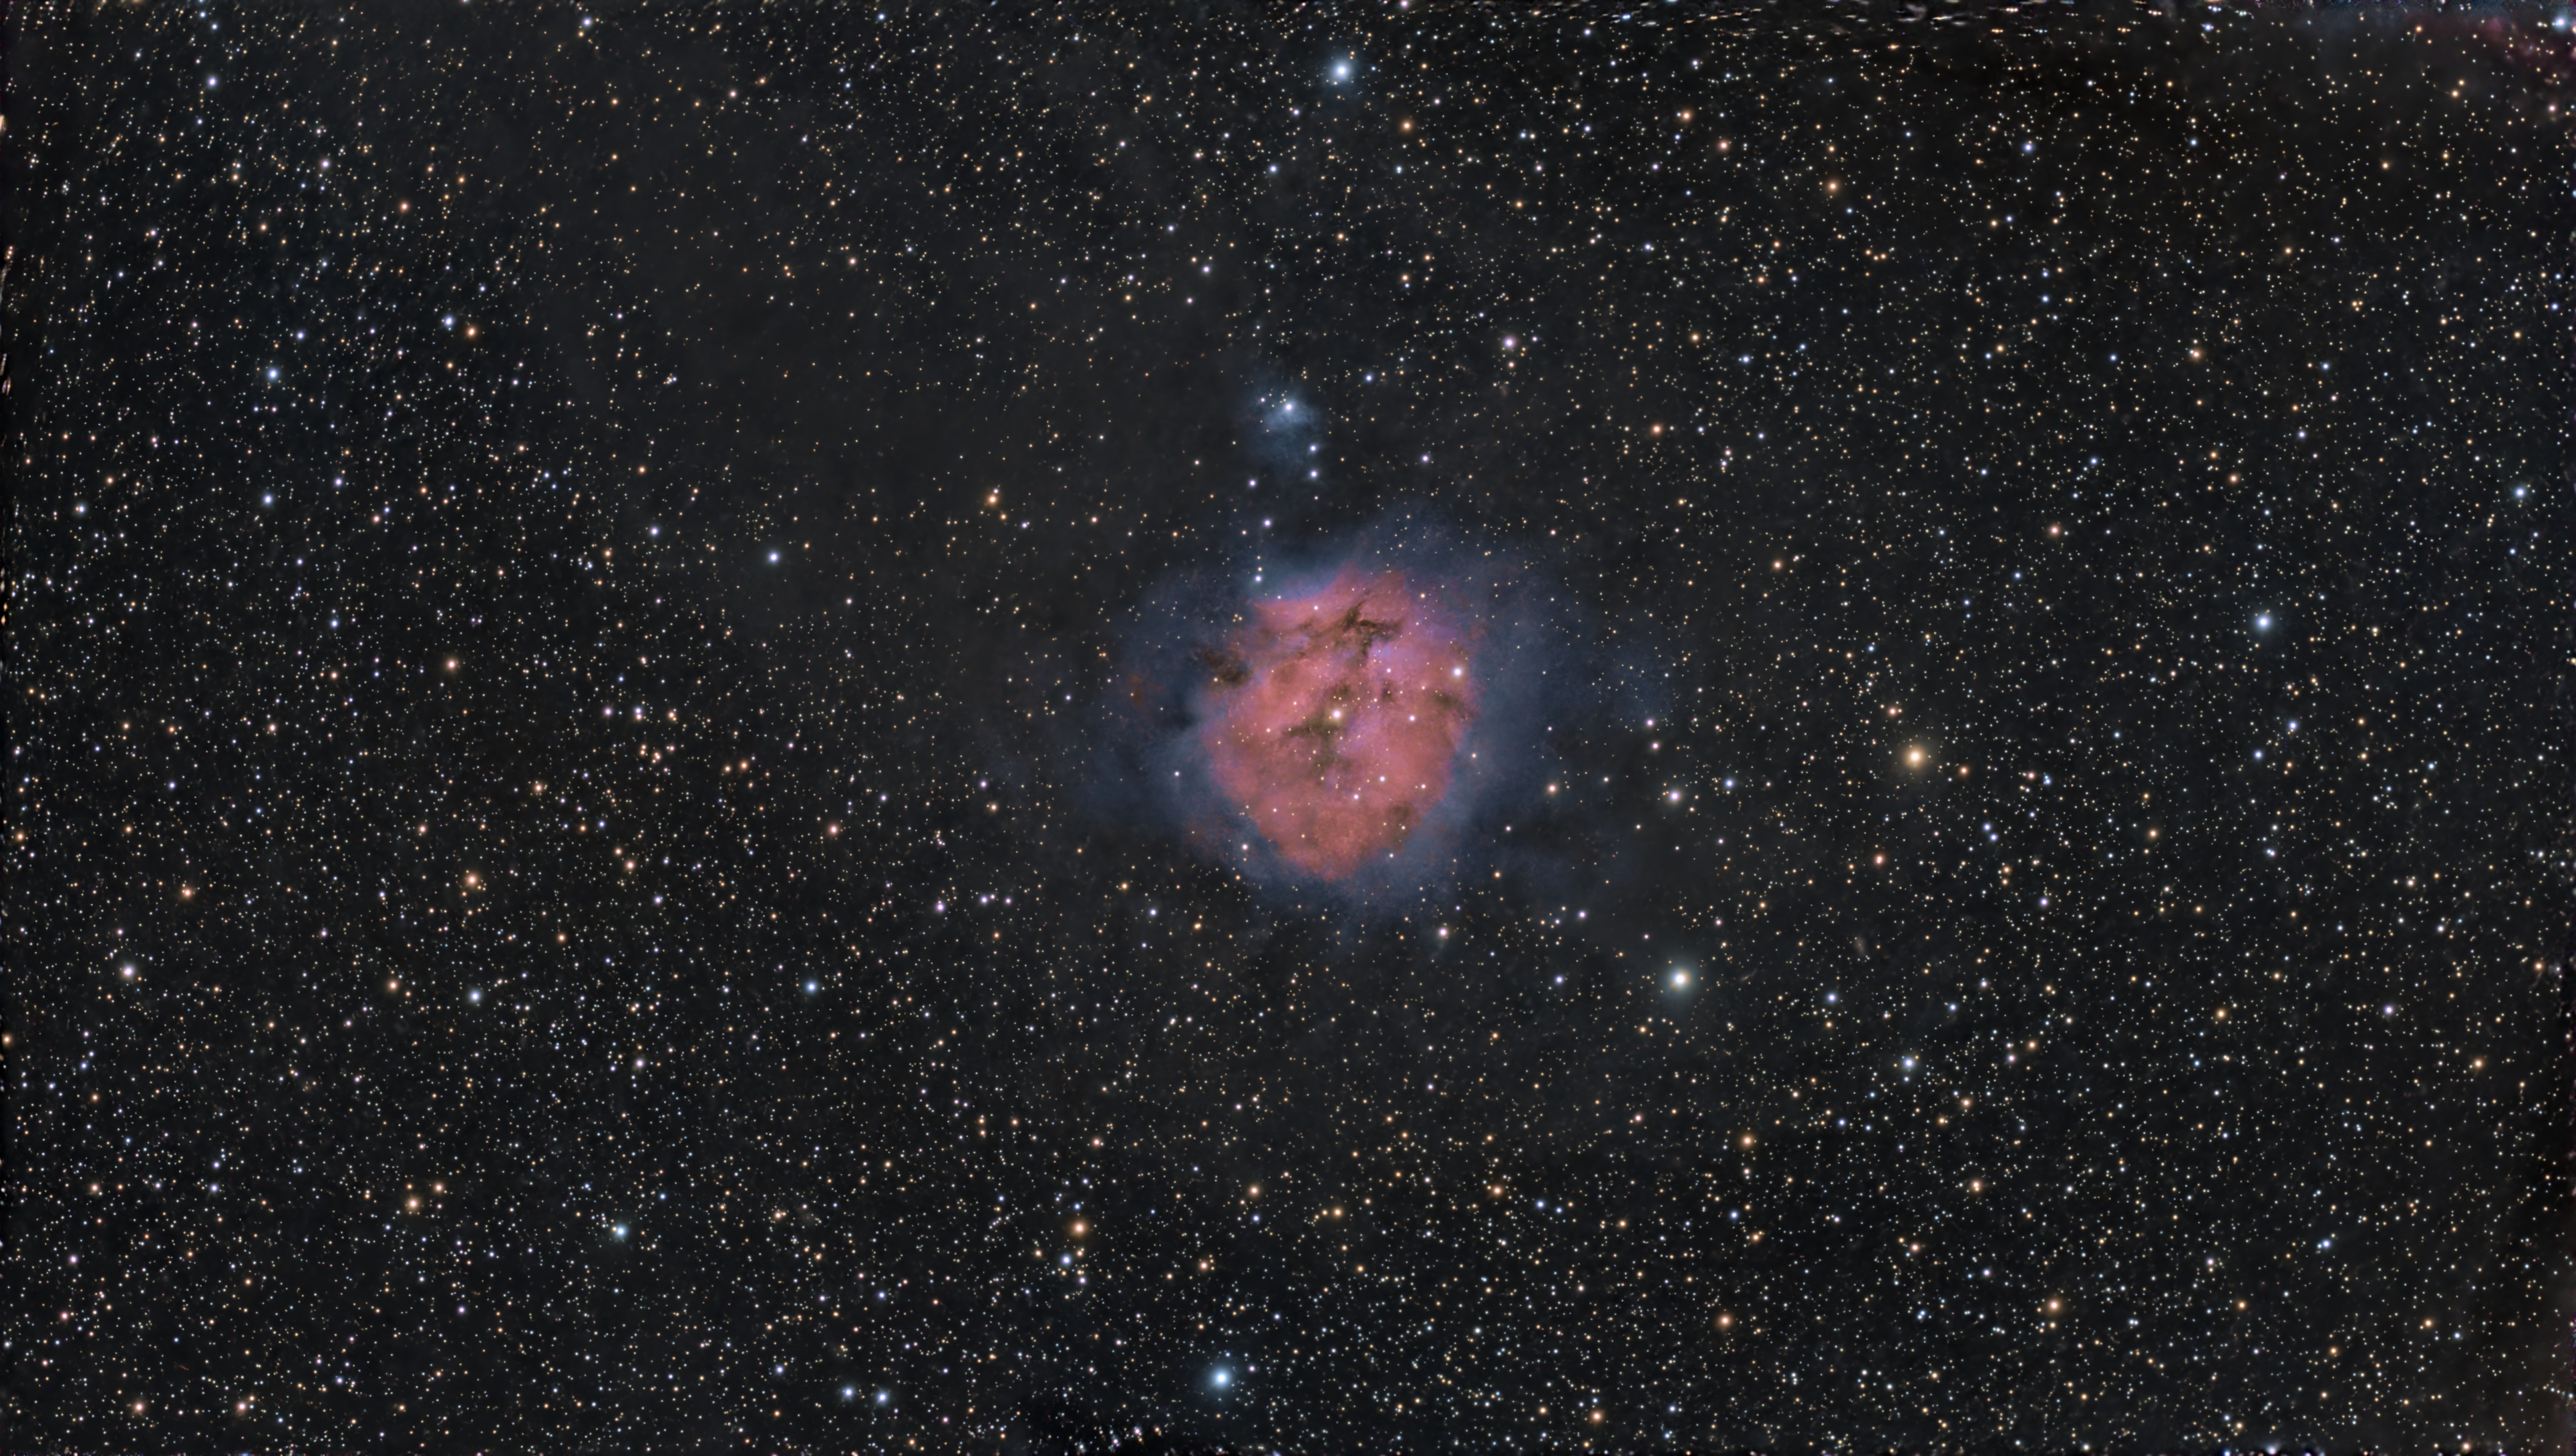
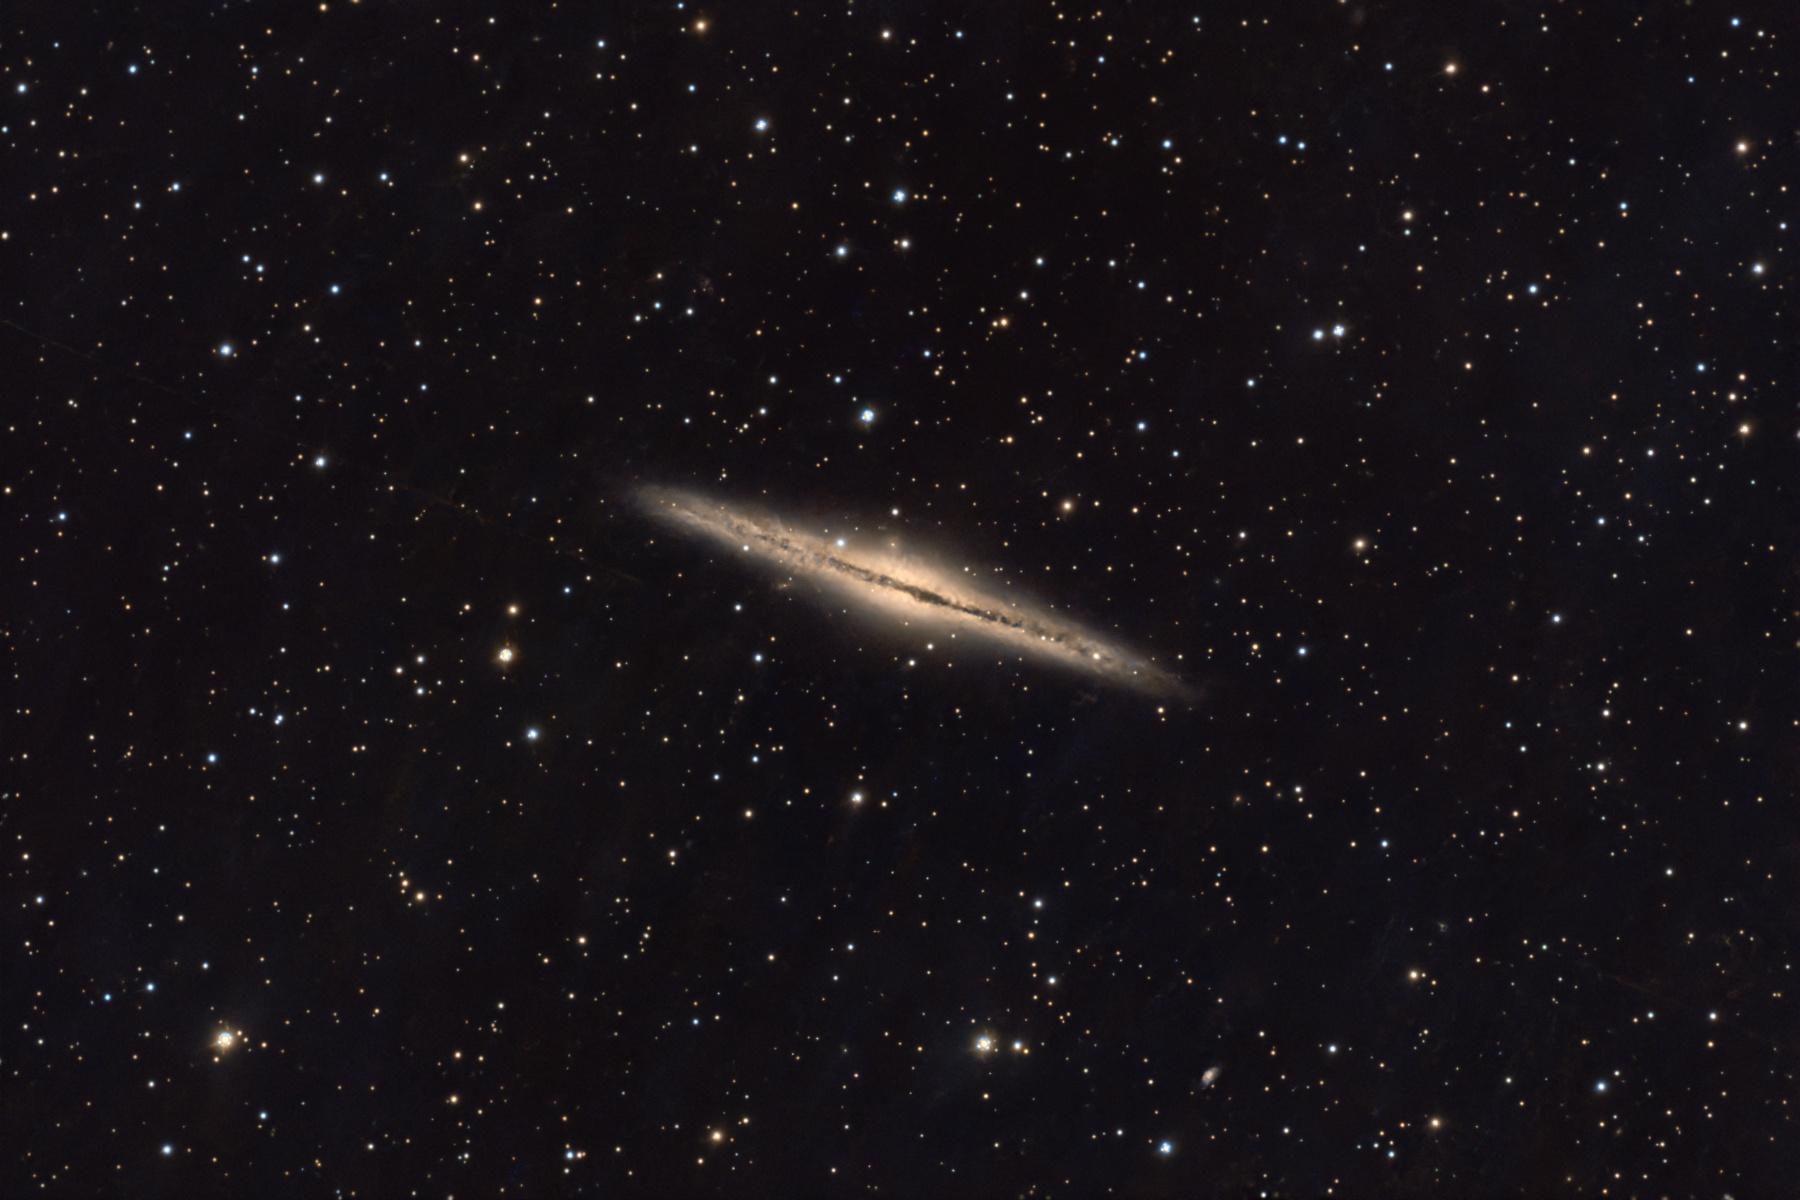
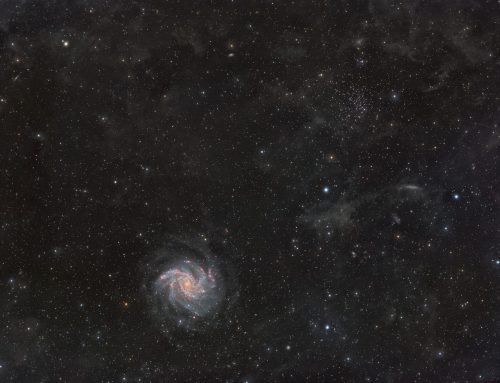
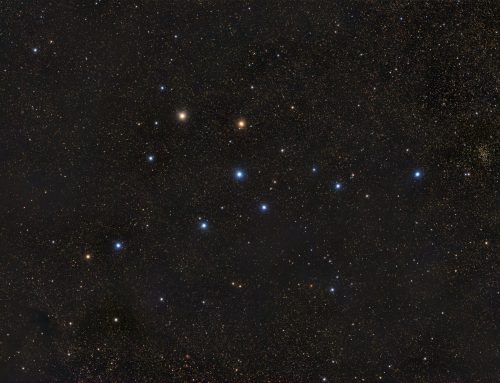
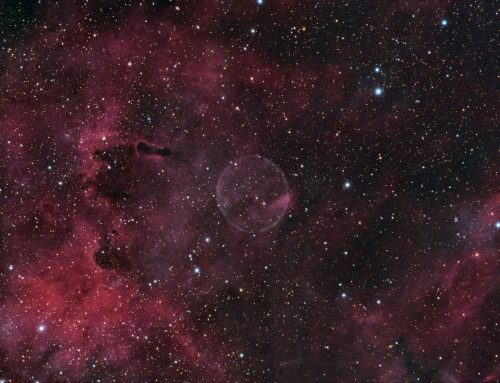
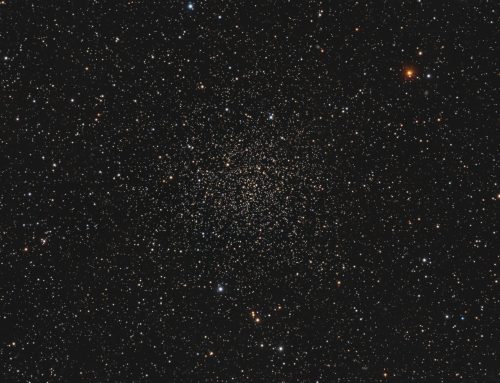
During the day, I used my iPad to connect to the Origin through the Celestron Origin app, and then connected Origin to my home network. In the app, I created a target list calling for 10-second exposures totalling 27m on the Iris Nebula, 20m on the Cocoon Nebula, and 40m on galaxy NGC 891. I set up Origin to refocus on target changes, and when the temperature decreased by 1C.
Once it was dark I ran the initialization routine (I pressed a button in the app on my iPad). Then I started the session I had planned earlier. I let Origin do the calibration and stacking, but turned off all the Origin’s processing options. Origin produced a single, unprocessed TIF file for each target. I then processed the three images in PixInsight.
First Impressions:
So what did I think of it? The results are really impressive for such short exposure times. I found the data to be smooth, the stars round and tight, and the image data easy to work with. That speaks to the photographic speed (f/2.2) and high quality of the RASA optics and the sensor. The system is photographically really fast. It doesn’t take long to gather enough data for deep, detailed images such as the ones shown here. The image scale is 1.48″ per pixel. That is a bit undersampled and would benefit from Drizzle processing, which I will do in the future. I will definitely use this scope for outreach so people can see near-real-time images of deep sky objects that would not be visible to them in an eyepiece.
The Origin’s price is definitely at the top of the ‘smart telescope’ category. But I think that’s because it’s one of, or maybe the, largest aperture smart telescope out there, and because it has high-quality components. The RASA optics obviously contribute to the cost. In terms of value, I’d say it is excellent value for money. The cost is in the same ball park as a traditional imaging system with a mount, small refractor, camera and filters. But the Origin is much easier to set up and use, and gives good images with short exposures.
I will soon add the equatorial wedge and StarSense autoguider to the Origin and try an all-night exposure on a single faint target. The wedge, once properly aligned, will elminate the field rotation that limits me to about 40m right now. Another thing I will get to soon is saving individual calibrated frames and stacking them myself. However, for now, Origin appears to have done a great job with those tasks in this test.
I became familiar with the app quickly. Celestron has told me they are adding new capabilities to the Origin/app in the near future, like a mosaic function. I’ll test that when it is available.
Tekkies:
Acquisition, focusing, and preprocessing by Celestron Origin. 10-second unguided exposures acquired under good transparency and seeing in a moonless sky on August 17, 2026. All exposures were 10s. Total exposure times:
20m for Cocoon Nebula
27m for Iris Nebula
40m for Galaxy NGC 891
Gradient Removal: DynamicBackgroundExtraction was applied to remove gradients.
Colour Calibration: ColorCalibration was applied to the RGB master.
Deconvolution: BlurXterminator was applied to the RGB master with Automatic psf , star sharpening set to 0.5, and non-stellar set to 0.9.
Linear Noise Reduction: NoiseXterminator was applied with settings Amount=0.9 and Iterations=4.
Stretching: MultiscaleAdaptiveStretch was applied to make a pleasing image with background brightness approximately 0.1.
Nonlinear Processing
Star Removal: StarXterminator was used to remove the stars from the master, with default settings, except Large Overlap was selected and halos were decreased by 10% (0.1). The stars-only image was retained.
Nonlinear Noise Reduction: NoiseXterminator was applied to the starless image with Amount=0.9 and Iterations = 4.
Re-stretch: HistogramTransformation was used to boost contrast in the starless image by moving the dark point to the toe of the histogram and slightly decreasing the mid-point slider.
Contrast, Brightness and Colour: Brightness, contrast, and saturation were adjusted in several iterations using LocalHistogramEqualization and CurvesTransformation.
Stars-only steps: The CIE L* channel (i.e. the lightness channel) was extracted from the stars-only image and then applied to the star image as a mask. CurvesTransformation’s Saturation slider was used to boost colour in the stars.
Star Restoration: The PixelMath expression combine(starless, stars, op_screen()) was used to combine the starless starless image with the stars-only image.
Final Steps: Background, object, and star brightness and saturation were adjusted in several iterations using CurvesTransformation with masks as required. ICCProfileTransformation (sRGB IEC61966-2.1; Relative Colorimetric with black point compensation) was applied prior to saving as a jpg.

Leave A Comment