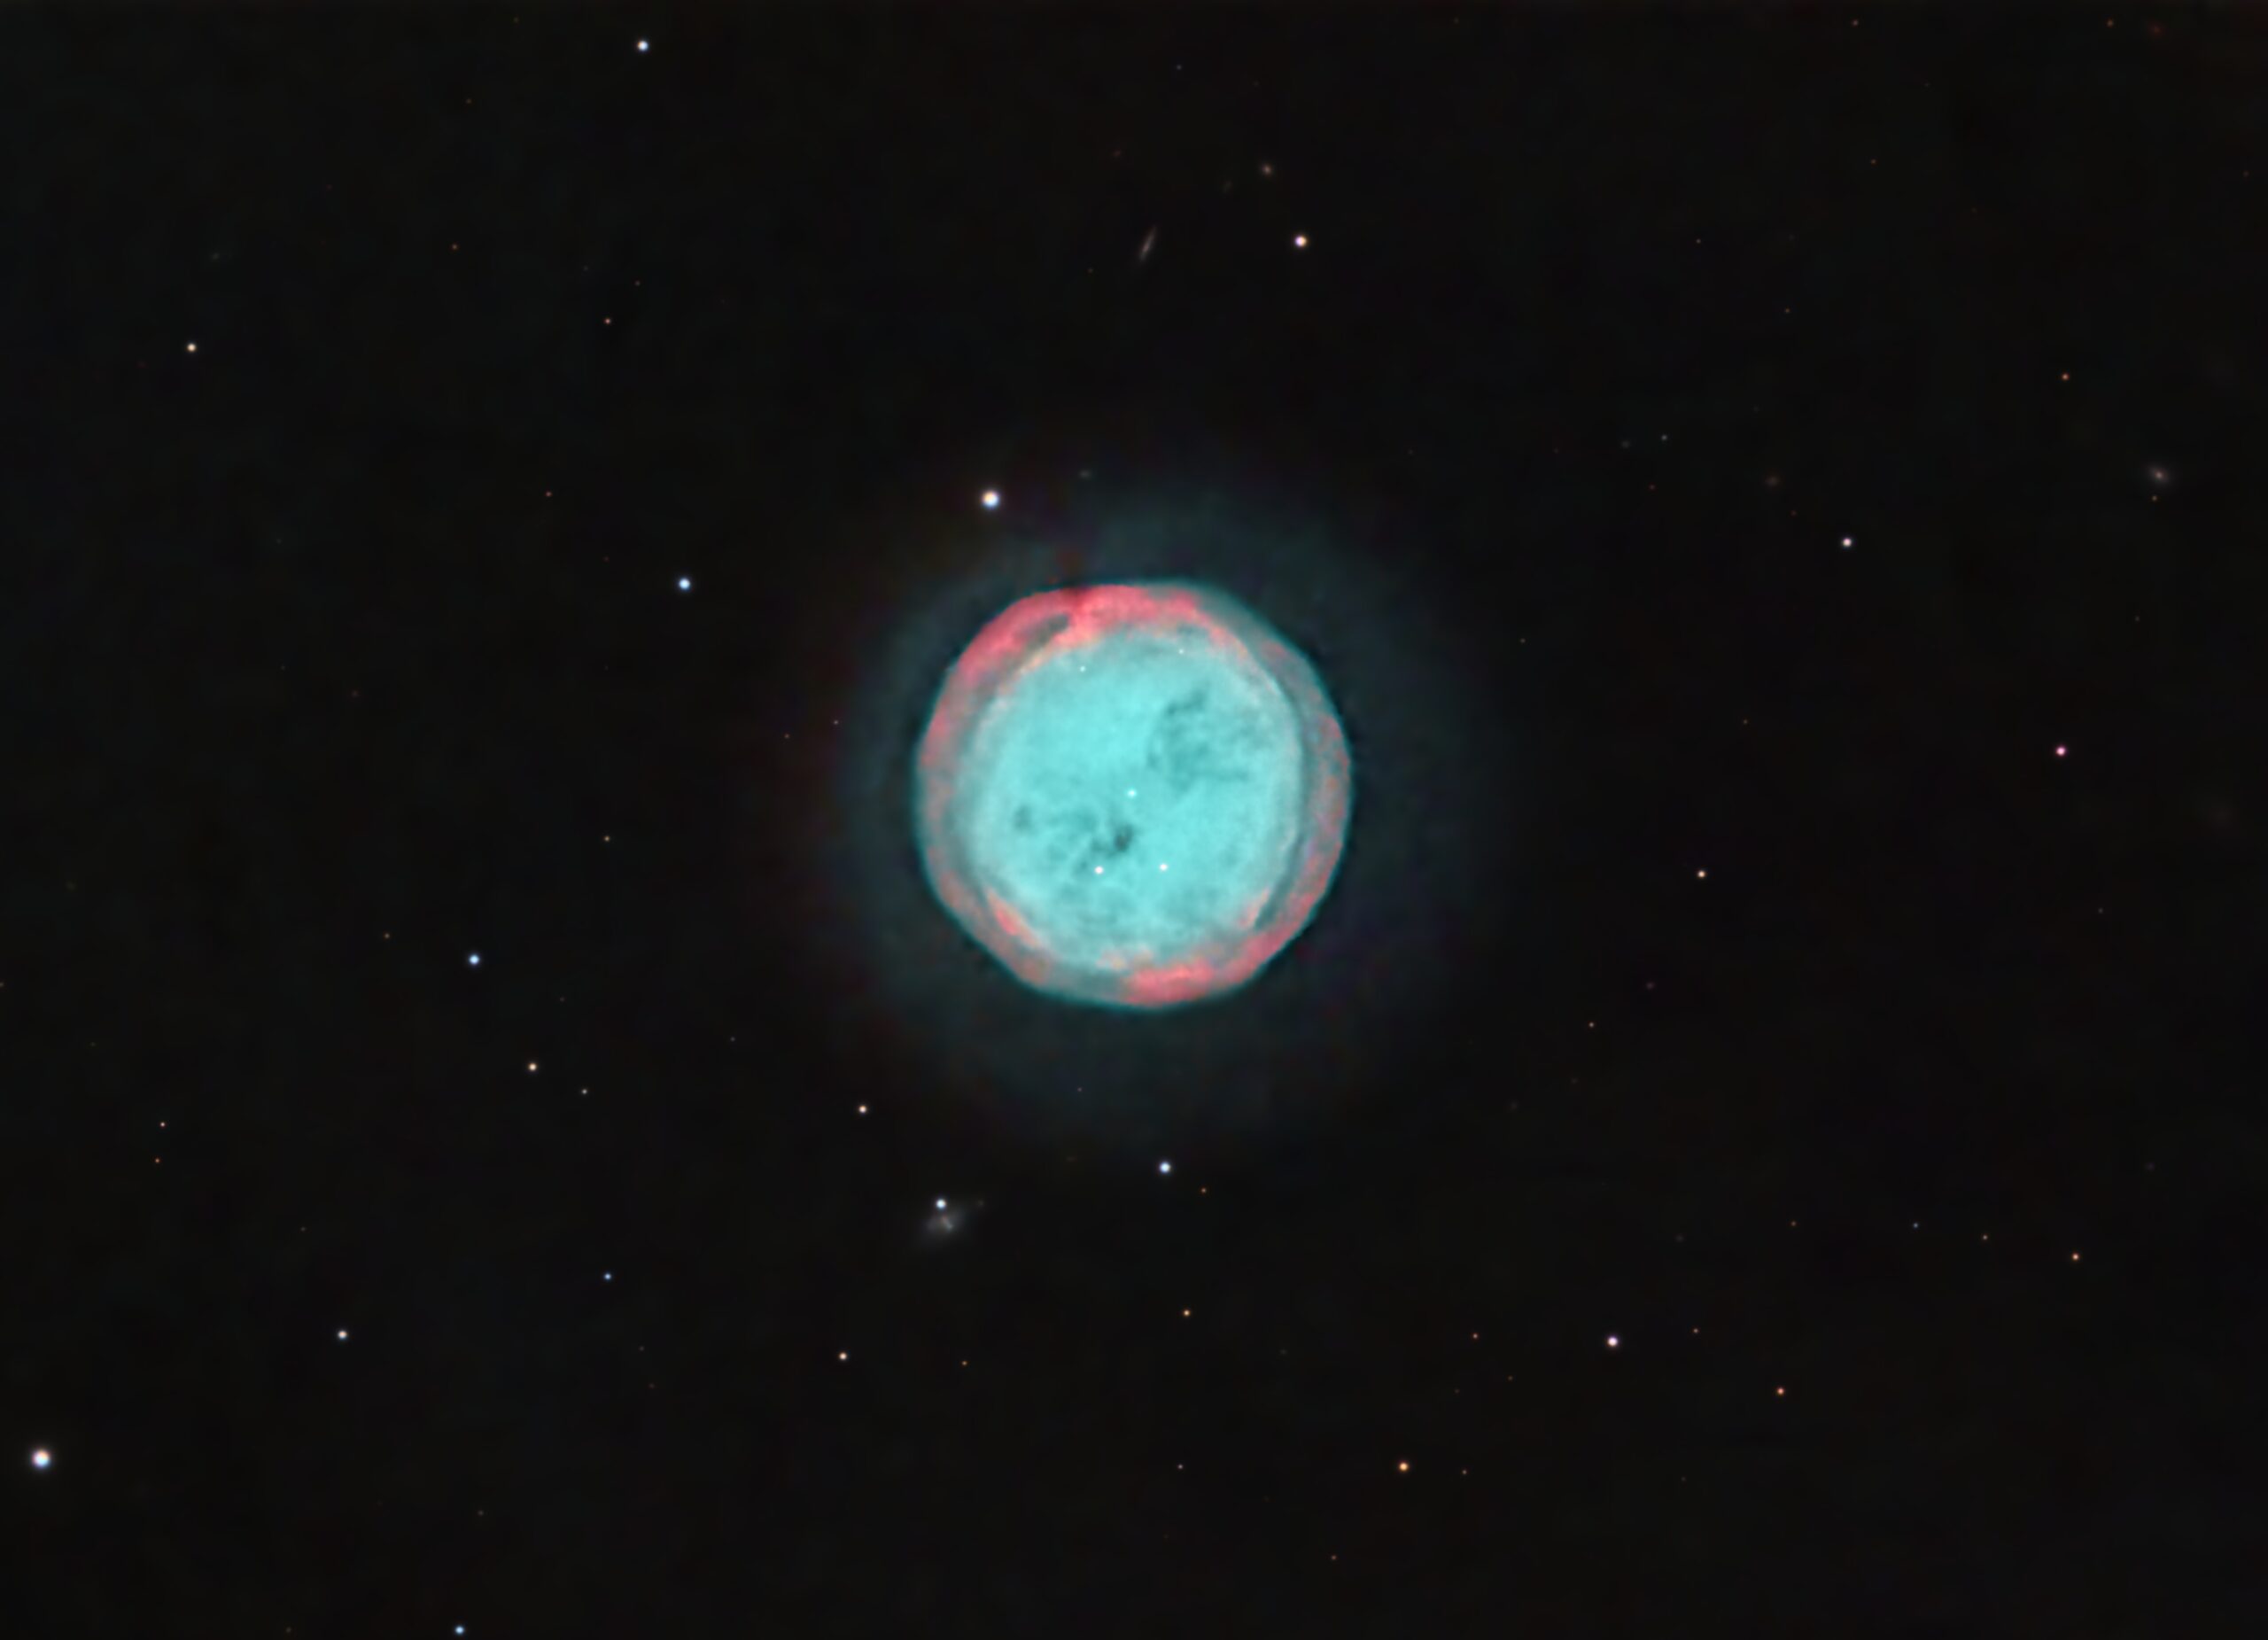
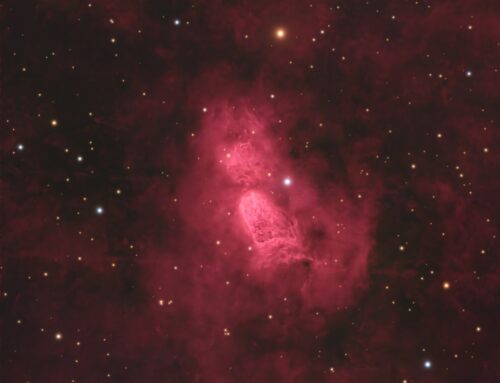
M97, The Owl Nebula
 Click image for full size version
June 3, 2024
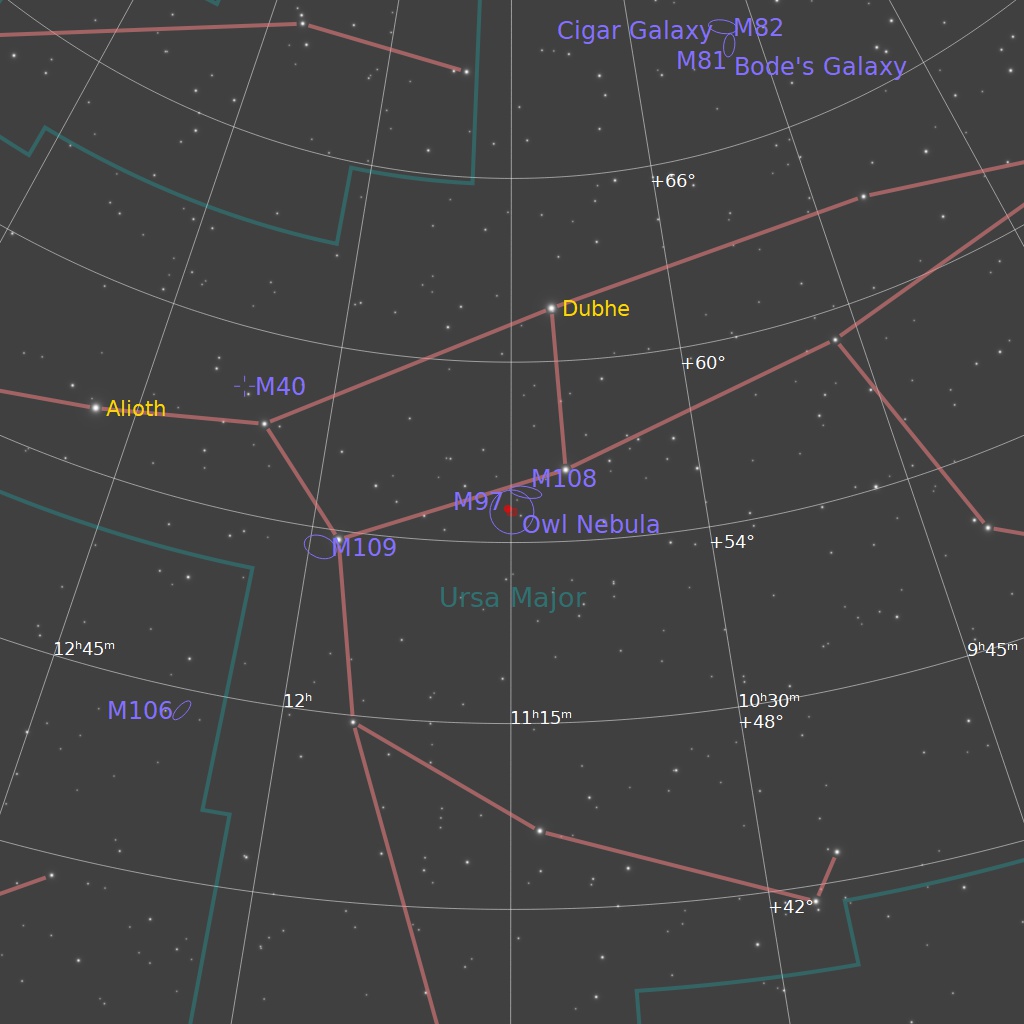
I never understood this object’s monicker, the Owl Nebula, until I researched to prepare this post. The name stuck after the 3rd Earle of Rosse, William Parsons, sketched it in 1848 with an appearance resembling an owl’s head. The nebula formed about 8,000 years ago from the gas thrown off by the evolving central star. That star has now reached the white dwarf stage, and is currently much brighter and hotter than the Sun. Its energy is causing the nebula’s hydrogen, oxygen and other gases to glow. The Owl Nebula is a cosmic stone’s throw away at just 2,600 light years. Much further away are the little galaxies that you’ll see around this field.
M97 contains a little more than 1/10th the Sun’s mass, but is spread out so thinly that there are fewer than 100 particles per cubic centimetre. It is currently a little less than a light year wide, and is expanding at a rate of 27-39 km per second. It will eventually become so diffuse that its feeble glow will no longer be visible.
I imaged M97 for the first time in 2015. If you view the 2015 version, you’ll get a sense of how my equipment and processing have changed over the 9 years between the two images. Both images have about the same exposure time – just under 9 hours.
Tekkies:
Acquisition, focusing, and control of Paramount MX mount with N.I.N.A., TheSkyX and PHD2. Primalucelab low-profile 2″ Esatto focuser and ARCO rotator. Equipment control with PrimaLuce Labs Eagle 4 Pro. All pre-processing and processing in PixInsight. Acquired from my SkyShed in Guelph. Excellent e transparency and above average seeing. Data acquired May 18-15, 2024 under a nearly full Moon.
Celestron 14″ F/11 EDGE HD telescope at f/11 (3,912 mm focal length) and QHY600M camera binned 2×2 with Optolong filters.
18x1m Red = 0hr18m
11x1m Green = 0hr11m
13x1m Blue = 0hr13m
52x5m Ha = 4hr20m
47x5m O3 =3hr55m
Total: 8hr57m
Preprocessing: The WeightedBatchPreProcessing script was used to perform calibration, cosmetic correction, weighting, registration, local normalization and integration of all frames.
Colour master: A colour master was made from the Red, Green and Blue masters using ChannelCombination in RGB mode.
Gradient Removal: DynamicBackgroundExtraction was applied to the RGB, Ha and O3 masters.
Colour Calibration: SpectrophotometricColorCalibration was used to calibrate the RGB master.
Deconvolution: BlurXterminator was used on the Ha, O3 and RGB masters with Automatic psf , and star sharpening set to 0.5.
Addition of Ha and O3: The NBRGBCombination script was used to combine the Ha and O3 with the RGB using default settings except for NB bandpass (3nm for both Ha and O3).
Linear Noise Reduction: NoiseXterminator was applied to the HaO3RGB image with settings Amount=0.9 and Detail=0.15
Star Removal: StarXterminator was used to remove the stars, with default settings.
Stretching: HistogramTransformation was applied to the HaO3RGB master to make a pleasing image. Approximate background level after stretch was 0.10.
Nonlinear Processing
Nonlinear Noise Reduction: NoiseXterminator was used to reduce noise in the background areas of the image with settings Amount=0.9 and Detail=0.2
Re-stretch: HistogramTransformation was used to boost contrast by moving the dark point to the toe of the histogram and slightly decreasing the mid-point slider.
Contrast Enhancement: The CreateHDRImage script was applied (scale 6 and a 25% blend) using a mask to select just the nebula. LocalHistogramEqualization was applied twice using a mask to select the entire nebula. A Contrast Limit of 1.5 and 1 iteration was used for each LHE application (scale 40, strength 0.5; scale 90, strength 0.5).
Sharpening: The mask used for LHE was used for sharpening with MultiscaleMedianTransform (Layers 1 – 5 with strengths of 0.01, 0.03, 0.05, 0.05, and 0.01, respectively).
Stars-only steps: Stars were stretched with HistogramTransformation. A mask made by extracting the Luminance from the stars-only image. CurvesTransformation was used to add saturation to the stars through the mask using the Saturation tool.
Star Restoration: PixelMath expression combine(starless, stars, op_screen()) was used to combine the starless and stars-only images created with StarXterminator.
Final Steps: Background, nebula and star brightness, contrast and saturation were adjusted in several iterations using CurvesTransformation with masks as required. ICCProfileTransformation (sRGB IEC61966-2.1; Relative Colorimetric with black point compensation) was applied prior to saving as a jpg. The finder chart was made using the FindingChart process.


Leave A Comment