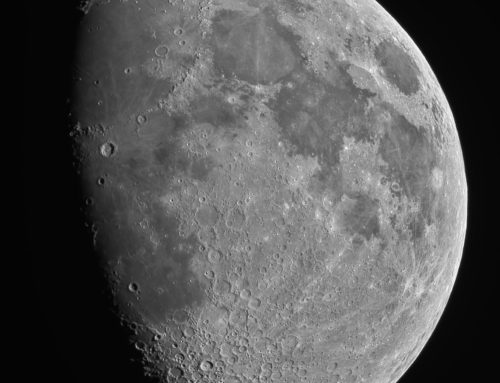
The Sun, June 15, 2026
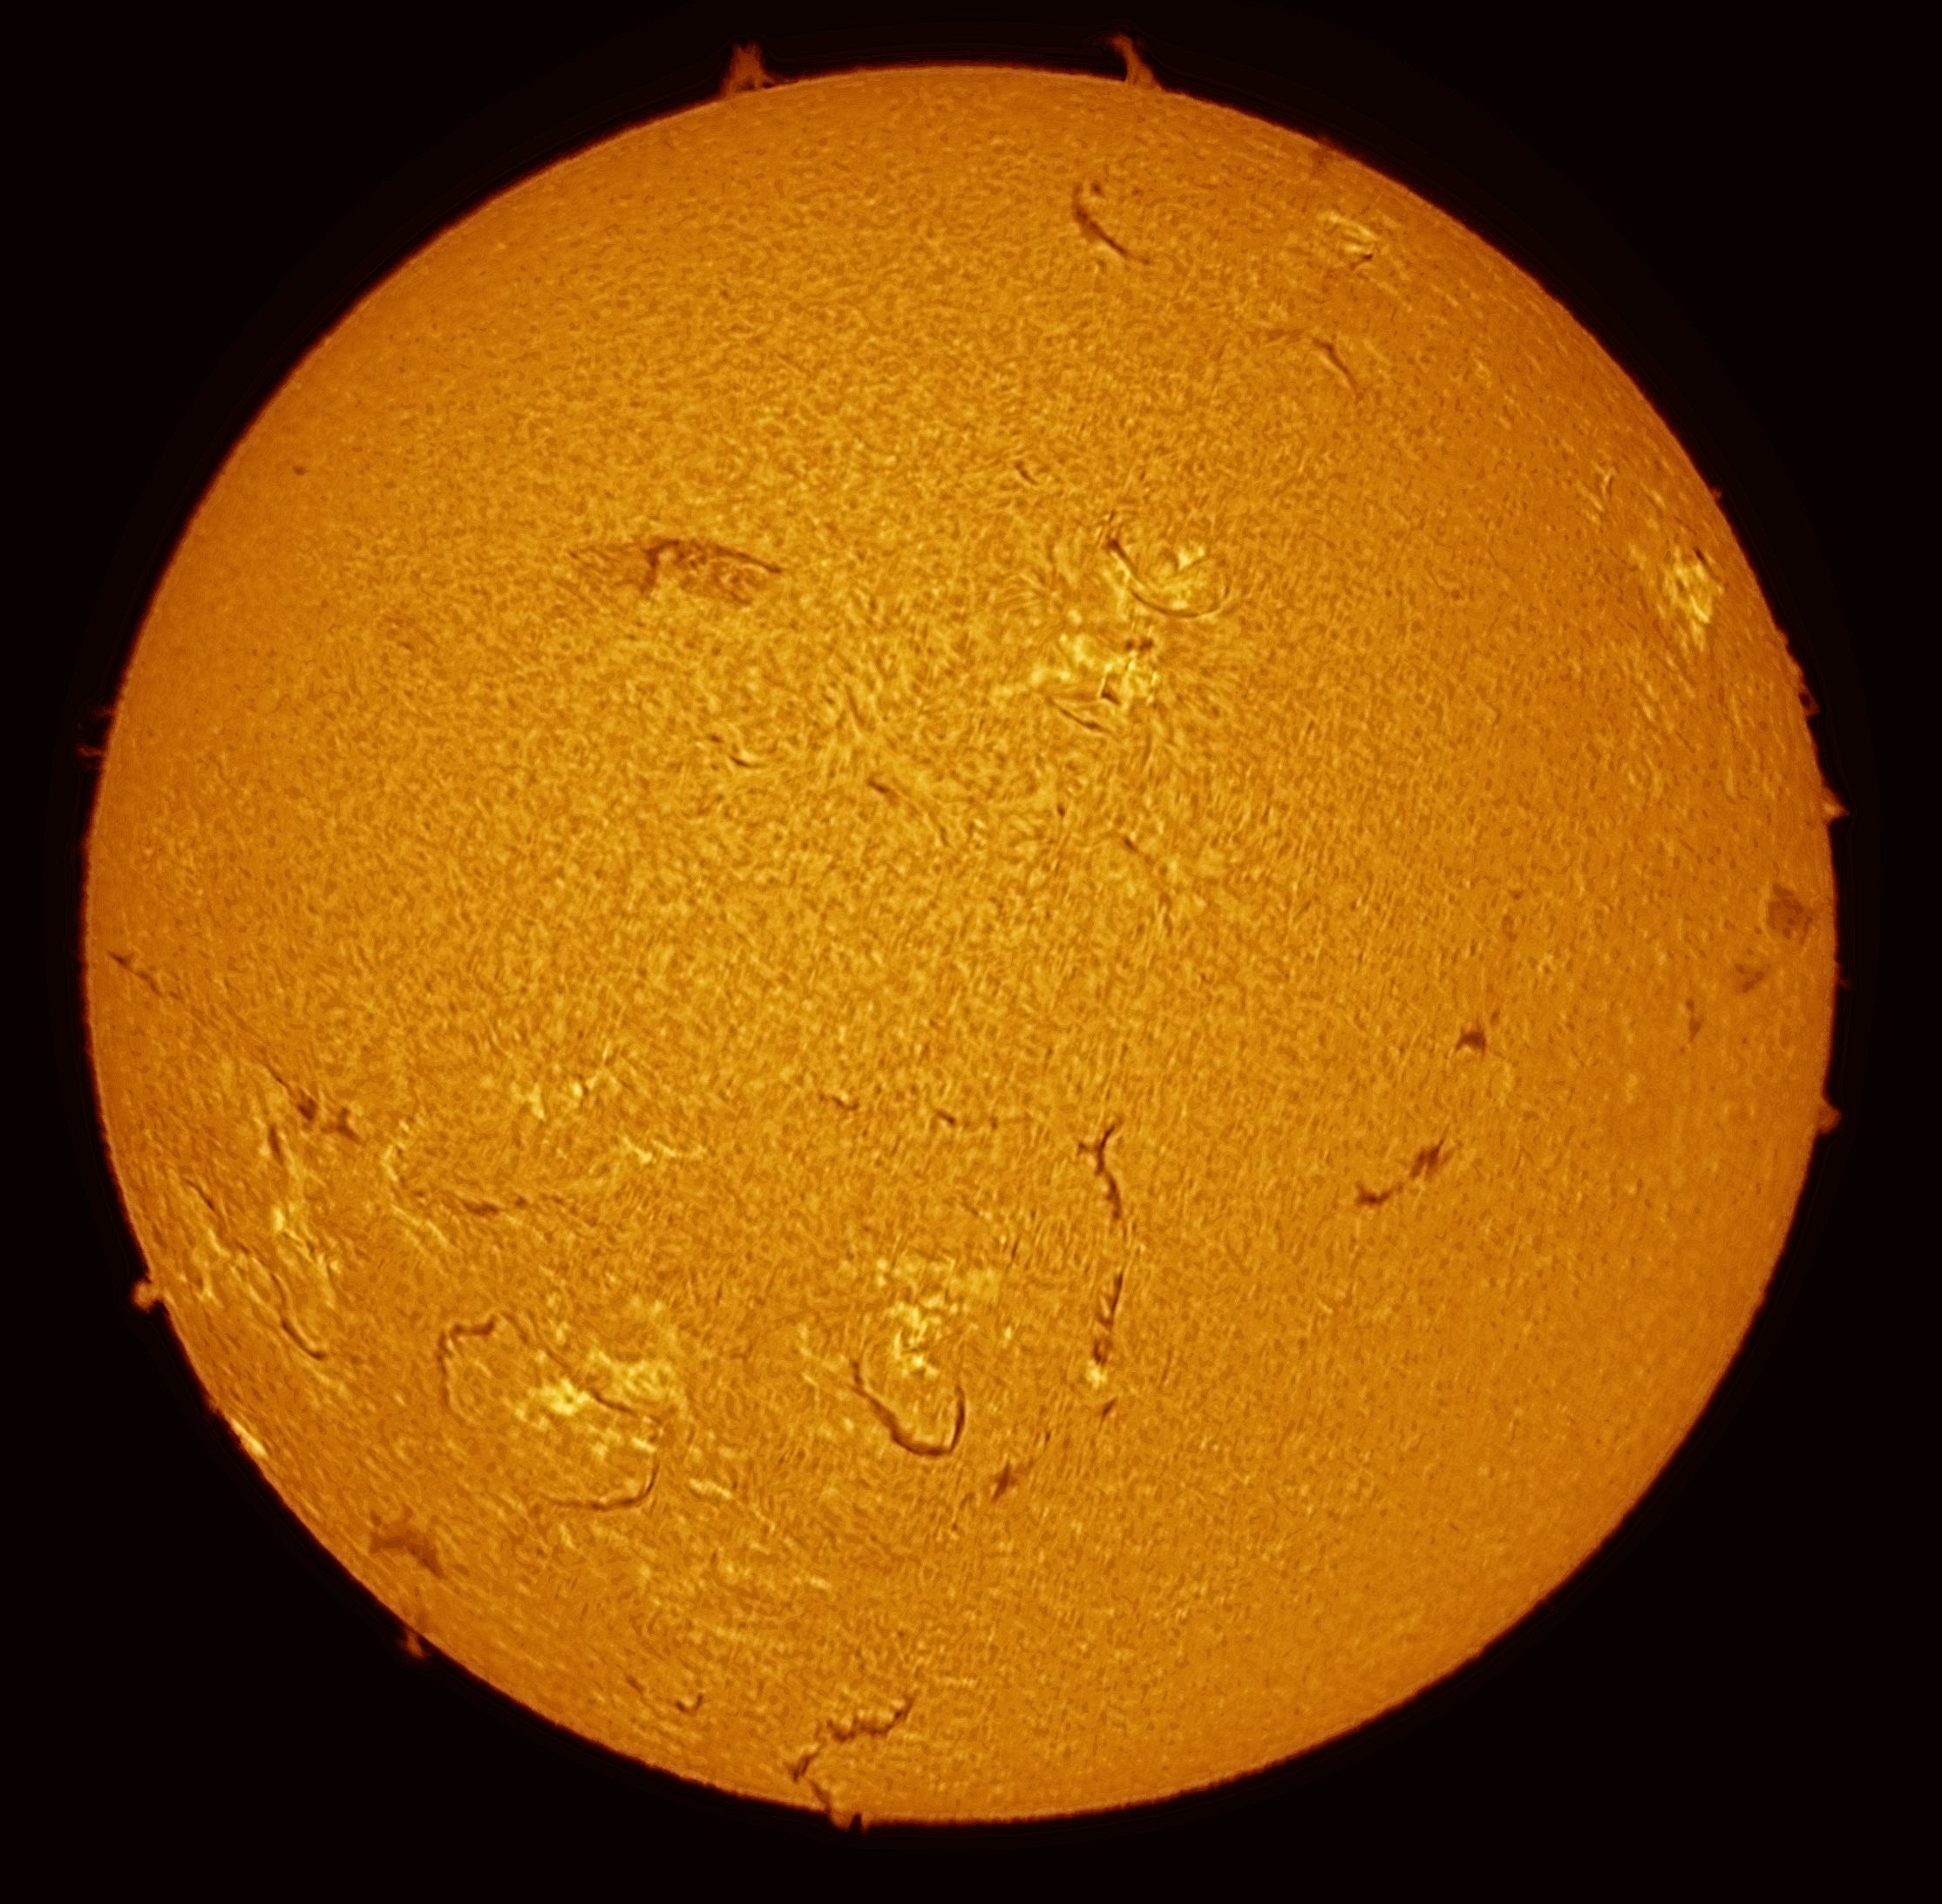
Click image for full size version
June 16, 2026
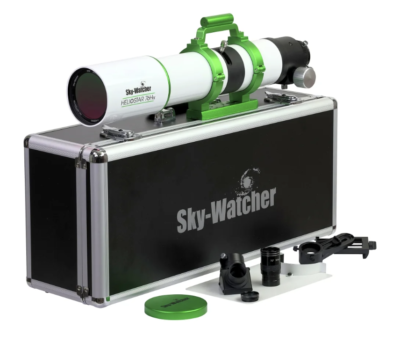
Well, it’s official. I think I enjoy solar imaging. The equipment and software available to amateurs makes it much easier than it used to be to get really high quality photos of the Sun. I am using a Sky-Watcher Heliostar 76α H-alpha telescope and a Player One Xena 585-M camera, all on a Sky-Watcher Wave 100i mount. I controlled the mount with a very old hand controller that I have from another Sky-Watcher mount.
I put the mount on my driveway approximately aligned to north (no measuring or checking), leveled the mount by adjusting the tripod legs, set the altitude axis of the mount to my latitude. Then I turned on the mount and set it to the Solar tracking rate using the hand controller. That turned out to be good enough polar alignment to keep the Sun pretty stationary and comfortably in the field for up to a couple of minutes.
I slewed the telescope towards the Sun, and used the built-in Sun-finder on the scope to get it approximately centred on the sensor. I watched the computer screen and used the hand controller to perfectly centre the Sun on the sensor, using SharpCap for video capture. Focusing was the hardest part. Seeing was terrible as it was just before sunset, there were some intermittent clouds, and the bright Sun made it hard to see the screen clearly. Once focused, I adjusted the H-alpha band tuner to get as much visible detail as possible.
I acquired a video of about 1000 frames and used Autostakkert software to identify and stack the best 200 frames. The resulting image was processed in PixInsight to create the image you see here.
Tekkies:
Sky-Watcher Wave 150i mount, Sky-Watcher Heliostar 76α H-alpha telescope, Player One Xena-Mcamera. Acquisition with SharpCap. Grading, registration and stacking with AutoStakkert. All processing in PixInsight. Acquired from my home in Guelph. Acquired under poor transparency and seeing at about 7 pm EDT on June 15, 2026.
Deconvolution: BlurXterminator was applied to the image with Automatic psf , star sharpening set to 0, psf=5.6 and non-stellar set to 0.2.
Solar Processing: Bill Blanshan’s Solar Toolkit process was used to enhance and colourize the image.
Sharpening: UnsharpMask was applied to sharpen the image (StdDev 2.9 and Amount 0.75).
Final Steps: Background, disk and prominence brightness and saturation were adjusted in several iterations using CurvesTransformation with masks as required. ICCProfileTransformation (sRGB IEC61966-2.1; Relative Colorimetric with black point compensation) was applied prior to saving as a jpg.
Leave A Comment