The Coathanger
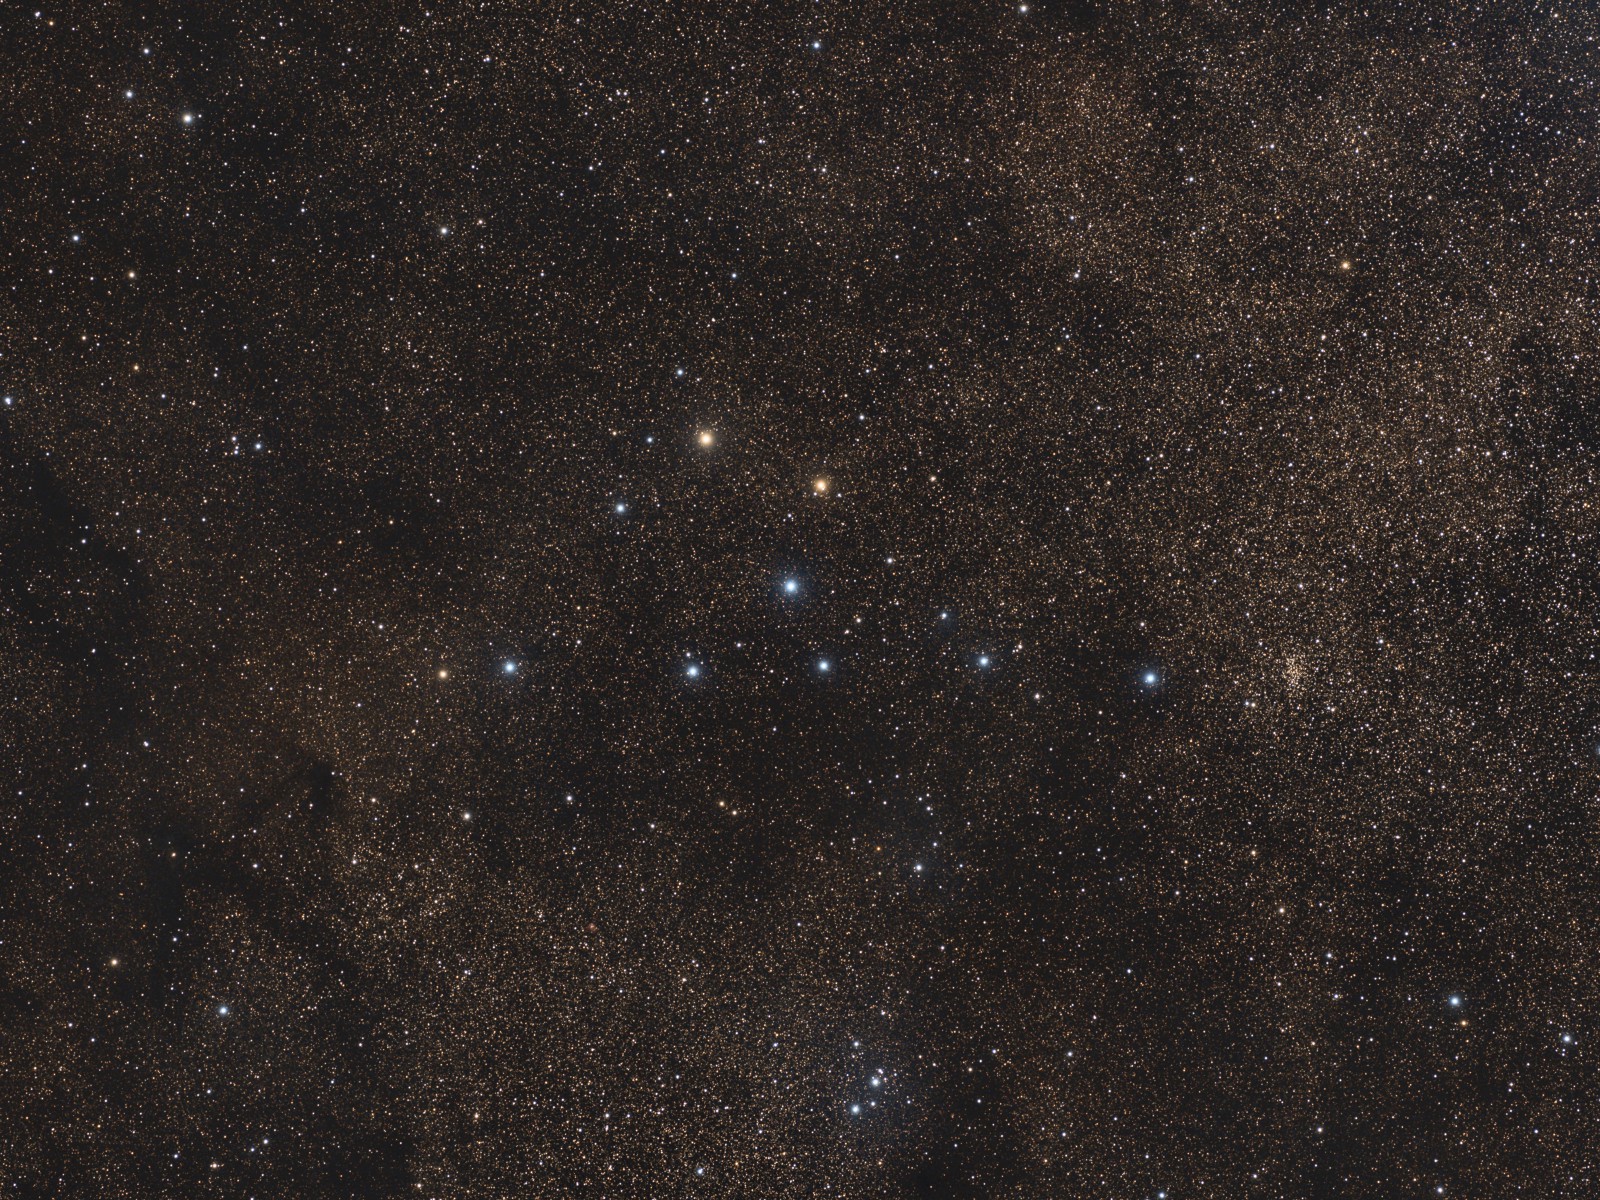 Click image for full size version
September 13, 2021
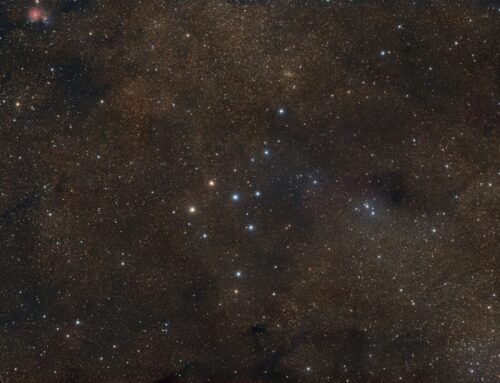
The Coathanger is an asterism — a pattern of stars — that looks unmistakably like its namesake. It is also catalogued as Brocchi’s Cluster and Collinder 399. I’ve looked at this hundreds of times in binoculars; it is a summer favourite. It can even be seen with the naked eye in a dark sky.
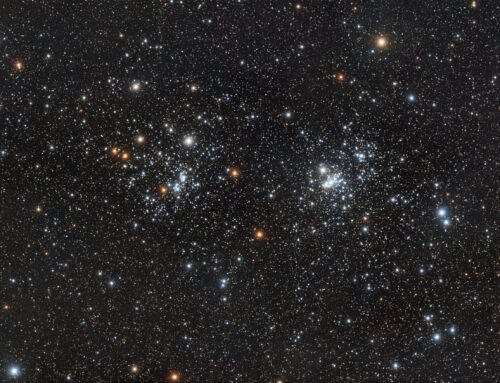
The Coathanger was long thought to be a star cluster — a group of gravitationally-bound stars. However, it has recently been concluded that it is a chance alignment of stars. The many dark lanes within the image are part of the Milky Way’s dust lane. Several are included in the LDN and LBN catalogues. I prepared an annotated image that identifies some of them. The pretty star cluster at right in the image is NGC 6802.
Tekkies:
Acquisition, focusing, and control of Sky-Watcher HEQ6 mount with N.I.N.A., EQMOD and PHD2. Focus with Optec DirectSync motor and controller. Equipment control with PrimaLuce Labs Eagle 4 Pro computer. All pre-processing and processing in PixInsight. Acquired from my SkyShed in Guelph. Average transparency and seeing. Data acquired August 23-25, 2021 in a mostly moonless sky.
Takahashi FSQ-106 ED IV @ f/5 and QHY367C Pro one-shot colour camera with Optolong UV/IR filter
Data Reduction and Linear Processing Steps
Preprocessing: The WeightedBatchPreProcessing script was used to create a master frame. The OSC subs were integrated with DrizzleIntegration (CFA Drizzle x1).
Gradient Removal: DBE was applied using Subtraction.
Colour Balancing: Colour was balanced with PhotometricColorCalibration.
Linear Noise Reduction: MultiscaleLinearTransform was used to reduce noise in the background areas, using an internal mask to protect stars. Layer settings for threshold and strength: Layer 1: 5.0 0.85, 2 iterations; Layer 2: 3.5, 0.75, 2 iterations.
Stretching: HistogramTransformation was applied to make a pleasing, bright image, with background set to an intensity of approximately 0.10.
Additional Processing
Nonlinear Noise Reduction: TGVDenoise was used in L*a*b* mode to reduce noise with a mask used to target the background areas and protect the stars (max. 1,000 iterations and convergence selected).
Stretching: HistogramTransformation was applied a second time to make a pleasing, bright image, with background set to an intensity of approximately 0.10.
Final Steps: Background and star brightness, contrast, and colour saturation were adjusted in several iterations using CurvesTransformation with masks as required. The DarkStructureEnhance script was applied with a strength of 0.2. ICCProfileTransformation (sRGB IEC61966-2.1; Relative Colorimetric with black point compensation) was applied prior to saving in jpg format.

I am amazed how easily it was to recognize the coat hanger during my star hopping session right out my window without even bothering to check my star app at all! It is upside down toward the west.
Awesome astroimage. I have an 8″ Edge and am blown away at the knowledge and the processing steps but the final image says everything! I’m thinking of getting into astrophotography with my scope but obviously need to do a lot or research before doing so. Thanks for the image and the staggering number of stars in the overall image. I’m from North Dumfries just outside of Cambridge Ontario.
The density of that image is awesome. I look at things as a retired High School teacher who’s always explaining what we see to teenagers. Explaining the distances involved is mind boggling!!!