M10 Globular Cluster
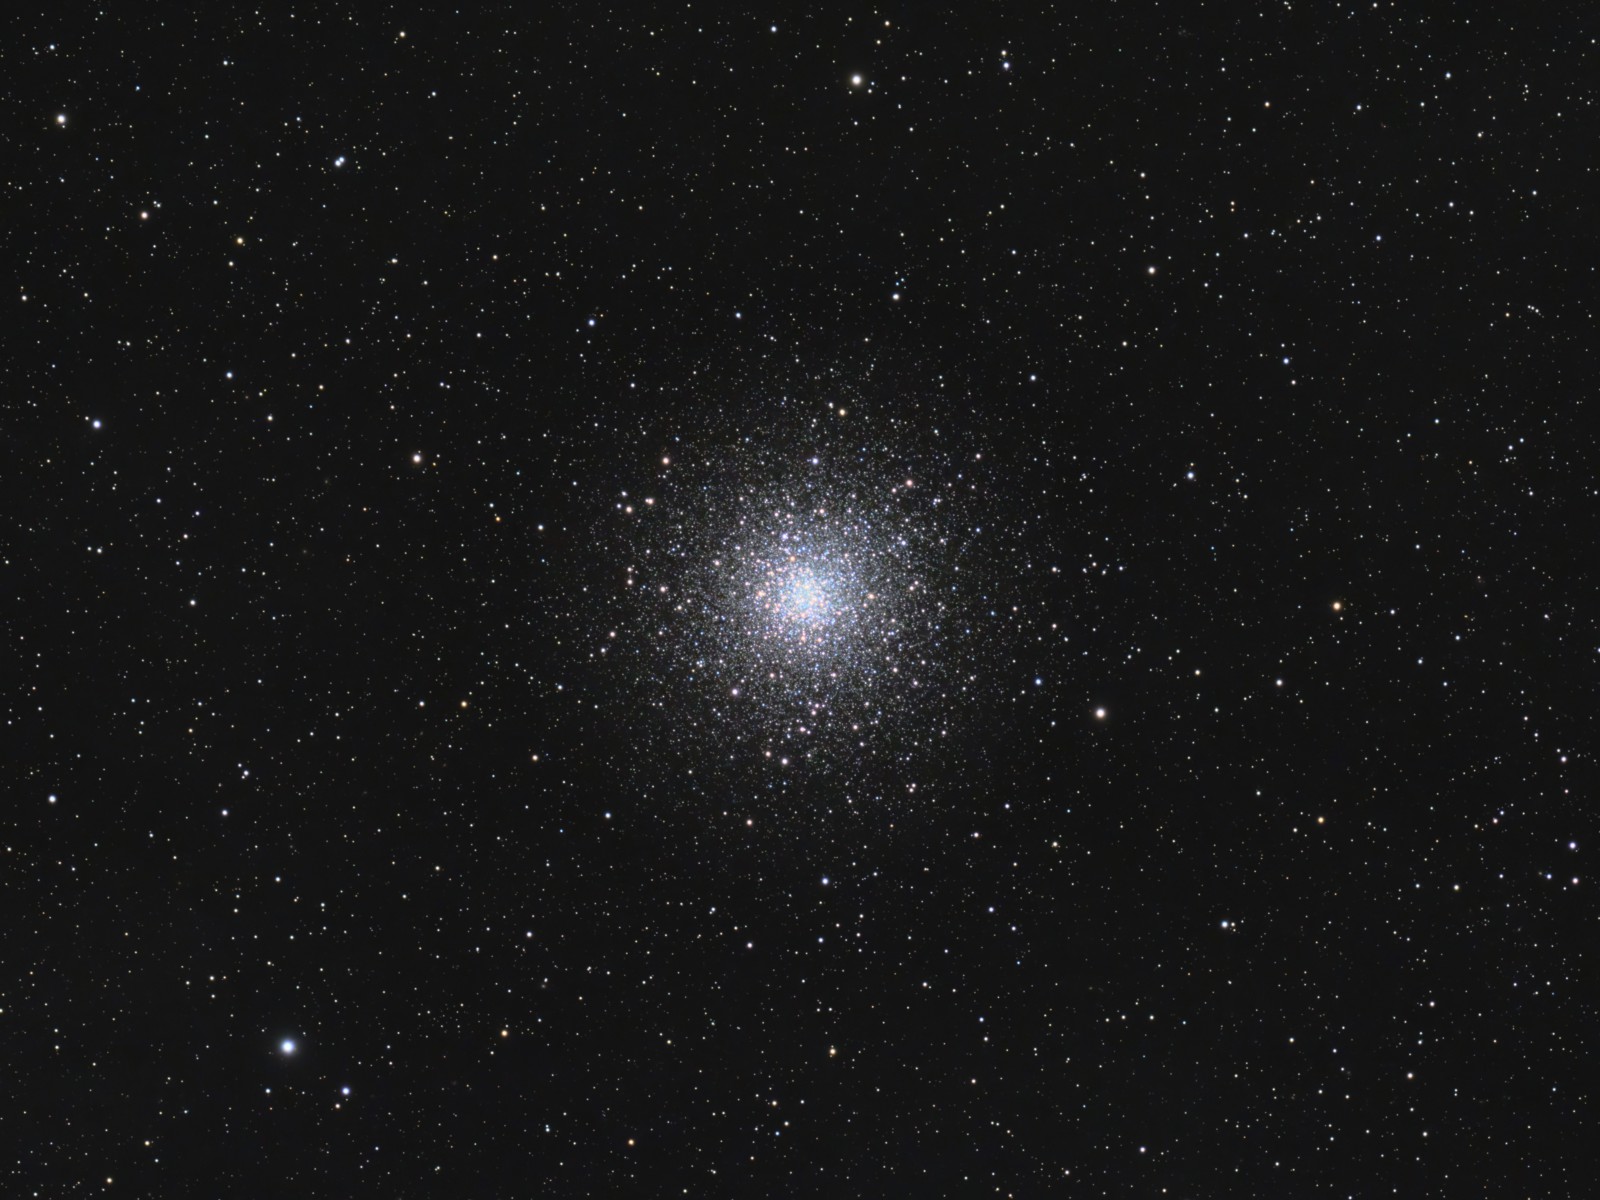 Click image for full size version
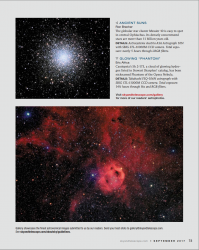
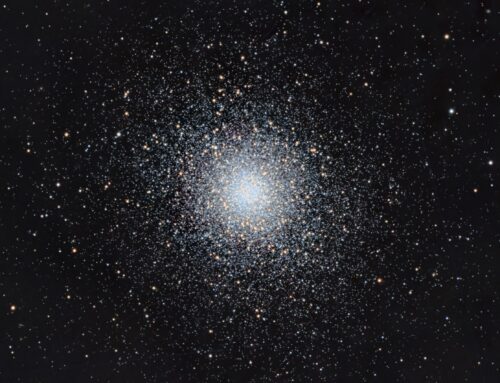
June 26, 2023; previous image in Sky & Telescope, Sept. 2017
 M10 is one of at least 14 globular clusters located in the constellation Ophiuchus. Other prominent ones that I have imaged are M12 and M14. Compared to most globular clusters, M10 is relatively loosely packed so is well resolved in images (and through the eyepiece). Notice the obvious difference in star colours. The blue stars are hotter and more massive, and redder star are cooler. This cluster doesn’t have an obvious edge to my eye; it just seems to fade into the background. It is reported to have a diameter about 2/3 that of the Moon and to contain about 225,000 stars.
Tekkies:
Acquisition, focusing, and control of Paramount MX mount with N.I.N.A., TheSkyX and PHD2. Focus with Optec DirectSync motor and controller. Equipment control with PrimaLuce Labs Eagle 3 (2021) and 4 (2023) Pro computer. All pre-processing and processing in PixInsight. Acquired from my SkyShed in Guelph. Average transparency and seeing. Data acquired May 30-31, 2023 under a gibbous moon.
Luminance: Sky-Watcher Esprit 150 f/7 refractor and QHY600M camera with Optolong UV/IR filter
Chrominance: Takahashi FSQ-106 ED IV @ f/5 and QHY367C Pro one-shot colour camera with Optolong UV/IR filter
Total: 7hr20m
Preprocessing: The WeightedBatchPreProcessing script was used to perform calibration, cosmetic correction, weighting, registration, local normalization and integration of all frames.
Alignment of Master Frames: DrizzleIntegration was applied to the OSC frames (within WeightedBatchPreProcessing), and the result was aligned to the Luminance master with StarAlignment. This yielded aligned Lum and Colour masters.
Gradient Removal: DynamicBackgroundExtraction was applied to both masters.
Colour Calibration: ColorCalibration was used to calibrate the OSC master.
Deconvolution: BlurXterminator was used on each master with automatic PSF, and star sharpening only.
Linear Noise Reduction: NoiseXterminator was applied to each image with settings Amount=0.9 and Detail=0.15
Stretching: HistogramTransformation was applied to each image to make a pleasing yet bright image.
Nonlinear Processing
Luminance Addition: LRGBCombination was applied to replace the lightness of the RGB image with the Luminance master.
Dynamic Range Compression: HDRMT was applied to a clone of the image (6 layers). This was blended back 1:1 with the original, using a mask to select only the central half of the cluster.
Star Removal: StarXterminator was used to remove the stars, with Unscreen and Large Overlap selected.
Nonlinear Noise Reduction: NoiseXterminator was used to reduce noise in the background areas of the image with settings Amount=0.9 and Detail=0.1. SCNR was applied to the stars-only image using the same mask as for HDRMT.
Star Restoration: PixelMath expression combine(starless, stars, op_screen()) was used to combine the starless and stars-only images created with StarXterminator.
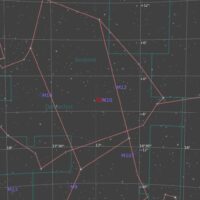
Final Steps: Background, cluster and star brightness, contrast and saturation were adjusted in several iterations using CurvesTransformation with masks as required. ICCProfileTransformation (sRGB IEC61966-2.1; Relative Colorimetric with black point compensation) was applied prior to saving as a jpg. Finder chart was made using the FindingChart process.

Hi, Ron.
Thanks for sharing your excellent work, I have a question, I see that you never use the BackgroundNeutralization process and go directly to Color Calibration. what is the reason?.
Thanks to your explanations I am learning a lot from Pixinsight.
Regards,
Laureano
Hi Laureano. I use BackgroundNeutralization when I need to. I have found that if I do a good job with DynamicBackgroundExtraction, the background is quite neutral and ColorCalibration can be performed without BackgroundNeutralization. In other situations, ColorCalibration will only give a good result if BackgroundNeutralization is used first. Have you tried the PhotometricColorCalibration tool in v1.8.5? It includes a background neutralization option that uses as reference a Preview you select as an Area of Interest.
Another gorgeous image! I’m not the least bit surprised!