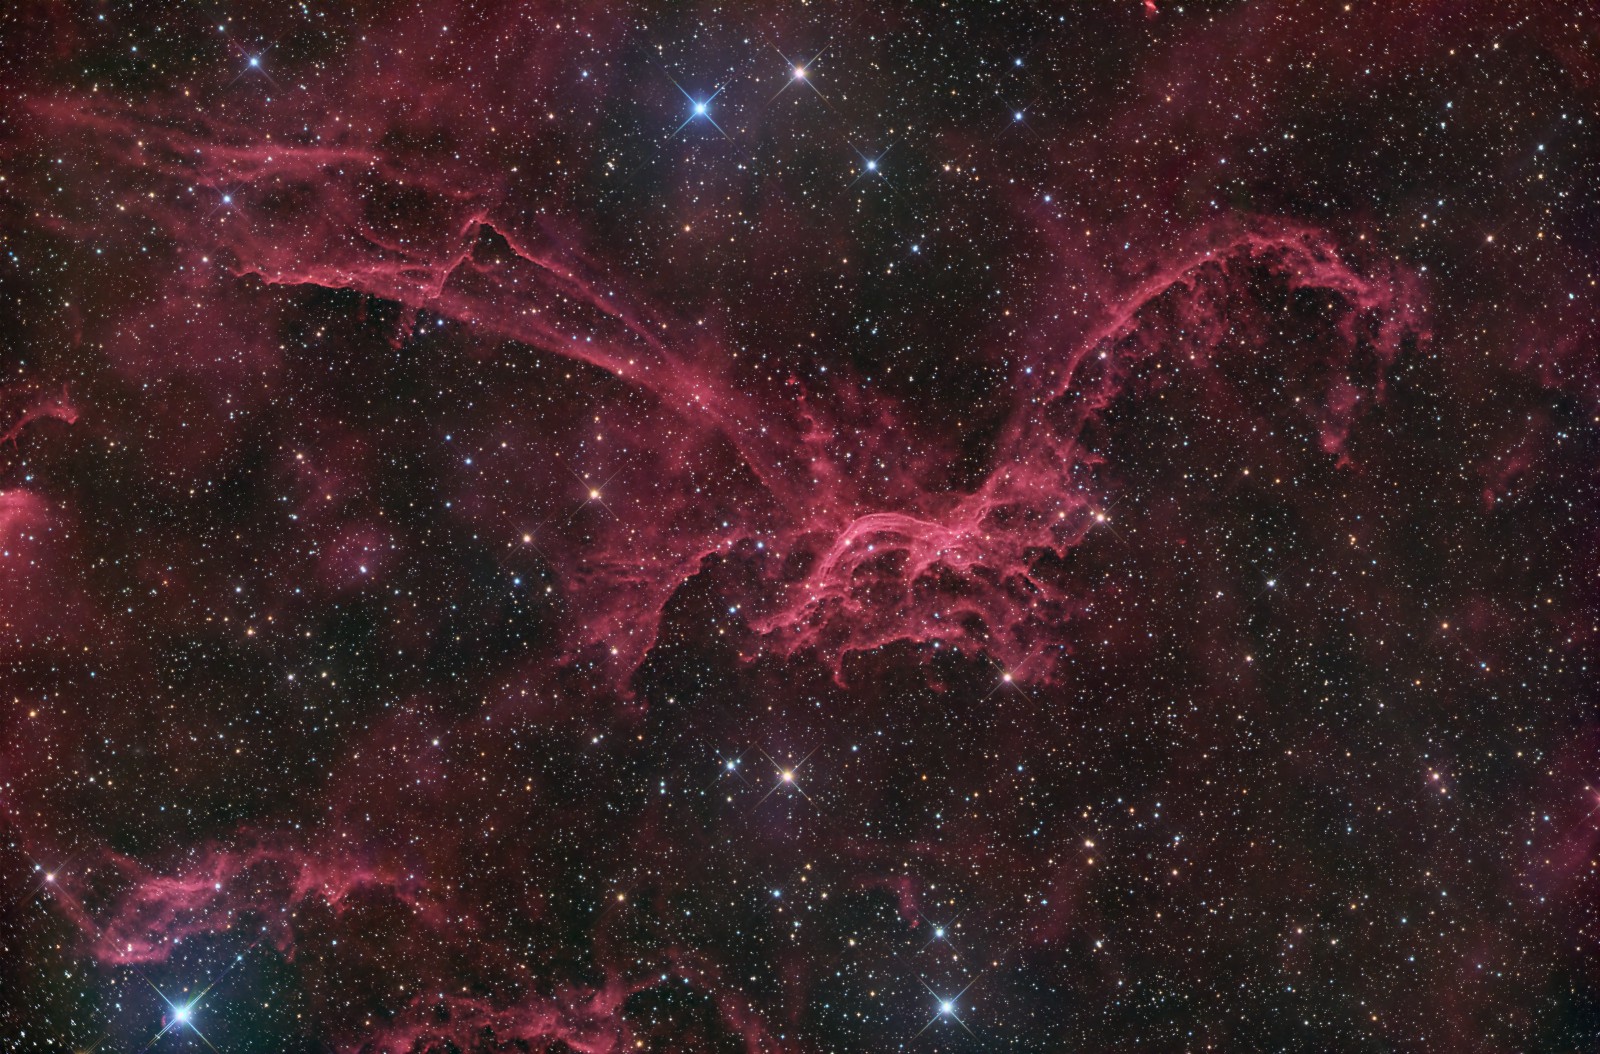
Sh2-114, The Flying Dragon Nebula
Click image for full size version
December 1, 2023
Sh2-114 is one of the faintest object I have ever imaged. When I first found it in a catalogue, back in 2014, I was intrigued by the fine structure in the centre, as well as the outer wings. Together the whole scene reminded me of a dragon in flight, tail swooping down to the left and wings outstretched upwards. Then I researched it further and discovered it’s nickname is the Flying Dragon Nebula!
As with some other faint Sharpless nebulae, I haven’t been able to find much information about its distance, size, age or how it was formed. I did read that the strands in the centre are similar to those in supernovae remnants, but this object doesn’t seem to have been formed by a supernova (I haven’t found any suggestion to that effect anyhow). This object is in the Cygnus Milky Way, which is why there are so many stars scattered throughout the field.
Back in 2014 when I acquired the data, I produced both a colour and a monochrome image of this object, the latter using only the H-alpha data. You can see how far my processing has come!
Tekkies:
Acquisition in Maxim DL. All pre-processing and processing in PixInsight. Acquired from my SkyShed in Guelph, ON. SBIG STL-11000 with Baader HaRGB filters. 10″ ASA @ f/6.8 on a Paramount MX. Guiding with SV-80 80 mm f/6 refractor and camera’s Remote Guide Head. Imaging runs were scripted using CCDCommander. No moon for RGB data and gibbous to full for H-alpha. Transparency and seeing average for R, G and B and excellent for H-alpha.
12x10m R
12x10m G
13x10m B
60x10m Ha
Total – 16hr 10m
Preprocessing: The WeightedBatchPreProcessing script was used to perform calibration, cosmetic correction, weighting, registration, local normalization and integration of all frames.
RGB master: A master RGB image was made from the Red, Green and Blue masters using ChannelCombination in RGB mode.
Gradient Removal: DynamicBackgroundExtraction was applied to the RGB and Ha masters.
Colour Calibration: ColorCalibration was used to calibrate the RGB master.
Deconvolution: BlurXterminator was applied to the both masters with Automatic psf , and star sharpening set to 0.10 with “Correct First” selected.
Star Removal: StarXterminator was used to remove the stars from the Ha and RGB masters, with default settings.
Linear Noise Reduction: NoiseXterminator was applied to the Ha and RGB masters with settings Amount=0.9 and Detail=0.35
Stretching: HistogramTransformation was applied to the Ha master and RGB masters to make pleasing images. Approximate background level after stretch was 0.08 for Ha and 0.10 for RGB.
Nonlinear Processing
Addition of Ha to RGB: PixelMath was used to blend Ha into the RGB image using the following expression with parameter values a=1.5 and b=0.10.
Red: max($T[0], a*Ha)
Green: $T[1]
Blue: iif($T[0]<a*Ha, $T[2] + b * Ha, $T[2])
Nonlinear Noise Reduction: NoiseXterminator was used to reduce noise in the background areas of both masters with Amount=0.9 and Detail=0.2.
Re-stretch: HistogramTransformation was used to boost contrast by moving the dark point to the toe of the histogram and slightly decreasing the mid-point slider.
Contrast Enhancement: LocalHistogramEqualization was applied twice using a mask to select the brighter regions of the nebula (made with the RangeSelection tool). A Contrast Limit of 1.5 and 1 iteration was used for each LHE application (scale 40, strength 0.35; scale 150, strength 0.35).
Sharpening: The same mask was used for sharpening with MultiscaleMedianTransform (Layers 1 – 5 with strengths of 0.01, 0.02, 0.04, 0.02, and 0.01, respectively).
Stars-only steps: HistogramTransformation was applied to the RGB-stars-only image. A mask was made by extracting the Luminance from the image. CurvesTransformation was used to add saturation to the stars through the star mask, using the CIE c* slider.
Star Restoration: PixelMath expression combine(starless, stars, op_screen()) was used to combine the starless HaRGB image with the stars-only image.
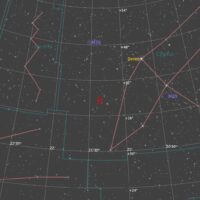
Final Steps: Background, nebula and star brightness, contrast, hue, and saturation were adjusted in several iterations using CurvesTransformation with masks as required. ICCProfileTransformation (sRGB IEC61966-2.1; Relative Colorimetric with black point compensation) was applied prior to saving as a jpg. The finder chart was made using the FindingChart process.

Very nice!
Incredible detail.
Hello Ron
Just want to say thanks for making these images and processing details available to us all !!
Very much appreciated!!
Best Regards
Adrien Richardson
You’re welcome!
From México. Saludos Ron. Muy buen trabajo. Gracias.
Thank you!
Thanks everyone for the nice comments.