The Bubble Nebula
Click image thumbnails for full size versions
December 16, 2020
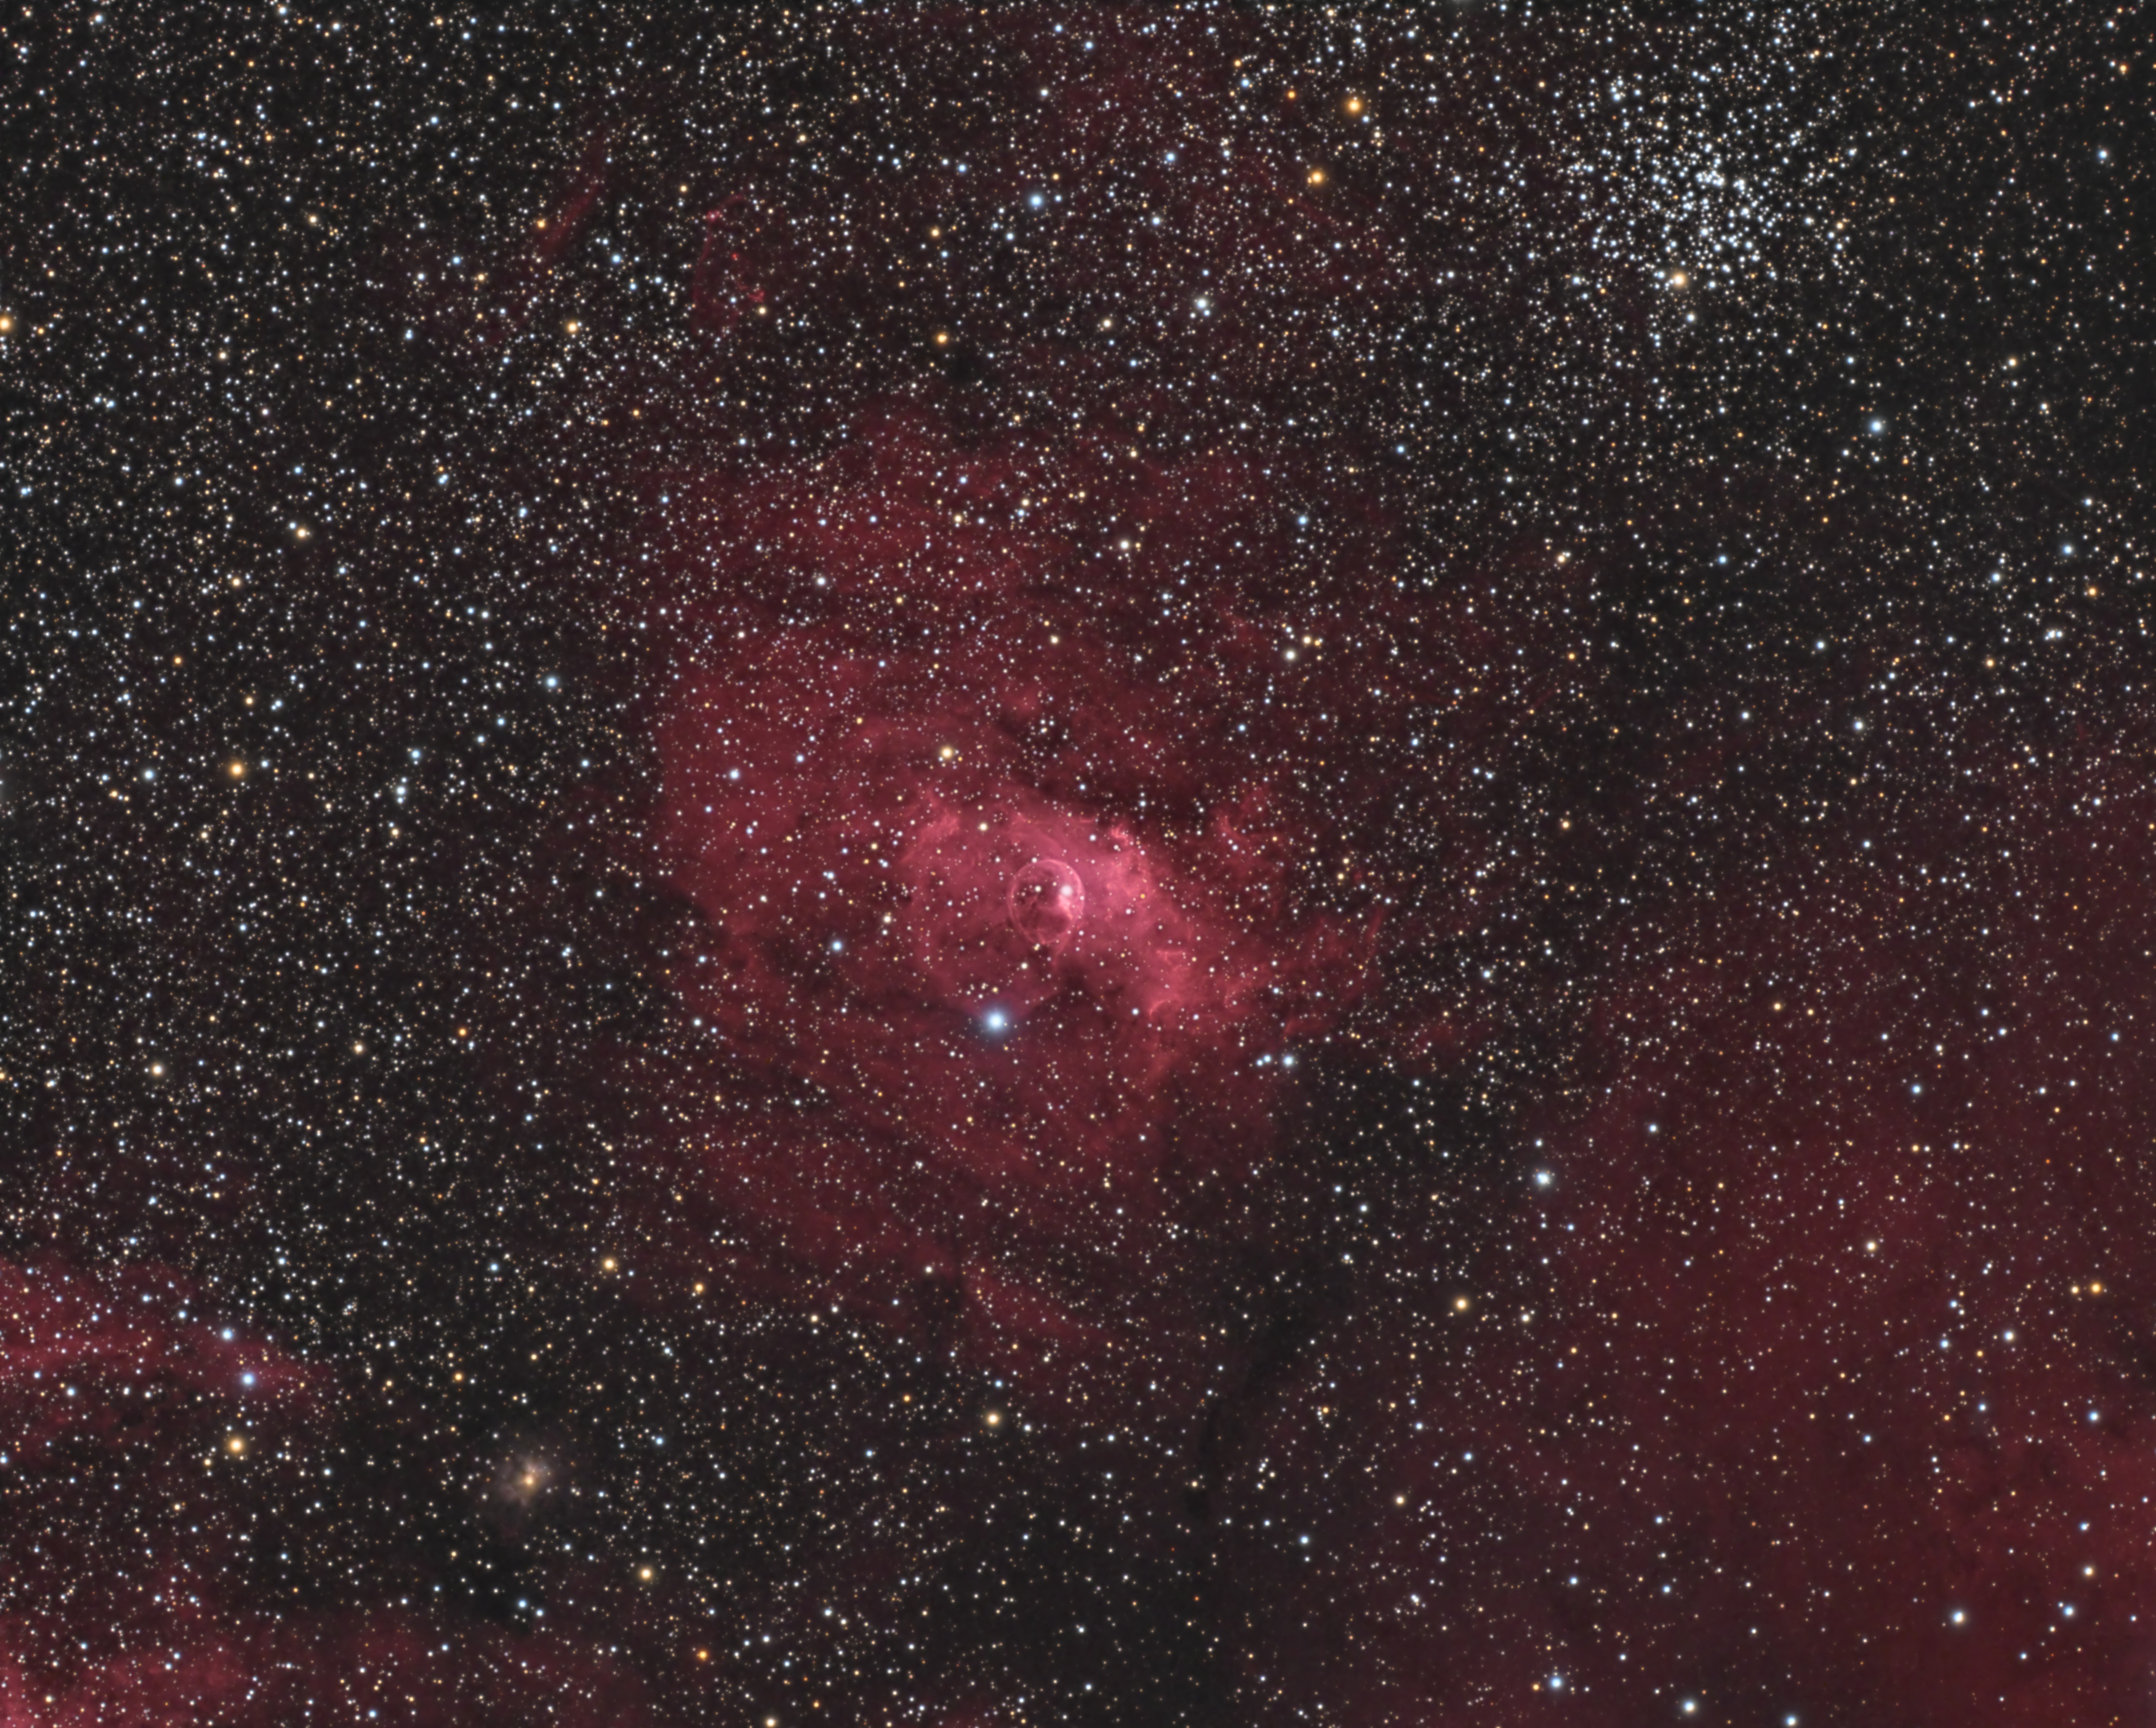
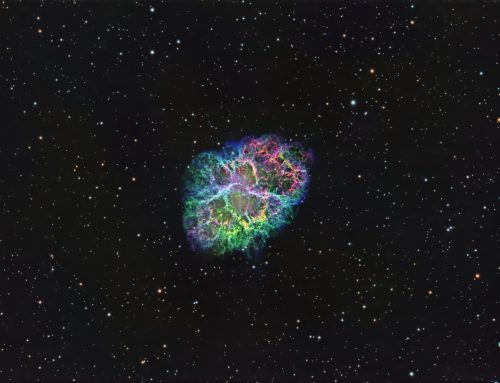
The Bubble Nebula (NGC 7635) lies in Cassiopeia, well placed for imaging in late summer and autumn from my locale. This cosmic bubble’s glows is mainly due to excited atoms of hydrogen. This accounts for the mainly red hues of the nebula in natural-colour images of this and other emission nebulae. The Bubble Nebula is powered by the bright star inside the bubble, which is of a known as a Wolf-Rayet star. WR stars emit a lot of particles and energy, enough that they are blowing the bubble seen in this image. The central star of the bubble is between 7,000-11,000 light years away. I’ve glimpsed the brightest parts of the bubble visually through my 20″ reflector. Photographically it’s one of my favourite objects to image.
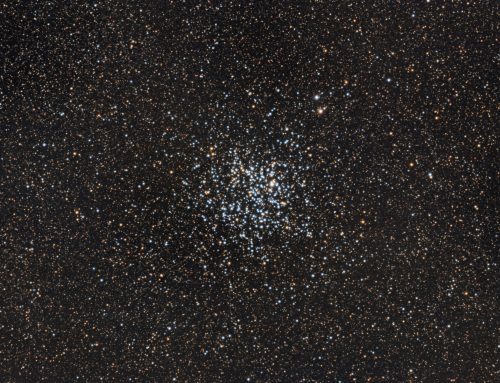
As beautiful as the Bubble Nebula is, it is not the only deep-sky object in this image. The open cluster at upper right is M52. It appears in a small telescope like a beautiful splash of stars. Other notable objects in this image include:
- Sh2-161 (lower right), at a similar distance to the Bubble Nebula, around 9,100 light years from us.
- Herbig-Haro 170 (lower left), is also known as MWC1080. It is a small patch of nebulosity surrounding a very young star. Herbig-Haro objects form when gas ejected by newly-formed stars collides at high speed with surrounding gas and dust.
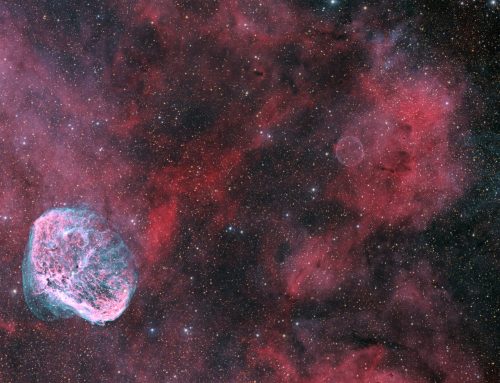
- A portion of Sh2-157, the Lobster Claw Nebula is at the extreme lower left.
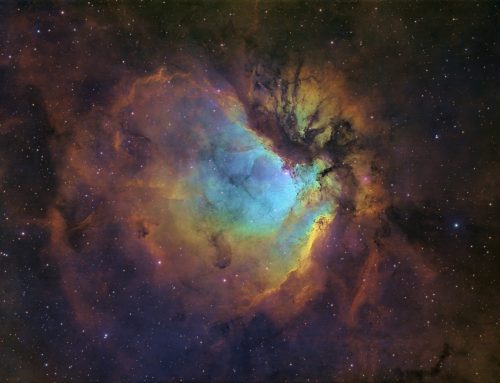
 The image at left shows the Bubble in tone-mapped (i.e. false) colours made using sulfur, hydrogen and oxygen filters mapped to red, green and blue. This palette reveals some of the chemistry of this dynamic region of space.
Tekkies:
Acquisition, focusing, and control of Paramount MX mount, unguided, with TheSkyX. Focus with Optec DirectSync motor and controller. Automation with CCDCommander. Equipment control with PrimaLuce Labs Eagle 3 Pro computer. All pre-processing and processing in PixInsight. Acquired from my SkyShed in Guelph. Average transparency and seeing. Acquired Oct 30 to Dec 2, 2020 in variable sky conditions.
Narrowband and Luminance: Sky-Watcher Esprit 150 f/7 refractor and QHY 16200-A camera with Optolong H-alpha, O(III) and S(II) filters
Chrominance: Takahashi FSQ-106 ED IV @ f/5 and QHY367C Pro one-shot colour camera with Optolong UV/IR filter
O3: 32 x 10m = 5hr20m
Data Reduction and Initial Processing
Preprocessing: The WeightedBatchPreProcessing script was used to create narrow band master frames (from the mono camera) and a RGB master frame (from the one-shot colour camera).
Gradient Removal: DBE was applied to the RGB masters using Subtraction.
Colour
Colour Balancing: Colour of the RGB master was balanced with PhotometricColorCalibration.
Linear Noise Reduction: MultiscaleLinearTransform was used to reduce noise in the background areas, using an internal mask to protect bright structures. Layer settings for threshold, strength and iterations were as follows: Layer 1: 5.0 0.85, 1 iteration; Layer 2: 3.5 0.75, 1 iteration, Layer 3: 2.0, 0.5, 1 iteration.
Stretching: HistogramTransformation was applied to make a pleasing, bright image, with background set to an intensity of approximately 0.10.
Luminance
Creation of SynthL: A synthetic Luminance channel was created from the narrowband masters by averaging using ImageIntegration with no sigma clipping, weighted for noise.
Deconvolution: A star mask was made from the SynthL master to use as a Local Deringing Support Image. A copy of the image was stretched to use as a range mask. Deconvolution was applied (100 iterations, regularized Richardson-Lucy, external PSF made using the PSFImage script; Global dark deringing = 0.03).
Linear Noise Reduction: MultiscaleLinearTransform was used to reduce noise in the background areas of the Luminance-filtered image, using an internal mask to protect bright stars. Layer settings for threshold, strength and iterations: Layer 1: 5.0 0.85, 2 iteration; Layer 2: 3.0, 0.75, 1 iteration; Layer 3: 1.5, 0.25, 1 iteration.
Stretching: HistogramTransformation was applied to make a pleasing, bright image, with background set to an intensity of approximately 0.10.
Combining Colour and SynthL Images
Make NB-RGB: After aligning the OSC master to the SynthL with StarAlignment, PixelMath was used to add the SynthL to the OSC image, using the following expressions for the R, G and B channels, where the OSC image was the target image:
R: max($T[0], 1.1*SynthL)
G: $T[1]
B: iif($T[0]< 1.1*SynthL, $T[2] + 0.08*SynthL, $T[2])
Additional Processing
Nonlinear Noise Reduction: TGVDenoise was used in L*a*b* mode to reduce noise with a mask used to target the background areas and protect the stars and nebula (max. 1,000 iterations and convergence selected for both lightness and chrominance).
Contrast Enhancement: LocalHistogramEqualization was applied three times with max contrast – 1.5 and 1 iteration (scales of 20, 40 and 80; strengths of 0.35, 0.20 and 0.20, respectively), followed by a scale of 150 (max contrast 1.5, strength 0.25, 1 iteration).
Sharpening: MultiscaleLinearTransform was used to sharpen Layers 2 and 3 with strengths of 0.1 and 0.08, respectively. A mask was used to select only bright nebular features for sharpening.
Final Steps: Background, nebula and star brightness, contrast, and colour saturation were adjusted in several iterations using CurvesTransformation with masks as required. The DarkStructureEnhance script was run with 0.1 for the Amount. ICCProfileTransformation (sRGB IEC61966-2.1; Relative Colorimetric with black point compensation) was applied prior to saving in jpg format.

Very nicely done!!