North America Nebula Region
Click image for full size version
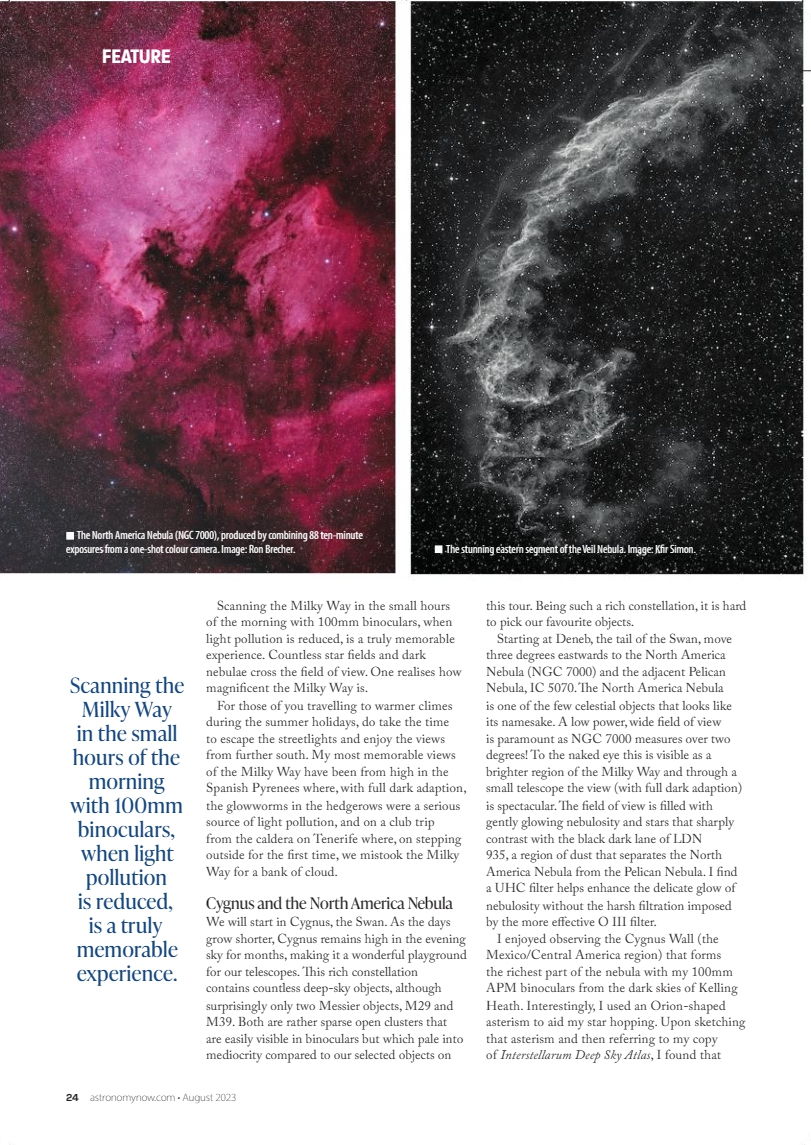
July 29, 2019; published in Sky and Telescope, March 2020 and Astronomy Now!, August 2023
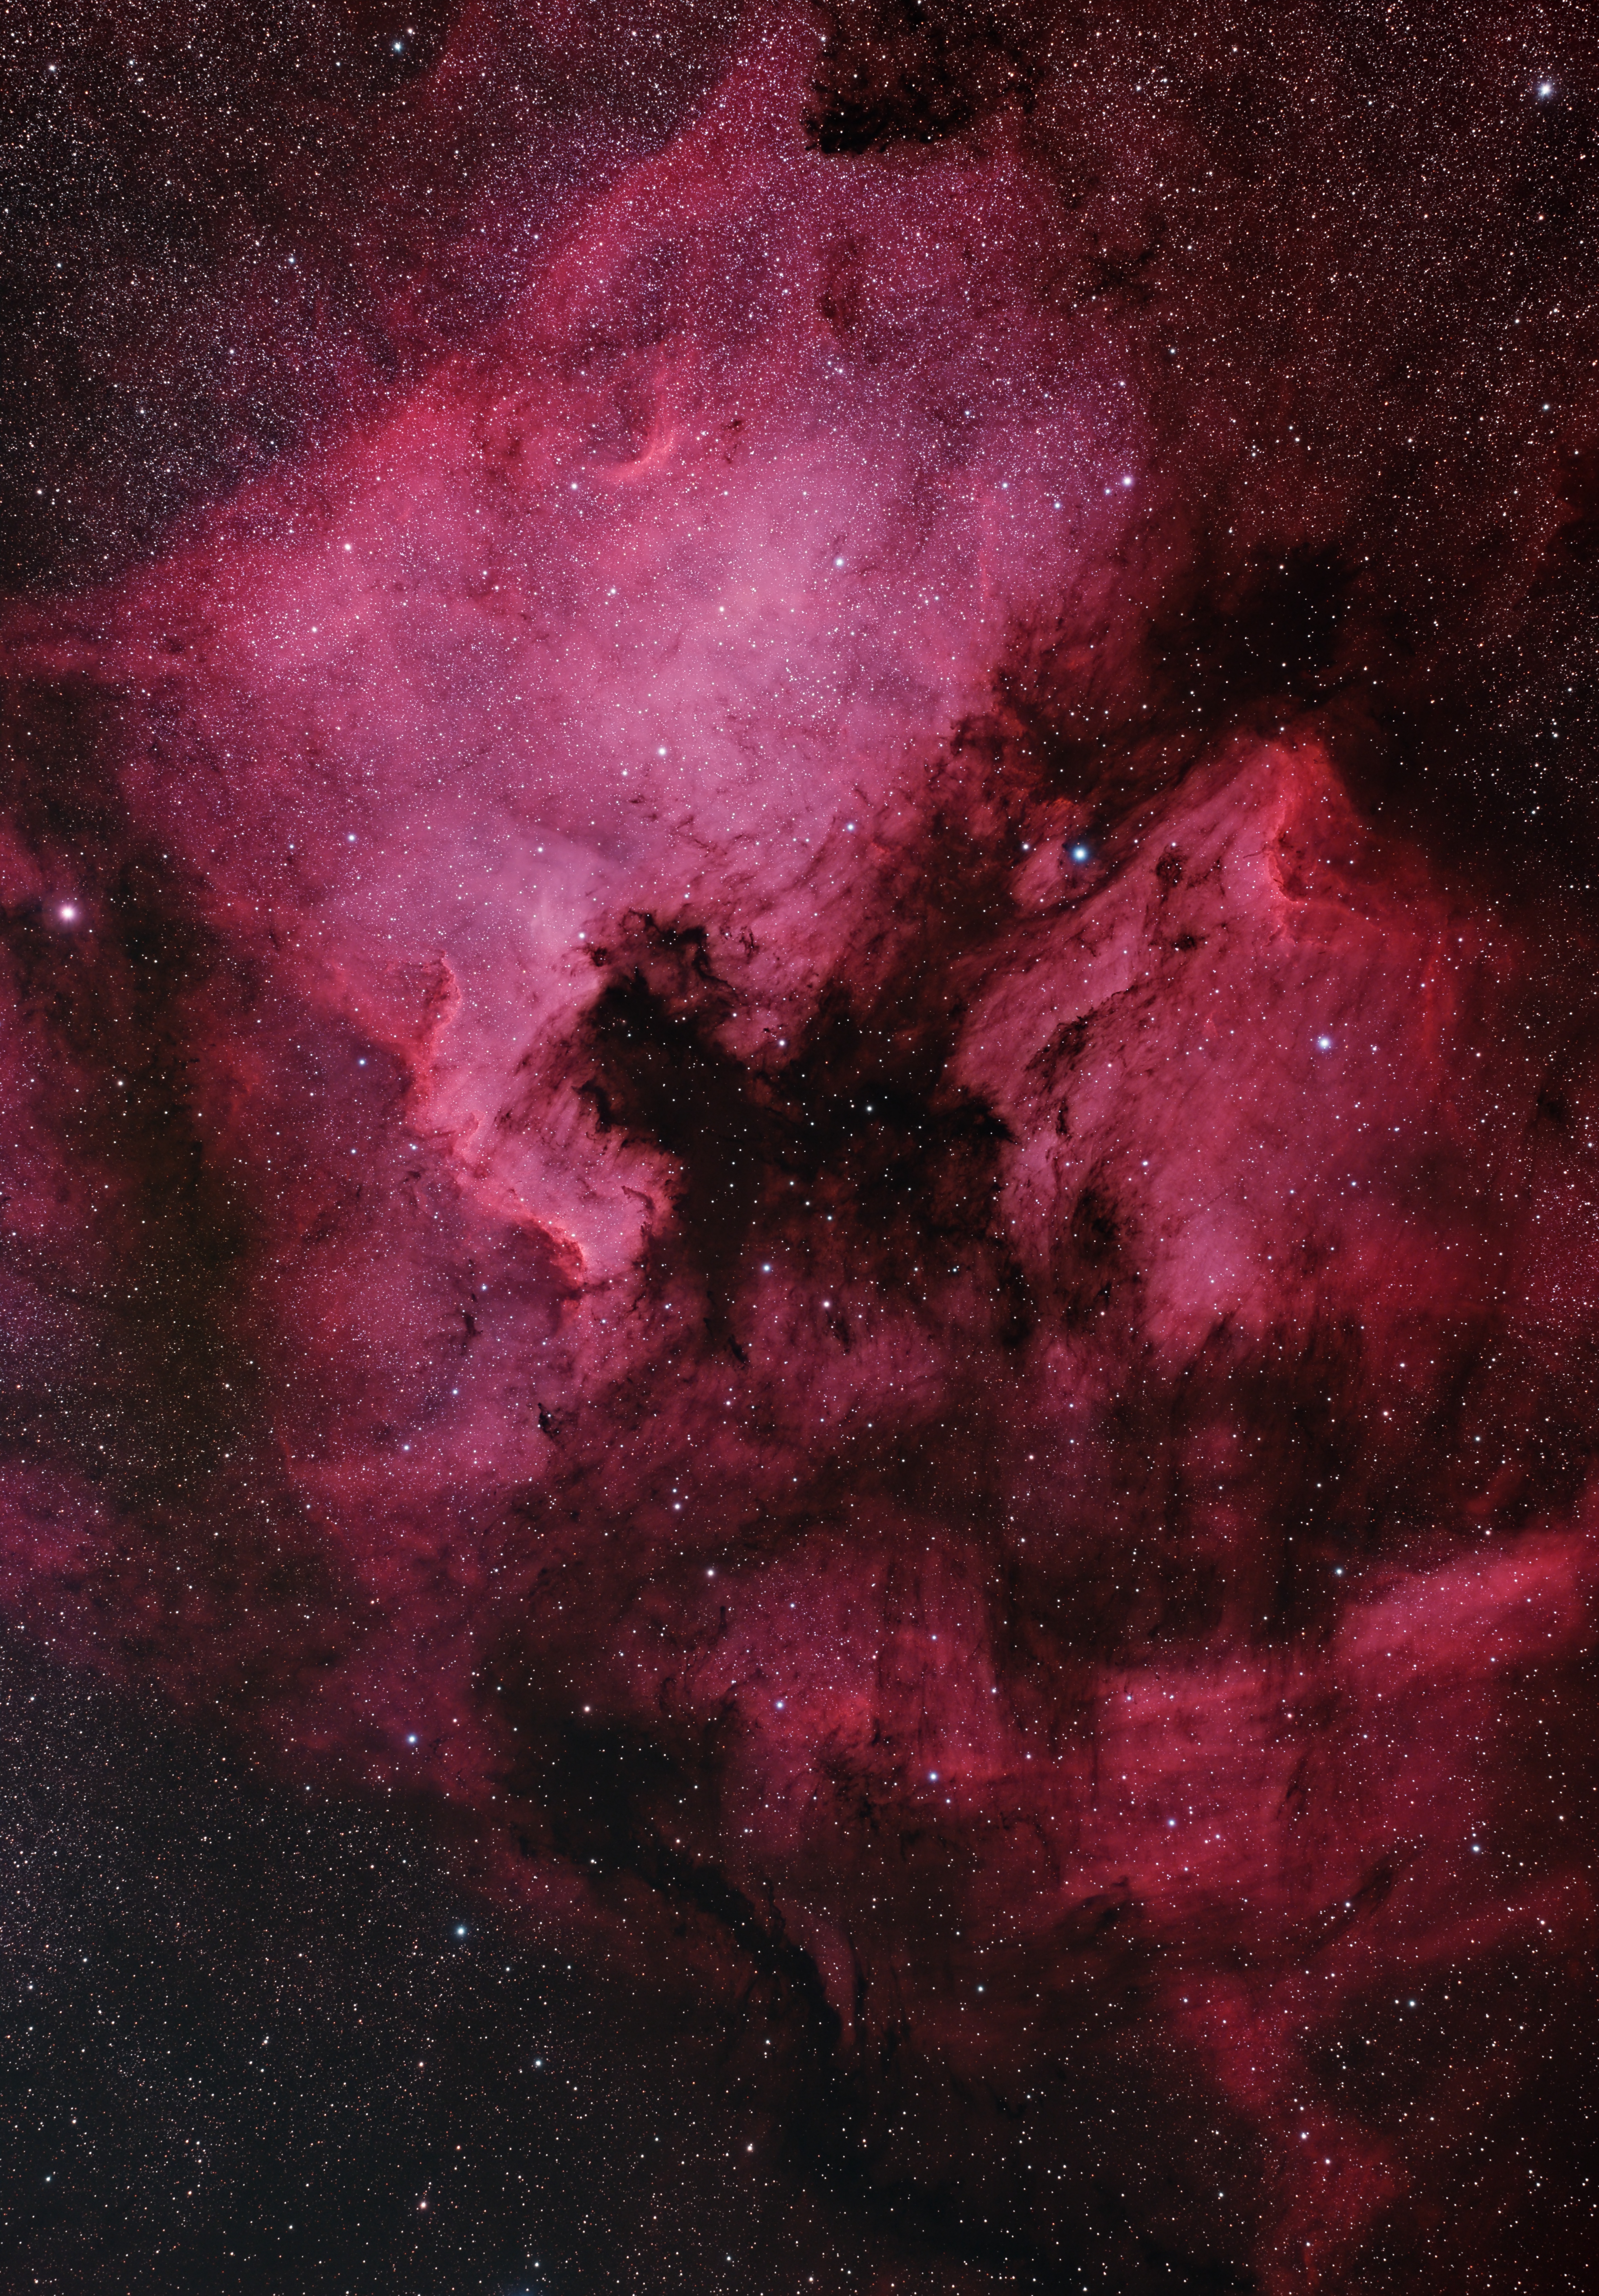
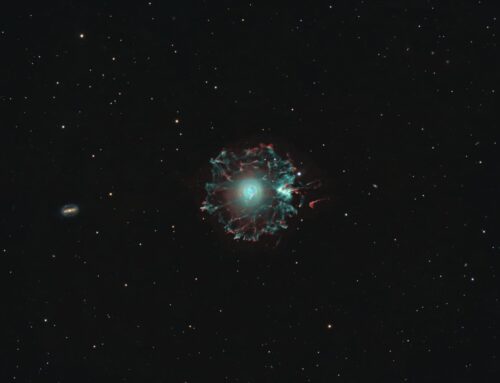
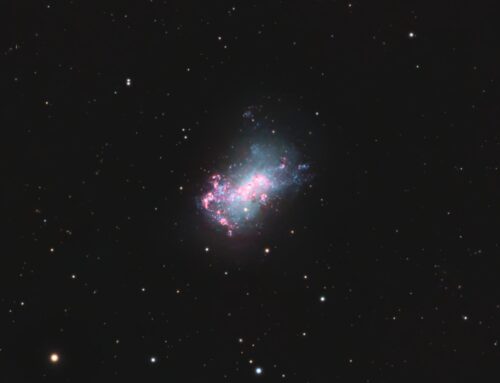
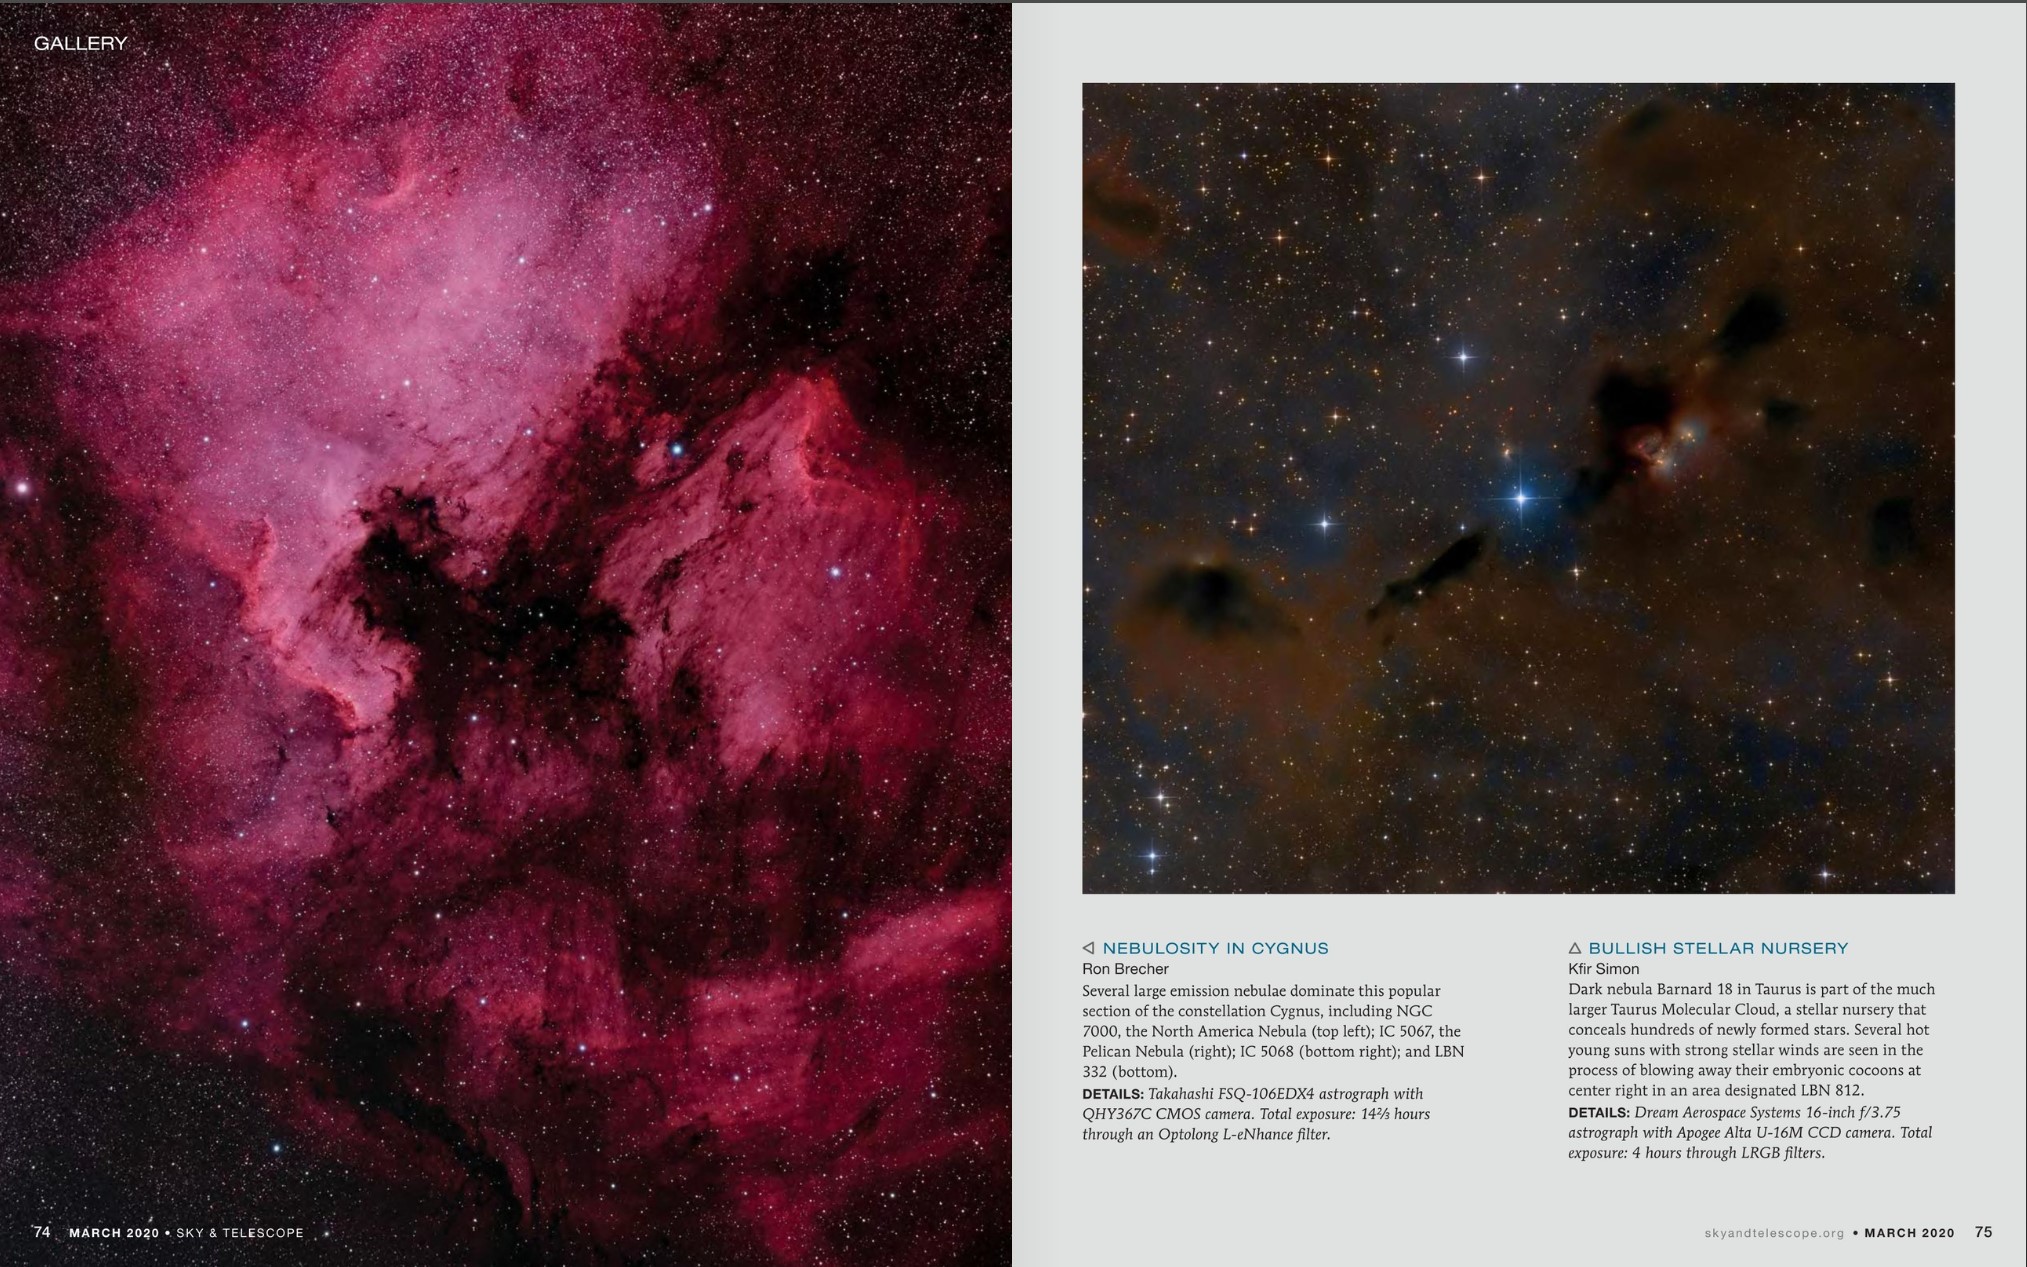 The North America Nebula (NGC 7000) dominates the upper left of this image, and the Pelican Nebula (NGC 5070) is to the right centre. Additional, related nebulosity fills the bottom third of the image. These clouds of gas are part of a huge complex of emission nebulae lying about 1,600 light years away in northern Cygnus.
In theory NGC 7000 is bright enough to see with the naked eye, but its light is very spread out making it a challenge. I have seen it with my naked eye and with low power binoculars in dark skies north of where I live. It looks like a faintly hazy, irregular patch of grey.
 Everyone sees things differently in these richly textured nebulae. To me the Pelican looks like a pterodactyl. Just yesterday, my wife Gail pointed out a dragon face that I will see from now on: Look in the dark rift between the Pelican’s eye and the east coast of North America. You’ll see a small round, pink nose with two bright eyes looking out at you as if from within a dark cave.
I have previously imaged parts of this region at higher resolution. For example, you can find images of the Cygnus Wall (the “Central America” region) and the Pelican. I’ve also imaged these objects in a wider field view.
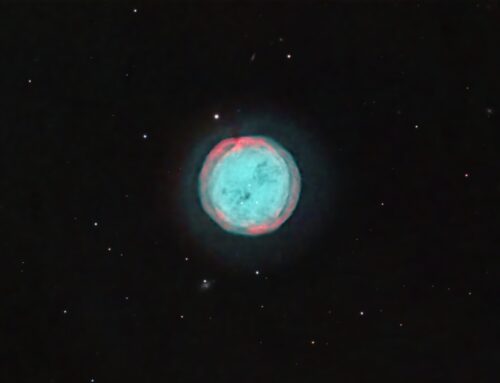
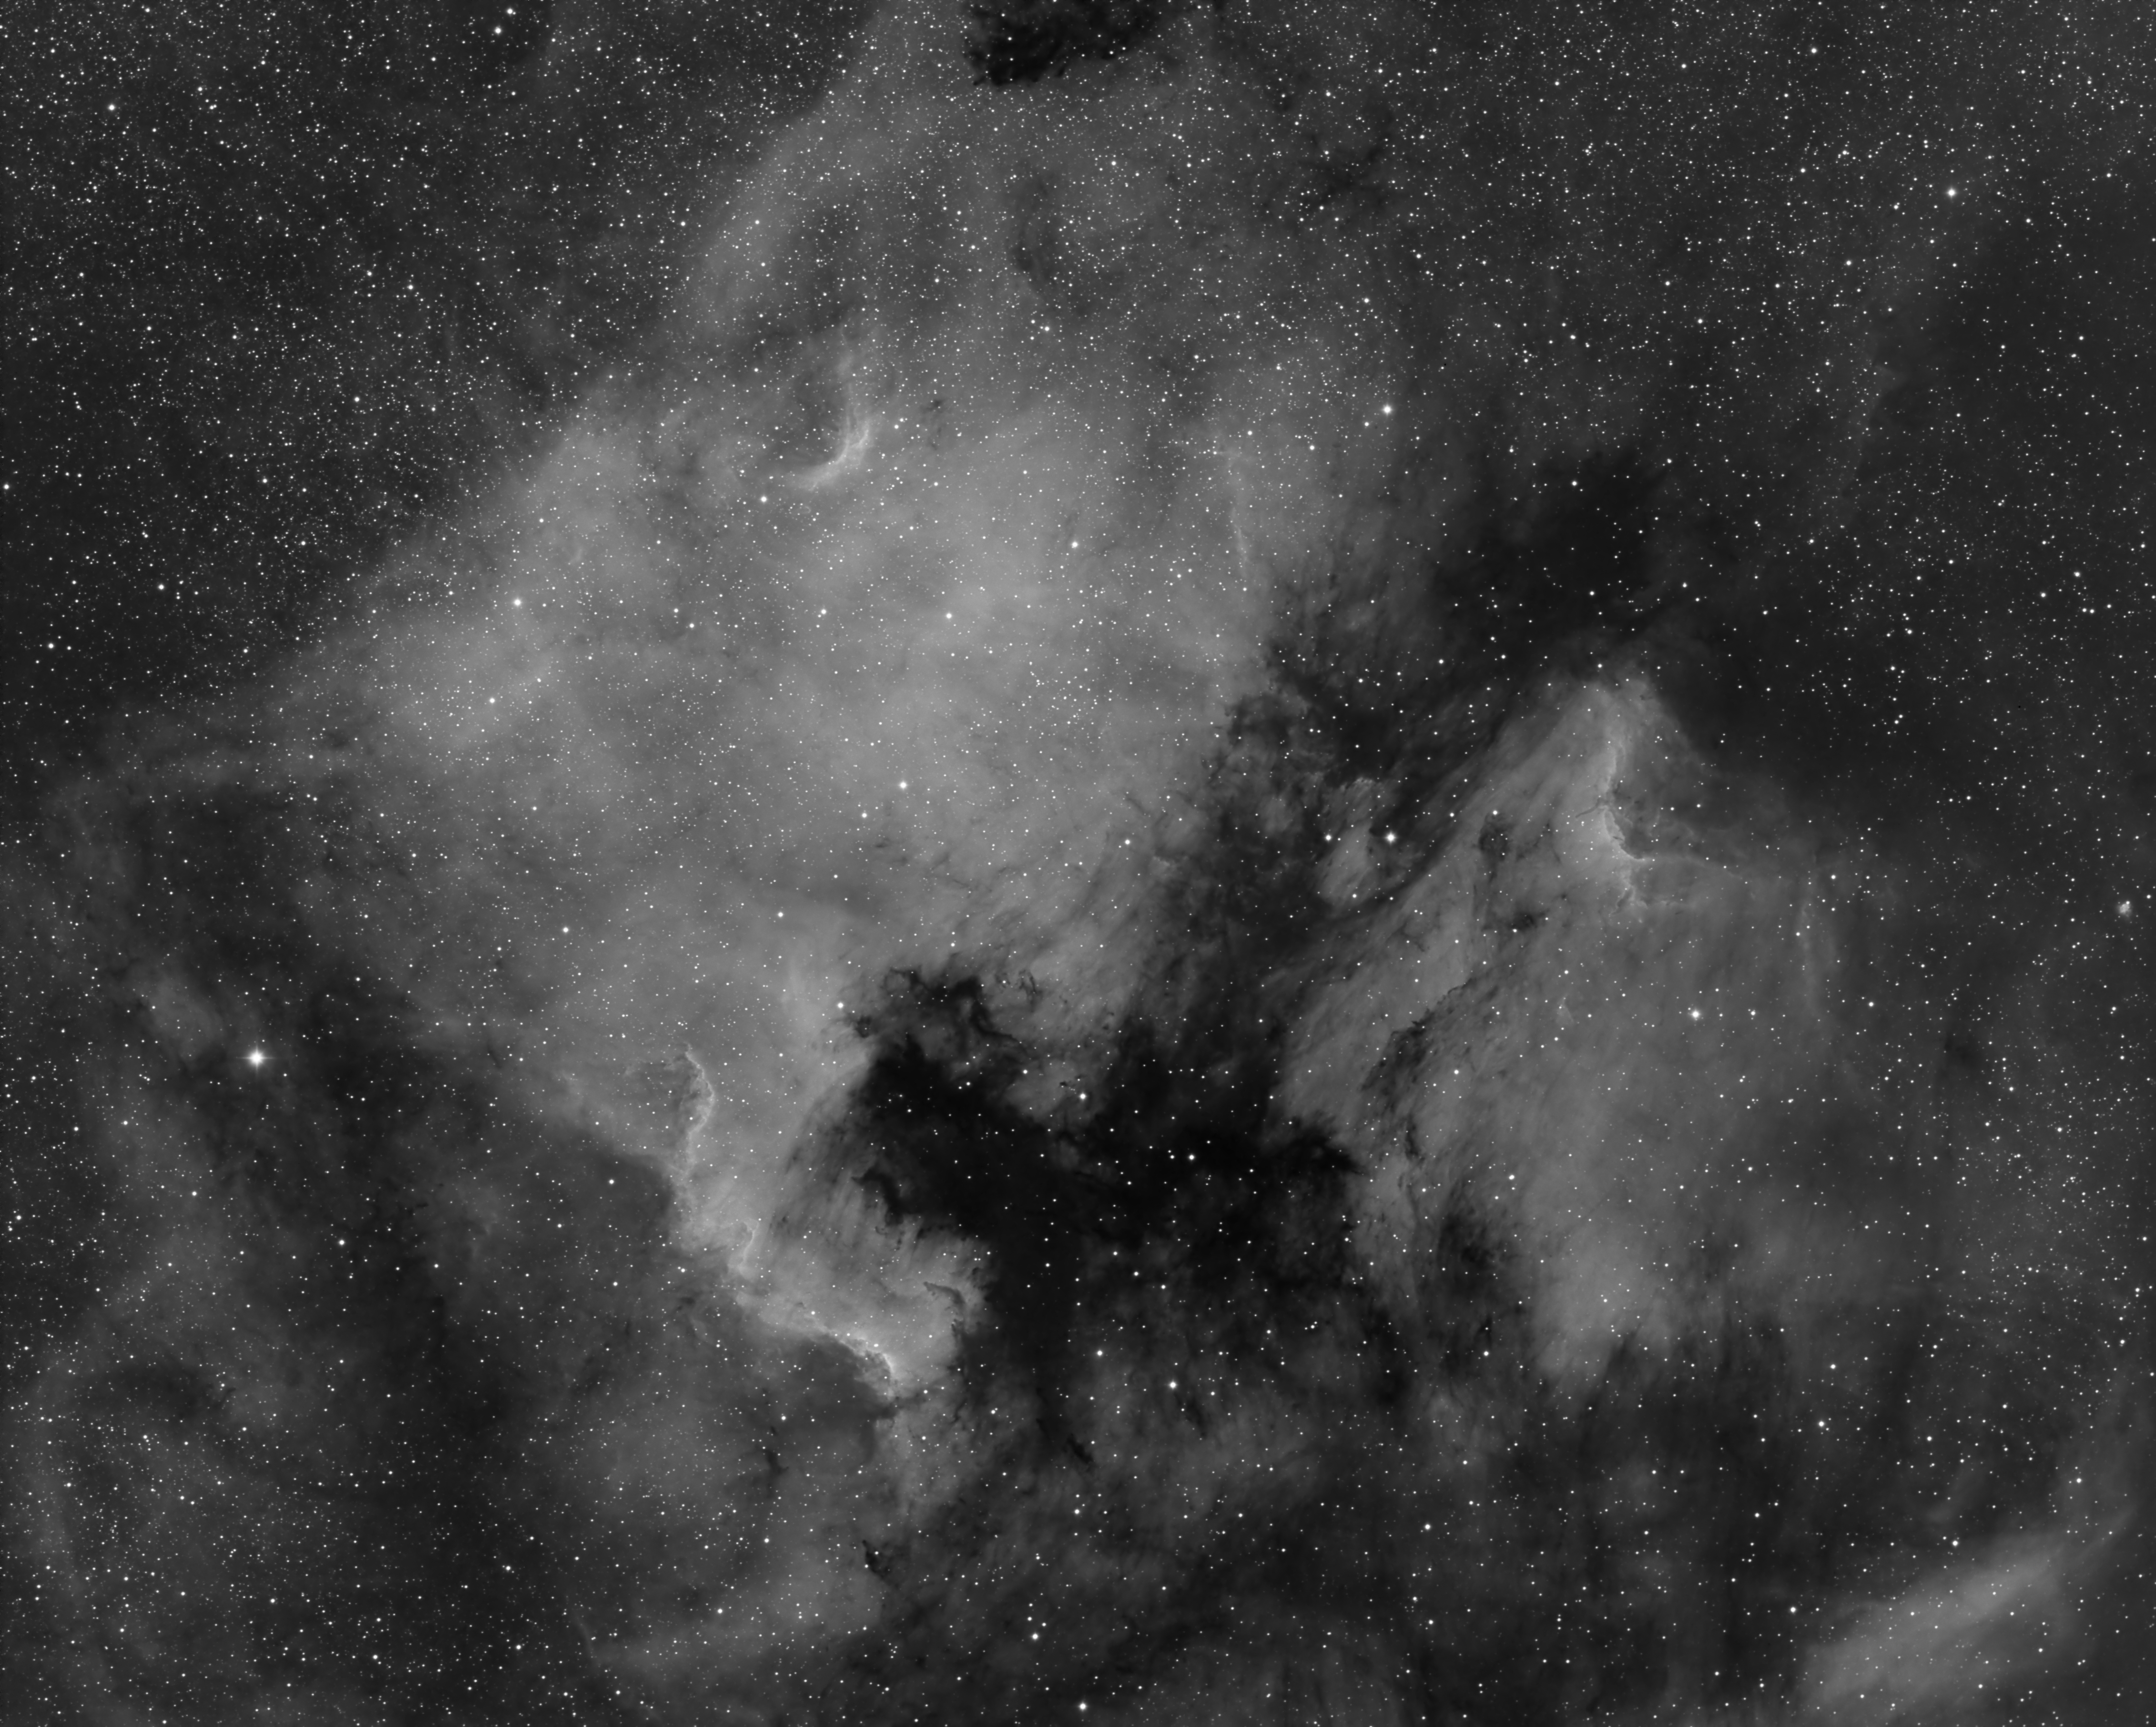 The image above was shot with a one-shot colour camera, but I have also imaged this object in greyscale through an H-alpha filter (image at right; click for full size).
Tekkies:
Takahashi FSQ-106 ED IV @ f/3.6, QHY367C one-shot colour camera, and Optolong L-eNhance narrowband filter, Paramount MX, unguided. Acquisition, and focusing with TheSkyX. Focus with Optec DirectSync focus motor and controller. Automation with CCDCommander. Equipment control with PrimaLuce Labs Eagle 3 Pro computer. All pre-processing and processing in PixInsight. Acquired from my SkyShed in Guelph. Waning crescent Moon, average to above average transparency and fair to average seeing. Data acquired July 22-26, 2019.
88x10m with Optolong L-eNhance filter (Total = 14hr40m)
Image scale 2.59 arcsec per pixel
Data Reduction and Cleanup
Preprocessing: The BatchPreProcessing script was used to perform calibration, debayering, and registration of all frames. ImageIntegration followed by DrizzleIntegration with the CFA Drizzle option was used to make the master, which was then cropped.
Gradient Removal: DynamicBackgroundExtraction was applied twice, first using Division and then Subtraction.
Channel Registration: To improve channel registration, the RGB colour channels were extracted and aligned with ImageIntegration, using 2D Surface Splines with Distortion Correction and the Green channel as the reference frame. The registered colour channels were recombined with RGBCombination.
Luminance Extraction: RGBWorkingSpace was applied to normalize the channels, and the Luminance was extracted for separate processing as described below.
Colour
Colour Balancing: The colour image was colour balanced with ColorCalibration (note; this did not correct star colours, since this image used a narrowband filter)
Linear Noise Reduction: MultiscaleLinearTransform was used to reduce noise in the background areas, using an internal mask to protect bright structures. Layer settings for threshold and strength: Layer 1: 3.0 0.9 Layer 2: 2.0, 0.75 Layer 3: 1.0, 0.6 Layer 4: 0.5, 0.2.
Stretching: HistogramTransformation was applied to make a pleasing, bright image, with background set to an intensity of approximately 0.10.
Luminance
Deconvolution: StarMask was applied with default settings to produce a Local Deringing Support Image. A clone of the image was stretched to use as a deconvolution mask. Deconvolution was applied (50 iterations, regularized Richardson-Lucy, external PSF made using PSFImage script with 50 stars). Because the image was so large, Deconvolution was applied to previews of the regions to be deconvolved, and the result inserted into the image using the SubstituteWithPreview script.
Linear Noise Reduction: MultiscaleLinearTransform was used to reduce noise in the background areas, using an internal mask to protect bright structures. Layer settings for threshold and strength: Layer 1: 3.0 0.9 Layer 2: 2.0, 0.75 Layer 3: 1.0, 0.6 Layer 4: 0.5, 0.2.
Stretching: HistogramTransformation was applied to make a pleasing, bright image, with background set to an intensity of approximately 0.10.
Recombining Luminance and RGB
LRGB Combination: The luminance image was applied to the RGB image using LRGBCombine with default settings.
Additional Processing
Nonlinear Noise Reduction: TGVDenoise was used in L*a*b* mode to reduce noise with a mask used to target the background areas and protect the stars (max. 1000 iterations and convergence selected for both lightness and chrominance).
Sharpening: MultiscaleLinearTransform targeting the lightness channel was used to sharpen Layers 2-4 with layers 2 and 3 with strengths of 0.2 and layer 4 having a strength of 0.08. A mask was used to limit sharpening to the the brightest regions of the nebula.
Final Steps: Background, nebula and star brightness, contrast, hue and colour saturation were adjusted in several iterations using CurvesTransformation with masks as required. The image scale was returned to the native scale of the camera/telescope using IntegerResample to downsample by a factor 2.
Being disabled, I have difficulty getting to dark skies. My sky is 1 nautical mile due south of the Centre of the universe.
Consequently, because of forest cover, I have similar viewing opportunities to the DAO, but on a much restricted sky, and not the level of darkness as you achieve for these fantastic celestial images.
Beautifully done, nice amount of detail here, lovely wide field.
indeed I won’t be able to unsee the lizard