The Pelican Nebula
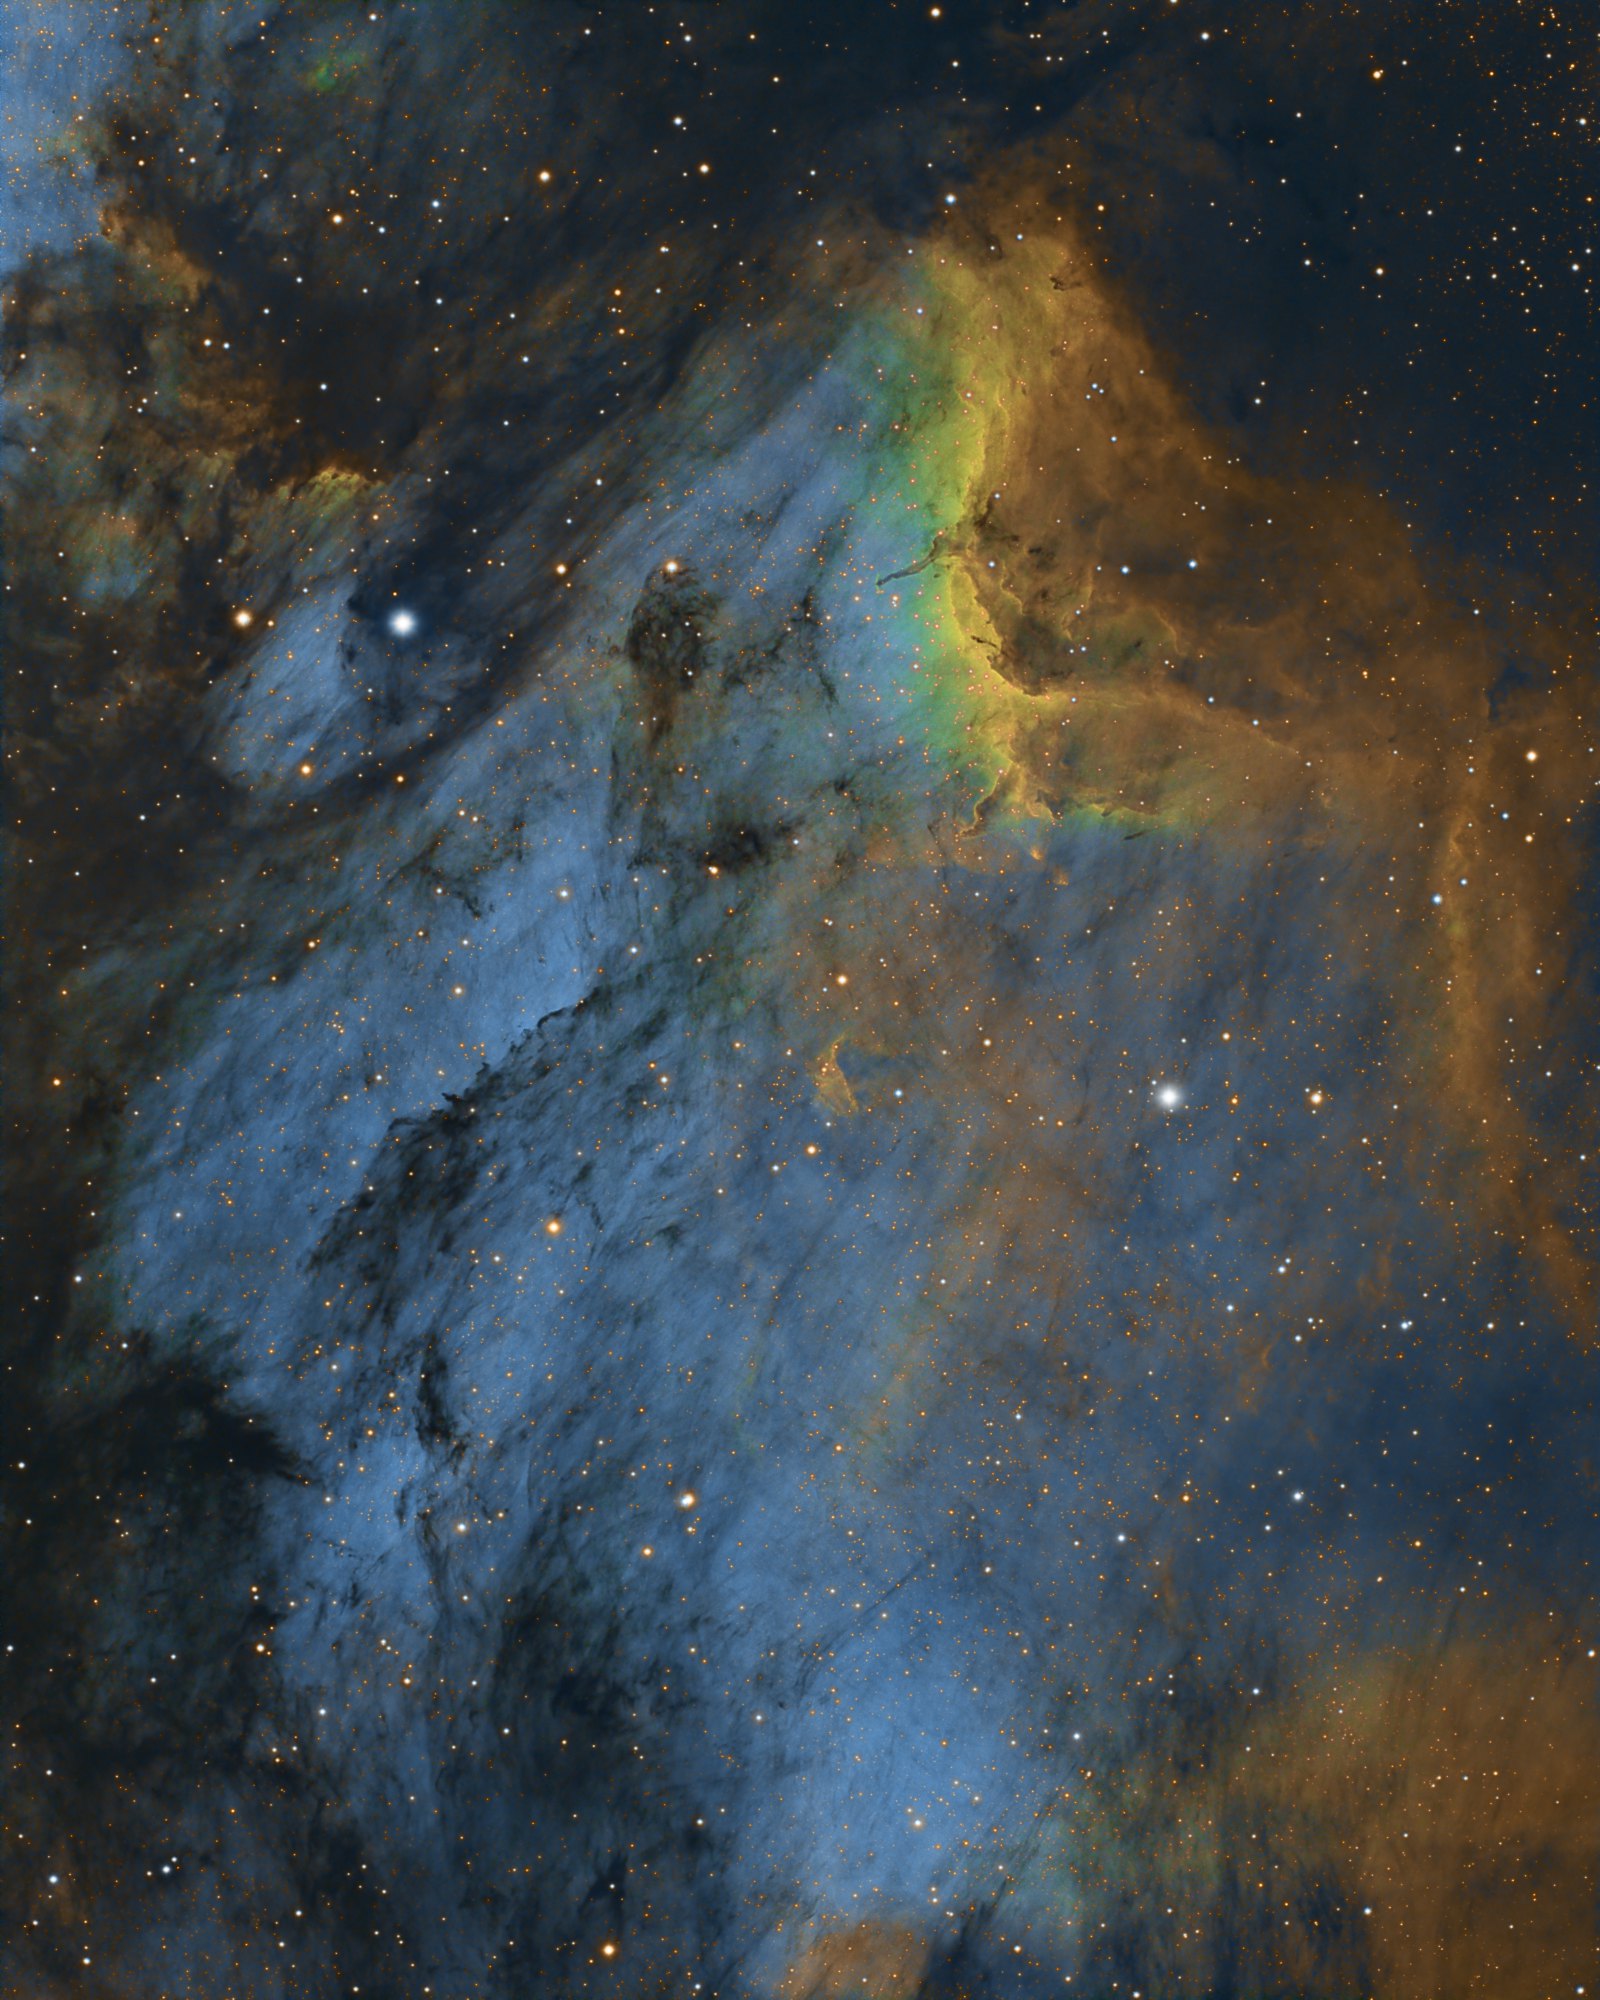 Click image for full size version
October 14, 2020
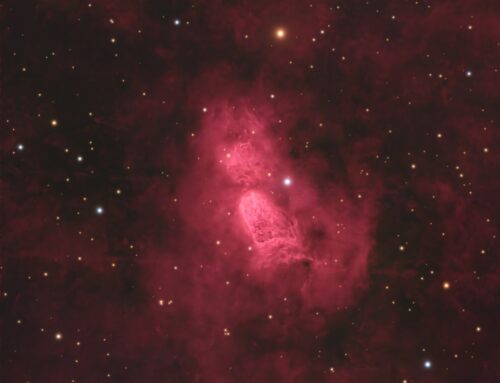
The Pelican Nebula lies next to the North American Nebula near the bright star Deneb, in Cygnus. Deneb is easy to find high in the eastern sky in the evening during mid to late summer. It is one of the stars of the “Summer Triangle” (you can look up the Summer Triangle online — it’s easy to find with the naked eye, and a good way to start learning the sky). I see a pterodactyl rather than a pelican. A couple of people have told me that they see an elephant if they turn the image 90 degrees counterclockwise. The pterodactyl’s crown becomes the elephant’s trunk! What do you see?
The Pelican Nebula region is made up of two objects – IC5067 and IC5070 and is about 1,800 light years distant. The bright ridge on the crown shows a couple of dark fingers associated with Herbig-Haro object 555. Herbig-Harrow objects are associated with newly-born stars.
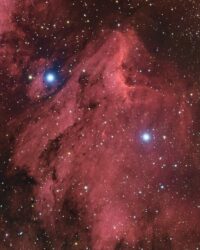 The above image was taken using narrowband filters that pass only a few wavelengths from sulfur, hydrogen and oxygen, which are mapped to red, green and blue. This false-colour or “tone-mapped” palette is aesthetically pleasing, and reveals structures that broadband natural colour images can’t. Hydrogen and sulfur both emit red light, and can’t be distinguished in the broadband image I made of this region simultaneously, which is shown at left.
Tekkies:
Acquisition, focusing, and control of Paramount MX mount, unguided, with TheSkyX. Focus with Optec DirectSync motor and controller. Automation with CCDCommander. Equipment control with PrimaLuce Labs Eagle 3 Pro computer. All pre-processing and processing in PixInsight. Acquired from my SkyShed in Guelph. Average transparency and seeing. Data acquired September 3-21, 2020 in a mostly moonless sky.
Narrowband: Sky-Watcher Esprit 150 f/7 refractor and QHY 16200-A camera with Optolong H-alpha, O(III) and S(II) filters
Chrominance: Takahashi FSQ-106 ED IV @ f/5 and QHY367C Pro one-shot colour camera with Optolong UV/IR filter
O3: 37 x 10m = 6hr10m
Data Reduction and Cleanup
The WeightedBatchPreProcessing script was used to perform calibration, cosmetic correction, registration and integration of all frames.
Chrominance
Creation and cleanup: The S2, Ha and O3 were combined to make an RGB image. DynamicBackgroundExtraction and BackgroundNeutralization were applied to the image.
Linear Noise Reduction: MultiscaleLinearTransform was used to reduce noise in the RGB image. Layer settings for threshold and strength: Layer 1: 4.0 0.8 Layer 2: 3, 0.7 Layer 3: 2., 0.6 Layer 4: 1.0, 0.2 Layer 5: 0.5, 0.1.
Stretching: HistogramTransformation was applied to make a pleasing, bright image, with background set to an intensity of approximately 0.125
Luminance
Creation of Synthetic Luminance: ImageIntegration was used to make a noise-weighted average of the three masters. This was used as synthetic luminance.
Deconvolution: A star mask was made to use as a Local Deringing Support image. A copy of the luminance image was stretched to use as a range mask. Deconvolution was applied (80 iterations, regularized Richardson-Lucy, external PSF made using PSFImage script with about 30 stars).
Linear Noise Reduction: MultiscaleLinearTransform was used to reduce noise in the background areas, using an internal mask to protect bright structures. Layer settings for threshold and strength: Layer 1: 3.0 0.9 Layer 2: 2.0, 0.75 Layer 3: 1.0, 0.6 Layer 4: 0.5, 0.2.
Stretching: HistogramTransformation was applied to make a pleasing, bright image, with background set to an intensity of approximately 0.125.
Combining Luminance and RGB
LRGB Combination: The synthetic luminance was applied to the RGB image using LRGBCombine with default settings.
Additional Processing
Nonlinear Noise Reduction: TGVDenoise was used in L*a*b* mode to reduce noise with a mask used to mainly target the background areas and protect the stars (max. 1000 iterations and convergence selected for both luminance and chrominance).
Contrast Enhancement: LocalHistogramEqualization was applied twice using a mask to select the bright parts of the nebula and protect stars and background. The first pass was with a scale of 50 (max contrast 1.5, strength 0.32, 1 iteration), followed by a scale of 150 (max contrast 1.5, strength 0.22, 1 iteration).
Sharpening: MultiscaleLinearTransform was used to sharpen Layers 2 and 3 with strengths of 0.1 for both. A mask was used to limit sharpening to high-signal areas and to protect the stars and background regions.
Hue Adjustment: The ColorMask script was used to create a mask to select green regions. The green was transformed towards blue, and yellows towards red, using the Hue adjustment of CurvesTransformation. The Hue channel from the RGB image shown above was used to replace the Hue channel of the narrowband image through a star mask, to impart a more natural colour to the brighter stars.
Final Steps: Background, nebula and star brightness, contrast, saturation and hue were adjusted in several iterations using CurvesTransformation with masks as required. ICCProfileTransformation (sRGB IEC61966-2.1; Relative Colorimetric with black point compensation) was applied prior to saving as a jpg.

I see a beautiful image notwithstanding anthropomorphizing it!
Good thing we hominids are safe on planet earth with Ron to showcase the remote skies to us!
AWESOME! No other word comes close!
Ron that is an awesome image!
I just read in Amateur Astronomy Magazine that you are a new associate editor, I enjoyed reading your article, “Choosing An Imaging Target”, good reading.
Thank you for sharing your astrophotography knowledge, maybe my images will improve.
Nicely done, what an interesting region, the two Herbig-Hero objects are fascinating.
Hello. Incredible detail. Very well done. I am new to this endeavour/addiction and my SHO Pelican Nebula shot comes out excessively green using the hubble palette. I have accepted that since there is such a strong Ha signal and Ha is mapped to green. How do you get such a blue image when you capture half the exposure time of a weaker OIII signal? Just trying to learn. Thank you.
I use the hue slider in PixInsight’s CurvesTransformation tool.