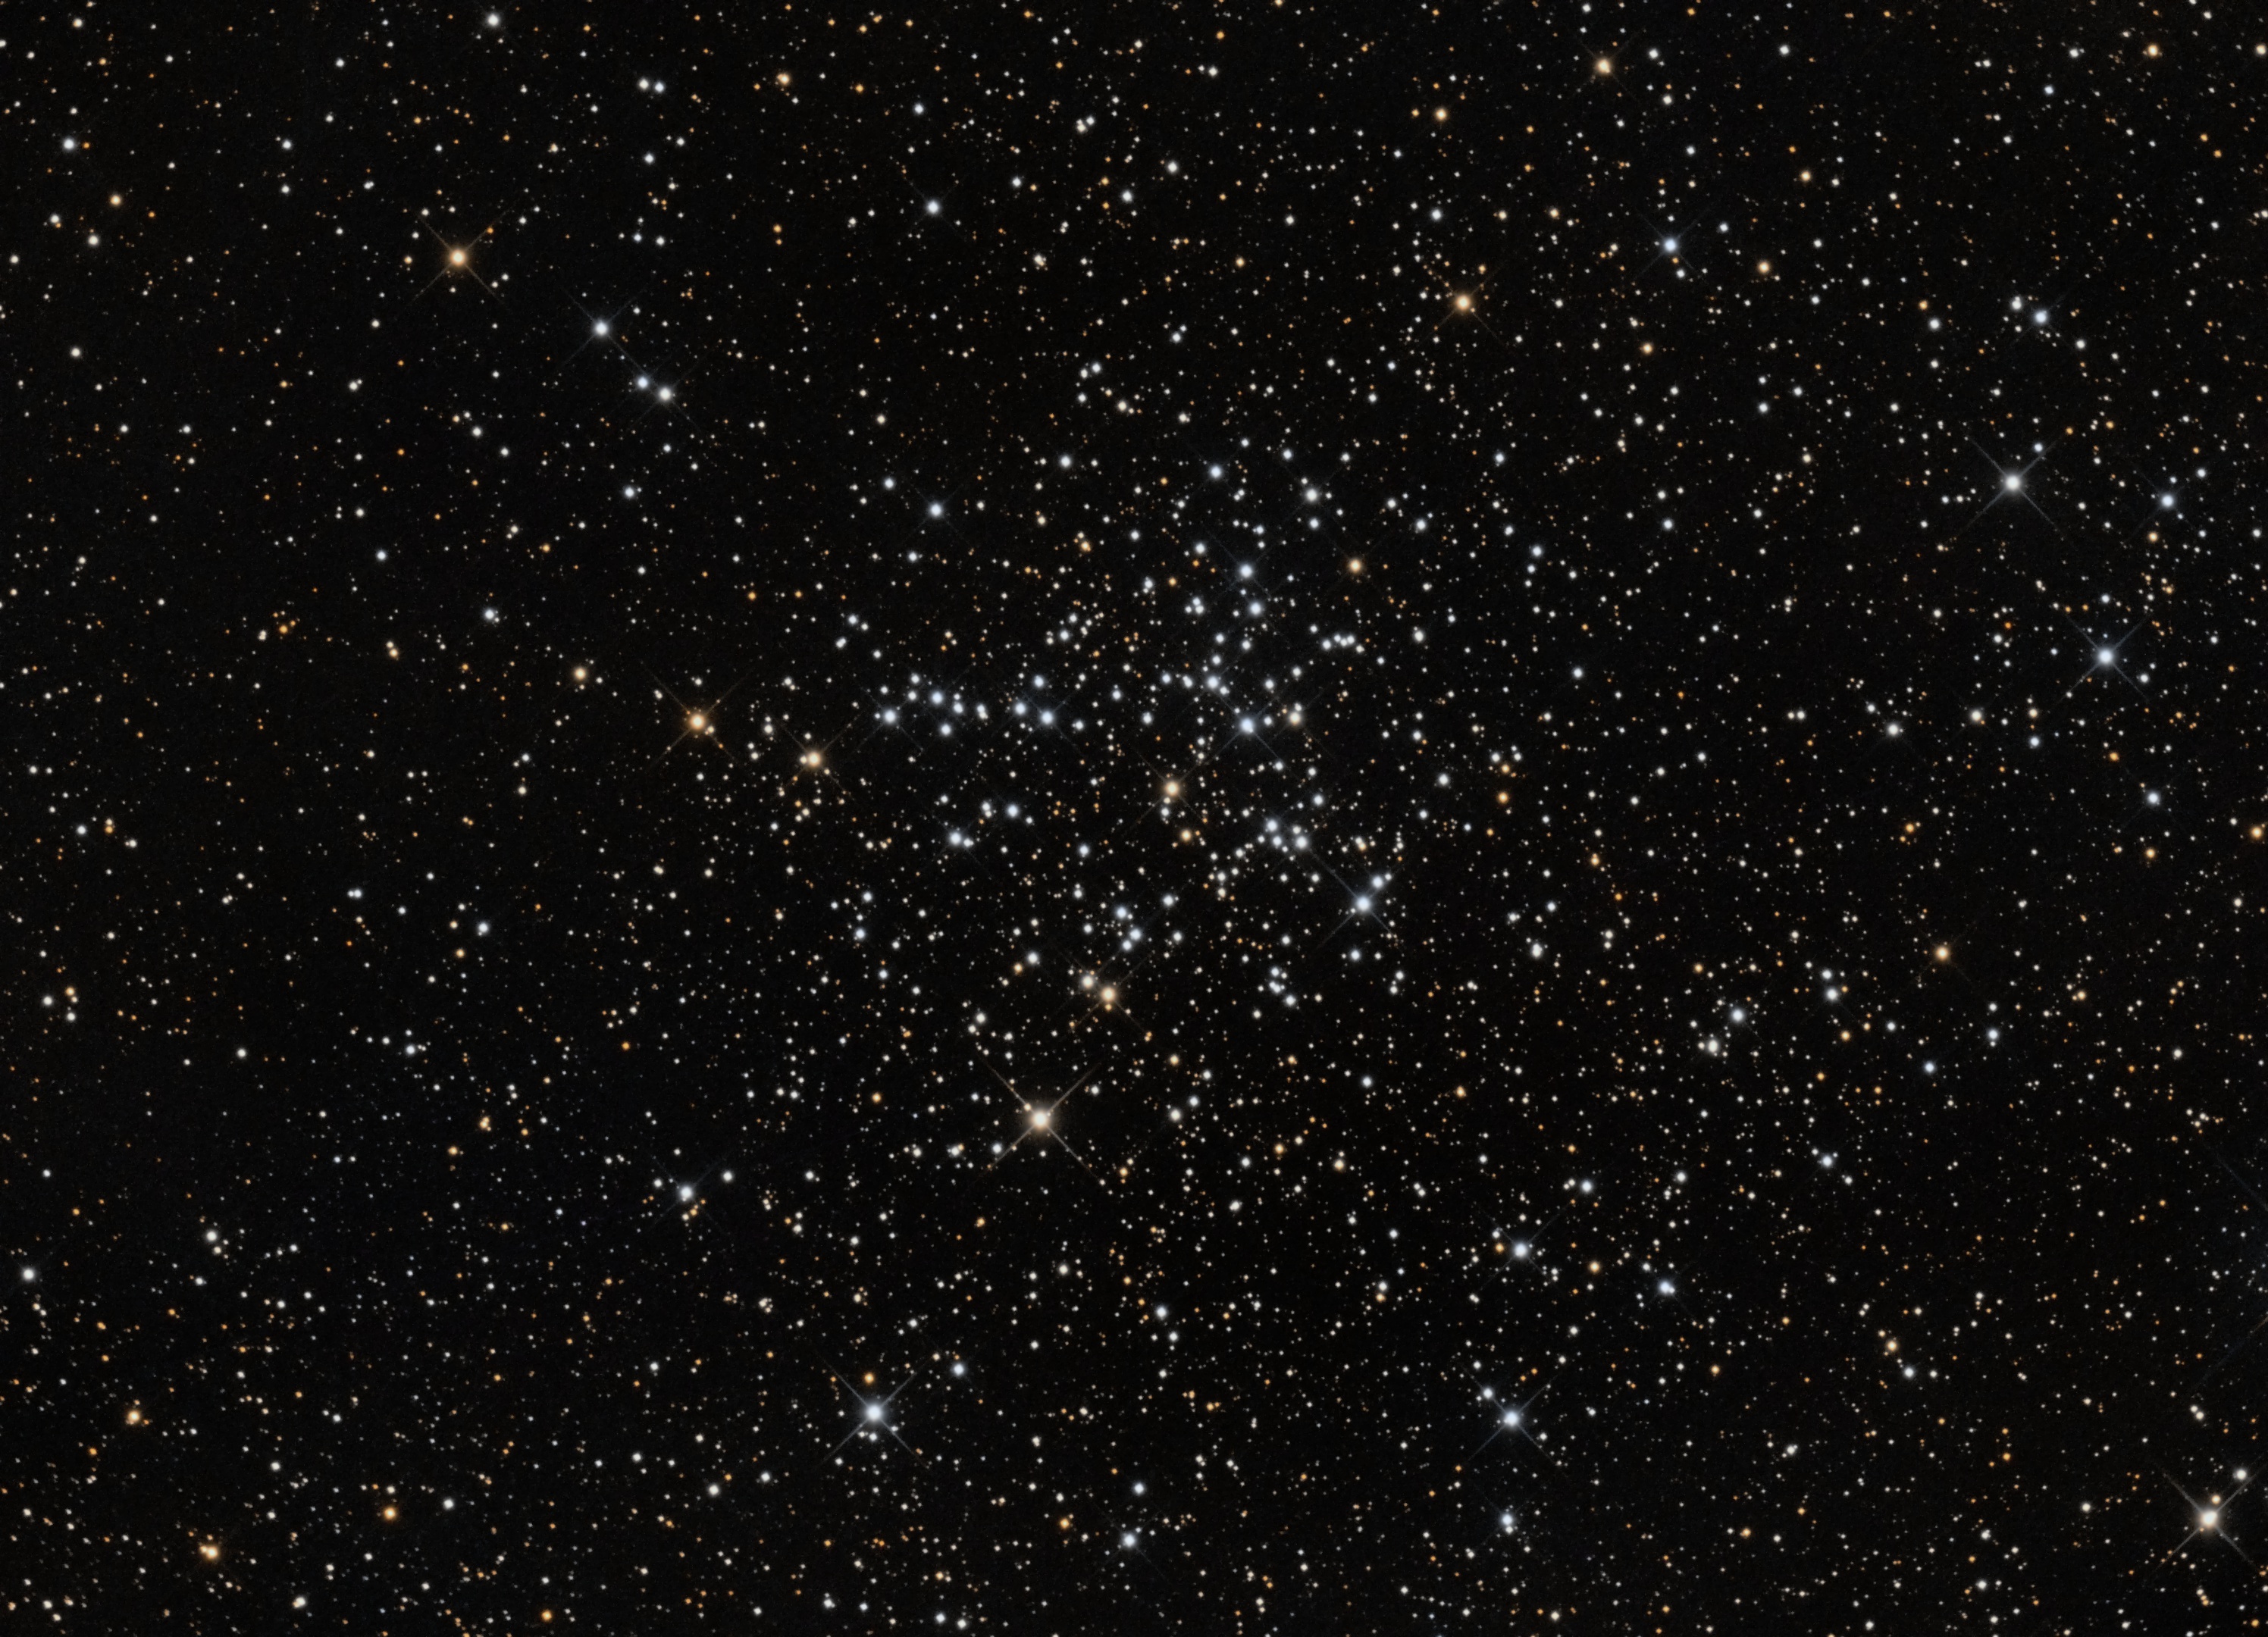
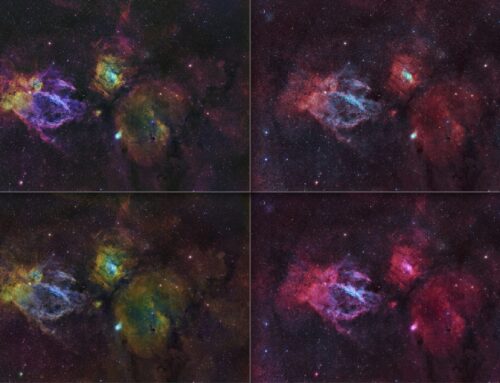
M38 Open Cluster
Click image for full size version
January 2, 2015; Astronomy Magazine Picture of the Day March 12, 2015
 The weather has been terrible for weeks. Finally, on December 19, 2014, the forecast was for the evening to start with intermittent cloud, followed by socked-in overcast, followed by an hour of clear sky. I had some equipment testing to do, so I decided to take advantage of it and focus on a bright object that I could finish in one so-so night. I decided to target M38, one of the many splashy open clusters in Auriga, the Charioteer. I had to come back three more times to get enough data for this image.
Open clusters are great to look at through the eyepiece, but I find that they tend to be under-represented in astrophotos, compared to galaxies and nebulae. M38 is similar in size but a little less rich to my eye compared to neighbouring M37. Both of them (and companion M36) are around 3,400 light years away. M38 is around 25 light years across, and appears to be about 2/3 the width of the full moon in the sky. Definitely have a look at it with binoculars!
The brightest star in the cluster (yellow star above centre) is a yellow giant with about 900 times the luminosity of the Sun.
Tekkies:
10″ ASA @ f/6.8 on a Paramount MX. SBIG STL-11000 with Baader RGB and Ha filters. Guiding with 80 mm f/6 Stellar-Vue refractor and camera’s Remote Guide Head. Mount control with TheSkyX. Acquisition with MaximDL. Focusing with FocusMax. Scripting using CCDCommander. All pre-processing and processing in PixInsight. No moon. Good transparency and poor seeingfor R, G, B and Ha. Acquired from my SkyShed in Guelph, ON.
3x3m + 7x5m R, 10x3m + 6x5m G, 5x3m + 6x5m B (total = 2hr29m)
RGB:
R, G and B masters were cropped to remove edge artifacts from stacking. The R, G and B channels were combined to make an RGB image which was processed with DBE and ColourCalibration. HistogramTransformation was applied, followed by TGVDenoise and another HistogramTransformation to reset the black point.
Synthetic Luminance:
Creation and cleanup: The R,G and Bmasters were combined using the ImageIntegration tool (average, additive with scaling, noise evaluation, iterative K-sigma / biweight midvariance, no pixel rejection). DBE was applied to neutralize the background.
Stretching: HistogramTransformation was applied, followed by TGV Denoise and another HistogramTransformation to reset the black point. No pixels were clipped during either stretch.
Combining SynthL with RGB:
The luminance channel of the RGB was extracted, processed and then added back into the RGB image as follows:
1. Extract luminance from the RGB image.
2. Apply LinearFit using the SynthL channel as a reference.
3. Use ChannelCombination in the Lab mode to replace the luminance of the RGB with the fitted luminance from step 2.
4. LRGBCombine was then used to make a SynthLRGB image.
Final Processing
LinearMultiscaleTransform was applied to a copy of the image to sharpen the first 4 wavelet layers (no residual). This was used as a mask to allow increased saturation in star cores, decreased colour in the background, and noise reduction in the background. Convolution was applied to the star cores and curves were adjusted slightly.
Image scale is about 1.1 arcsec per pixel for this camera / telescope combination.
Leave A Comment