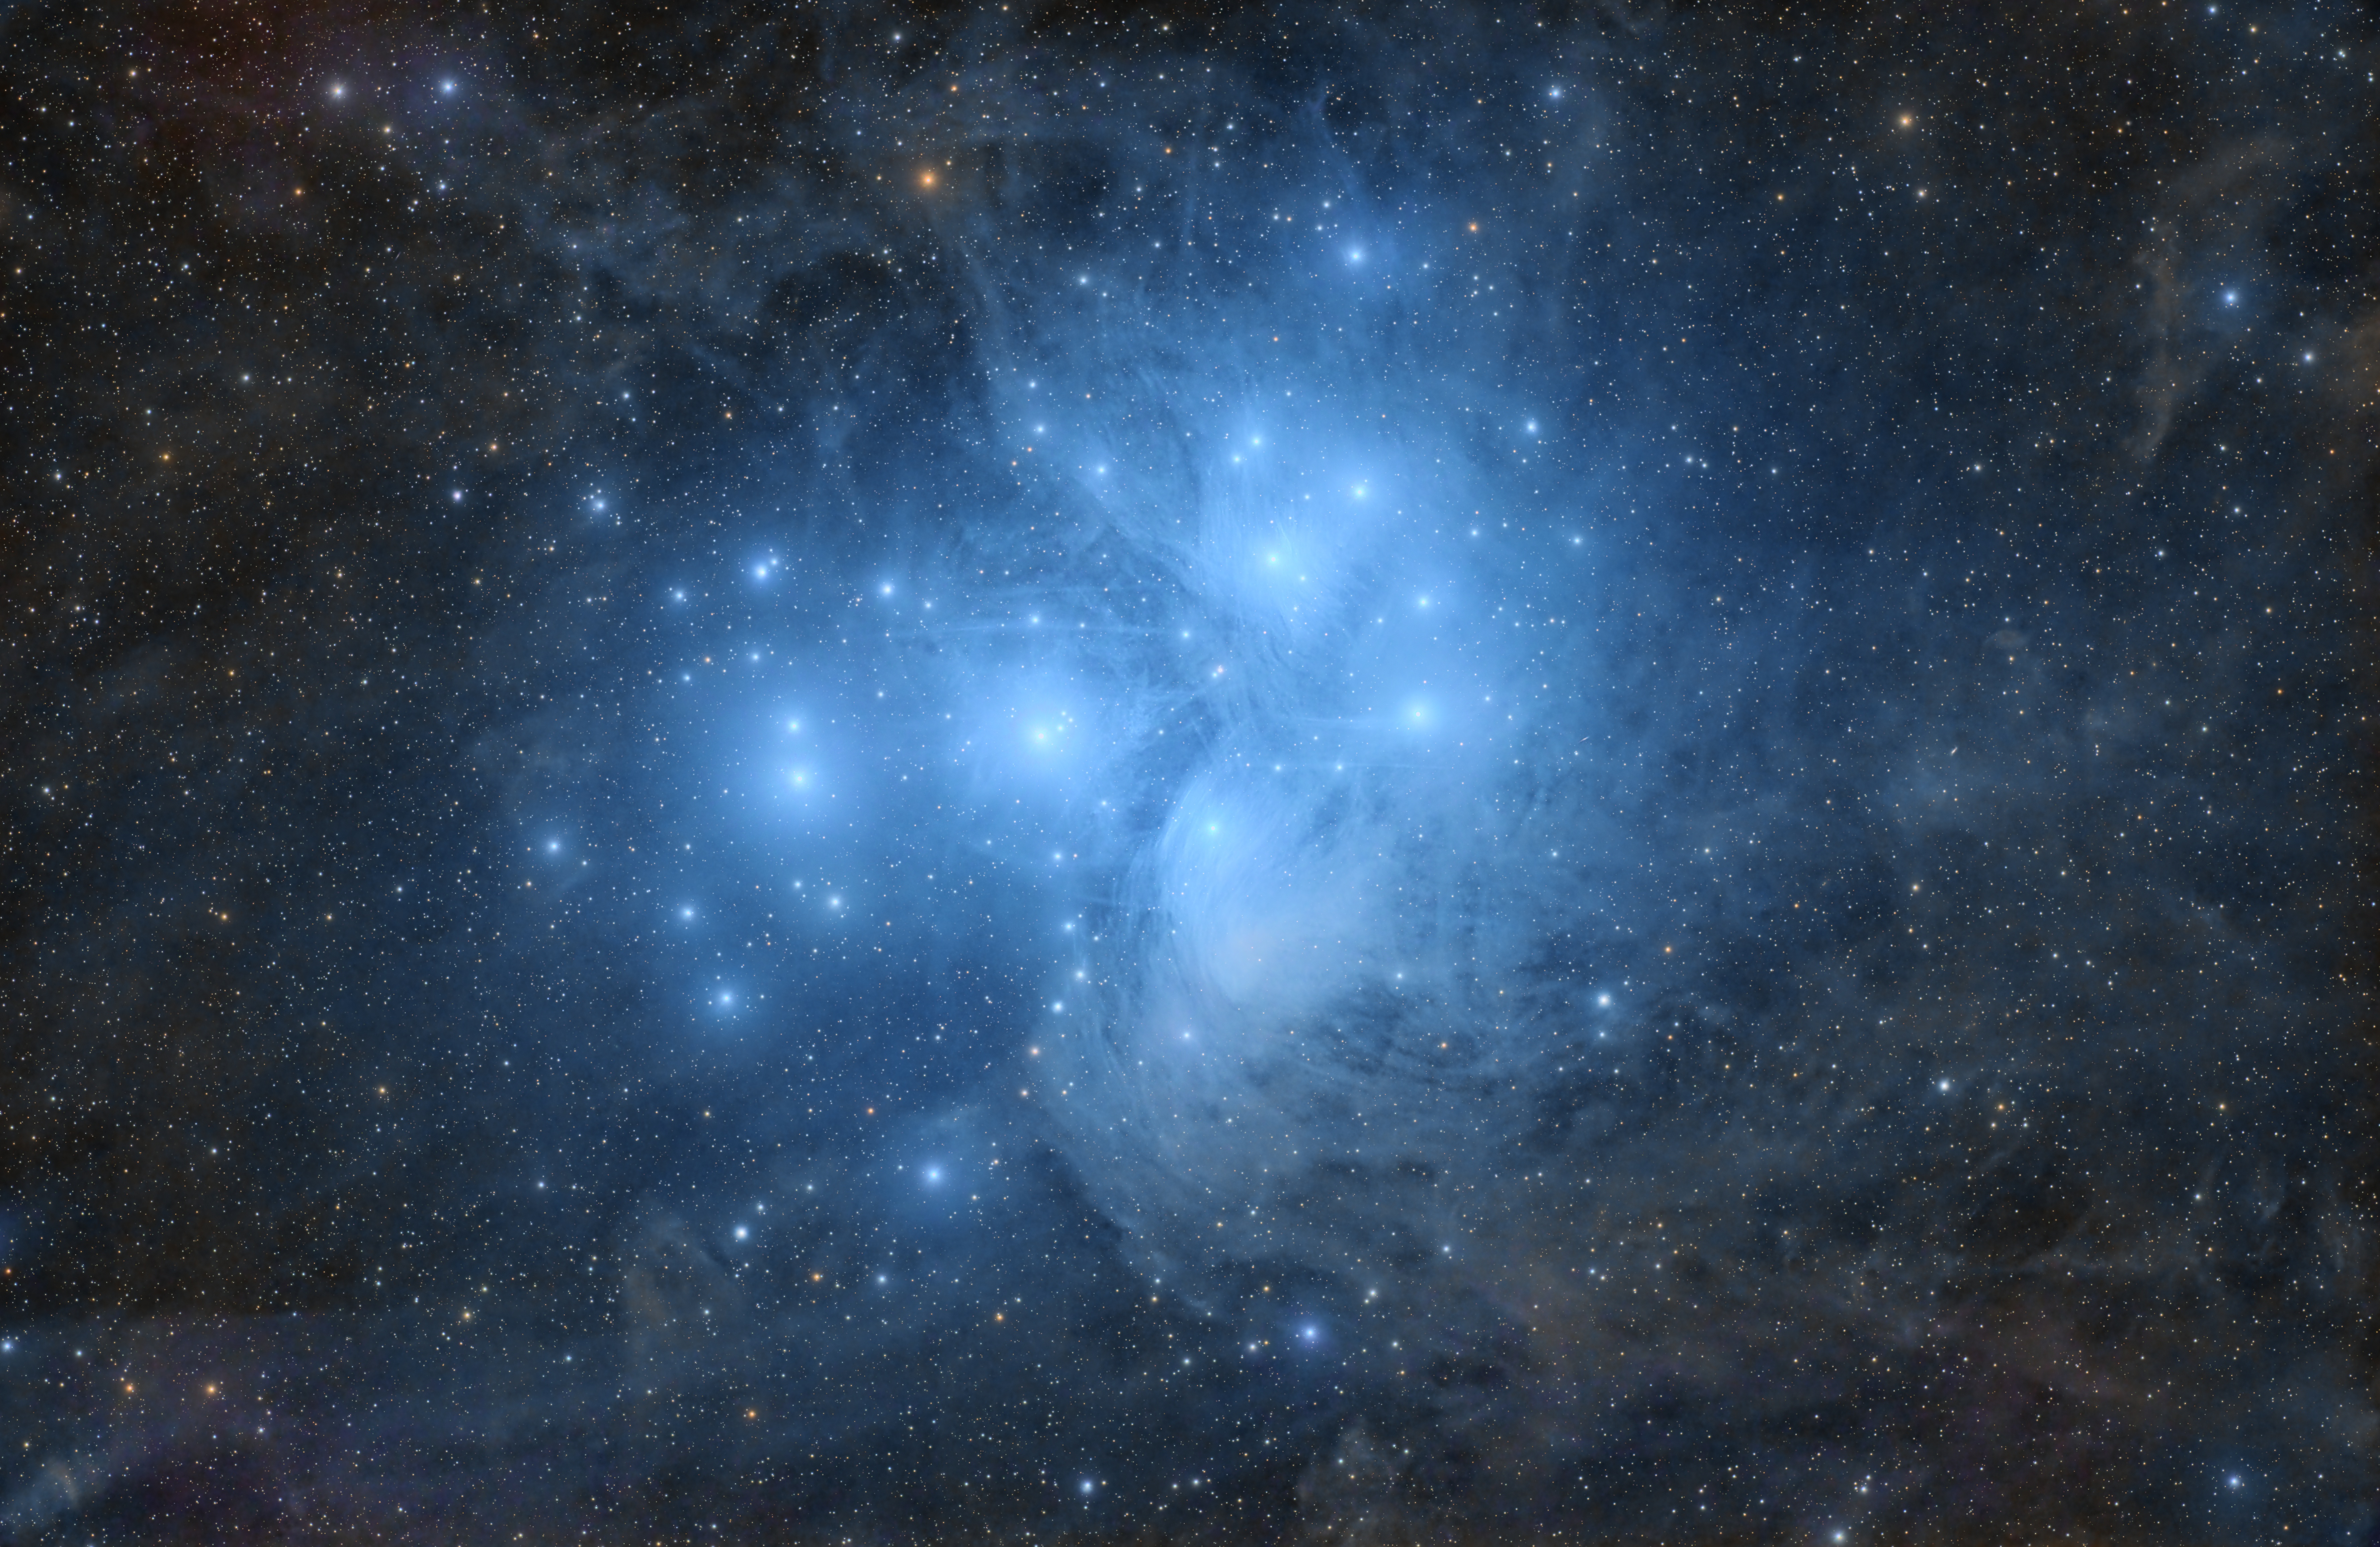
M45 – The Pleiades
Click image for full size version
July 30, 2023
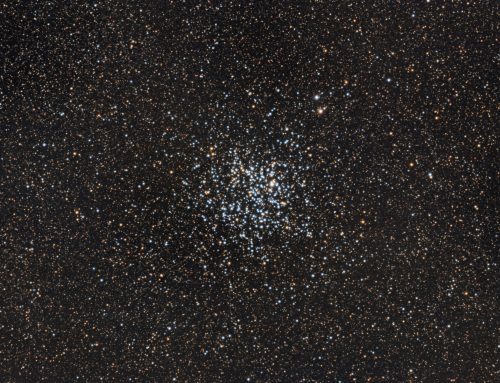
M45 is better known as the Pleiades, or the Seven Sisters. In Latin America, it’s called “the Seven Kids”, referring to baby goats. It is one of the objects that I image with every setup, because it is bright, beautiful, and a real challenge to process.
The Pleiades was observed and written about long before Messier catalogued it. Galileo published a sketch in 1610 that showed 36 stars that he could see with his telescope. The earliest known depiction of the Pleiades is from is about 17,000 years old: a cave drawing in the Lascaux Cave in France. If you get a chance, have a look at this object through binoculars. It is spectacular and well placed for imaging in winter in the northern hemisphere.
The blue haze around this star cluster is a reflection nebula – star light is being reflected of soot/dust particles in the background. There’s also some pinkish emission nebula (NGC 1435) in the lower portion of the nebula and dim brownish dust mottling the outer parts of this field (called “cirrus”). M45 is about 440 light years from us and contains at least 1000 members in the cluster. The stars have been estimated to be between 75 and 150 million years old. The brightest cluster stars belong to class B, and are very hot bluish stars.
Although the star cluster and reflection nebula are the dominant objects in this shot, there are also hundreds of galaxies lying far in the background. I have posted an annotated image from 2017 that highlights the location of some of them. In October 2016 I posted a higher resolution image that shows even more galaxies. I’ve also imaged this in a wider field, in 2020. This is a re-process of the same data from 2021, using new skills.
Tekkies:
Acquisition, focusing, and control of Paramount MX mount (unguided) with TheSkyX. Focus with Optec DirectSync motor and controller. Automation with CCDCommander. Equipment control with PrimaLuce Labs Eagle 3 Pro computer. All pre-processing and processing in PixInsight. Acquired from my SkyShed in Guelph. Average transparency and average seeing. Data acquired December 6, 2020 – February 9, 2020 under a moonless sky.
Takahashi FSQ-106 ED IV @ f/5 and QHY367C Pro one-shot colour camera with Optolong UV/IR filter

Preprocessing: The WeightedBatchPreProcessing script was used to perform calibration, cosmetic correction, weighting, registration, local normalization, integration and Drizzle integration of all frames (CFA Drizzle checked, Scale=1x, Drop Shrink=1.0).
Gradient Removal: DynamicBackgroundExtraction was applied to the OSC master.
Colour Calibration: SpectrophotometricColorCalibration was used to calibrate the OSC master.
Deconvolution: BlurXterminator was applied using an automatic PSF, star sharpening set to 0.10, and “Correct First” selected.
Linear Noise Reduction: Stars were removed with StarXterminator with Unscreen selected. NoiseXterminator was applied with Amount=0.95 and Detail=0.5. Stars were replaced using PixelMath expression combine(starless, stars, op_screen()).
Stretching: The image was cloned. HistogramTransformation was applied to the original image to make a pleasing yet bright image. Approximate background level after stretch was 0.10. ArcsinhStretch was applied to the clone and the Luminance extracted using ChannelExtraction.
Nonlinear Processing
Combining Colour and Luminance: LRGBCombination was used with default settings to apply the extracted Luminance from above to the original, stretched colour image.
Star Removal: StarXterminator was used to remove the stars, with Unscreen selected.
Nonlinear Noise Reduction: NoiseXterminator was applied with Amount=0.9 and Detail=0.25.
Contrast Enhancement 1: LocalHistogramEqualization was applied twice. A Contrast Limit of 1.5 and 1 iteration was used for each LHE application (scale 40, strength 0.2; scale 125, strength 0.375).
Sharpening: A mask was used with MultiscaleMedianTransform to select bright parts of the image and sharpen Layers 1 – 5 with strengths of 0.01, 0.03, 0.05, 0.05, and 0.02, respectively.
Contrast Enhancement 2: ExponentialTransformation was applied with default settings.
Star Restoration: The saturation of the stars-only image was boosted with Curves. The PixelMath expression combine(starless, stars, op_screen()) was used to combine the starless and stars-only images created with StarXterminator.
Final Steps: Background, nebula and star brightness, contrast and saturation were adjusted in several iterations using CurvesTransformation with masks as required. ICCProfileTransformation (sRGB IEC61966-2.1; Relative Colorimetric with black point compensation) was applied prior to saving as a jpg. The finder chart was made using the FindingChart process.

Love it! CS!
Stunning image and post processing Ron!
Cheers from down under,
Dave
Ron excellent image. Thanks for the historical details. I was not aware that Galileo had observed it. Thanks also for sharing the process details you used.
Awesome
Awesome image!