Auriga – Wide Field
 Click image for full size version
December 10, 2019
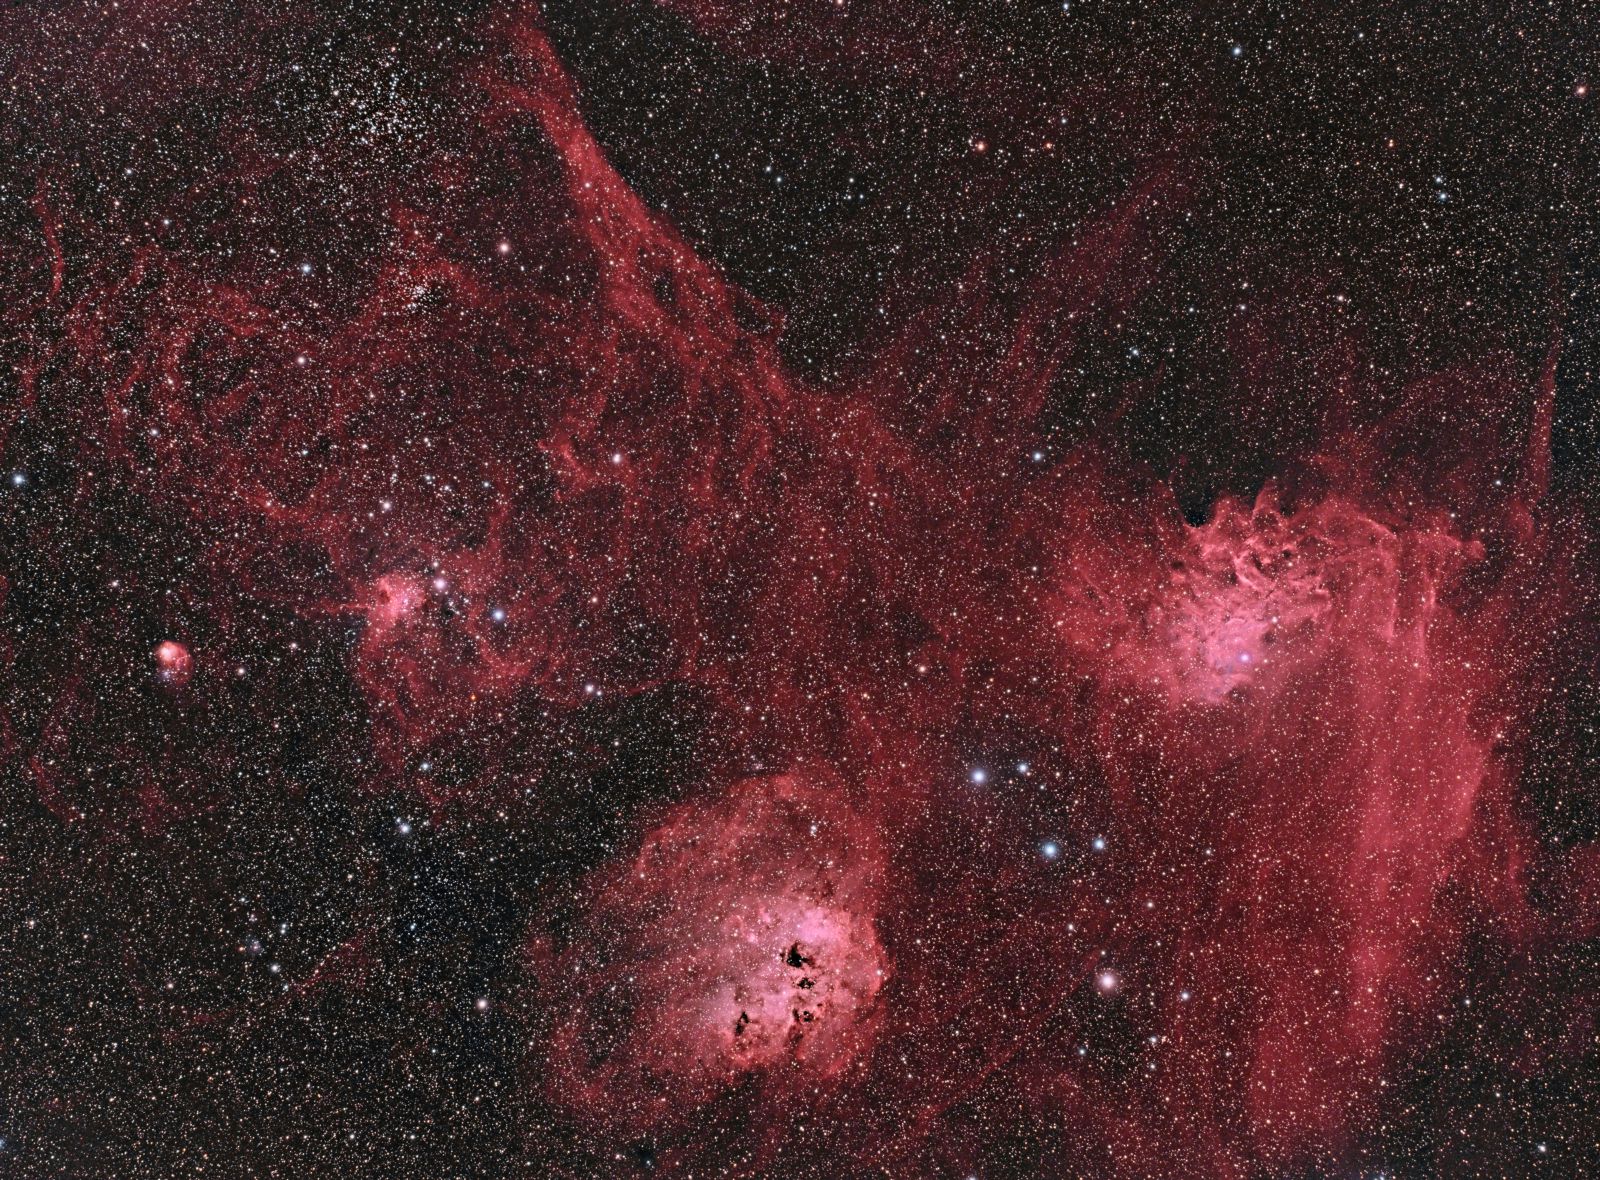
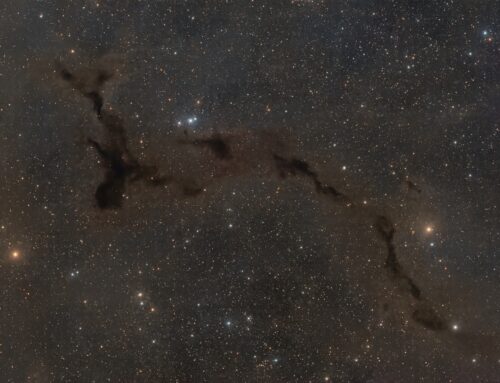
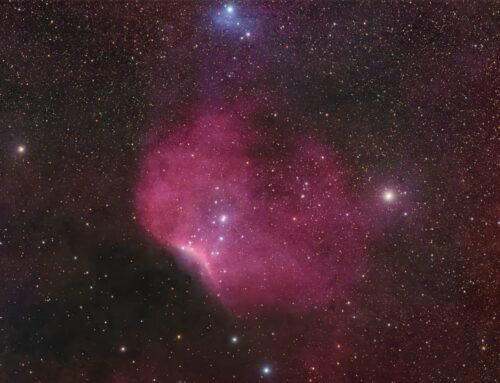
This wide-field image shows the extended clouds of nebulosity in Auriga, the Charioteer, along with several open clusters. There are even some galaxies hiding in this busy field. See the annotated image for more information. I’ve also provided some links below to previous images that focus on one or more of the many objects in the image.
- The Flaming Star Nebula (IC 405) dominates the right side of the image. It has emission and reflection nebula components and lies about 1,500 light years away and 5 light years across. The brightest star in the nebula, AE Auriga, is causing the glow. My previous higher resolution image of this object is here.
- At centre bottom is IC 410, which also contains “The Tadpoles” above and to the left of the central dark structure. IC 410 is a little further away than IC 405, at close to 20,000 light years. My higher resolution image of this object is here. It was made in collaboration with my good friend Warren Keller.
- The Spider Nebula, IC 417, is the bright nebula left of centre, with the Fly Nebula, NGC 1931, near the left edge. I imaged IC 417 at a higher resolution a few years ago.
- Open cluster M38 is above smaller open cluster NGC 1907 in the upper left of this image. I imaged both of these clusters in March 2019, but without trying to capture the nebulosity surrounding them.
Tekkies:
Takahashi FSQ-106 ED IV @ f/3.6, QHY367C one-shot colour camera, and Optolong L-eNhance narrowband filter, Paramount MX, unguided. Acquisition, and focusing with TheSkyX. Focus with Optec DirectSync focus motor and controller. Automation with CCDCommander. Equipment control with PrimaLuce Labs Eagle 3 Pro computer. All pre-processing and processing in PixInsight. Acquired from my SkyShed in Guelph. Variable moon, average to above average transparency and fair to average seeing. Data acquired October 28 – November 20, 2019.
40x10m with Optolong L-eNhance filter (Total = 6hr40m)
Image scale 2.6 arcsec per pixel
Data Reduction and Cleanup
Preprocessing: The WeightedBatchPreProcessing script was used to perform calibration, debayering, and registration of all frames. ImageIntegration followed by DrizzleIntegration with the CFA Drizzle option was used to make the master, which was then cropped.
Gradient Removal: DBE was applied using Subtraction to remove the minimal gradient that remained after integration.
Channel Registration: To improve channel registration, the RGB colour channels were extracted and aligned with StarAlignment, using Thin Plate Splines with Distortion Correction and the green channel as the reference frame. The registered colour channels were recombined with ChannelCombination.
Lightness Extraction: RGBWorkingSpace was applied to normalize the channels, and the Lightness was extracted for separate processing as described below.
Colour
Colour Balancing: The colour image was colour balanced with ColorCalibration.
Linear Noise Reduction: MultiscaleLinearTransform was used to reduce noise in the background areas, using an internal mask to protect bright structures. Layer settings for threshold and strength: Layer 1: 5.0 0.85 Layer 2: 3.5, 0.75 Layer 3: 3.0, 0.5 Layer 4: 1.0, 0.25.
Stretching: HistogramTransformation was applied to make a pleasing, bright image, with background set to an intensity of approximately 0.10.
Lightness
Deconvolution: StarMask was applied with default settings to produce a Local Deringing Support Image. A clone of the image was stretched to use as a deconvolution mask. Deconvolution was applied (80 iterations, regularized Richardson-Lucy, external PSF made using PSFImage script with about 30 stars).
Linear Noise Reduction: MultiscaleLinearTransform was used to reduce noise in the background areas, using an internal mask to protect bright structures. Layer settings for threshold and strength: Layer 1: 3.0, 0.9 Layer 2: 2.0, 0.75 Layer 3: 1.0, 0.6 Layer 4: 0.5, 0.2.
Stretching: HistogramTransformation was applied to make a pleasing, bright image, with background set to an intensity of approximately 0.10.
Recombining Lightness and Colour Images
LRGB Combination: The lightness image was applied to the RGB image using LRGBCombination with default settings.
Additional Processing
Nonlinear Noise Reduction: TGVDenoise was used in L*a*b* mode to reduce noise with a mask used to target the background areas and protect the stars (max. 1000 iterations and convergence selected for both lightness and chrominance).
Contrast Enhancement: LocalHistogramEqualization was applied twice (scale of 50 with strength 1.0; then scale of 150 with strength 0.5) using a mask to protect stars and low-signal regions of the image. The mask was a stretched version of the Lightness image with stars removed using Starnet++.
Final Steps: Background, nebula and star brightness, contrast, colour saturation were adjusted in several iterations using CurvesTransformation with masks as required. Hue was adjusted using the following expression in PixelMath without rescaling, with a star mask in place to protect the stars:
R: $T[0]
G: iif([$T[0]>0.17, 0.94*$T[1], $T[1])
B: iif([$T[0]>0.17, 1.10*$T[2], $T[2])
The DarkStructureEnhance script was applied with a strength of 0.20. The image was rescaled to its original scale of 2.6″/pixel. ICCProfileTransformation (sRGB IEC61966-2.1; Relative Colorimetric with black point compensation) was applied prior to saving as a jpg. And if you read all the way to here, congratulations. You can see the full resolution Drizzled version (1.3″ per pixel), by sending me a comment asking for it!

Leave A Comment